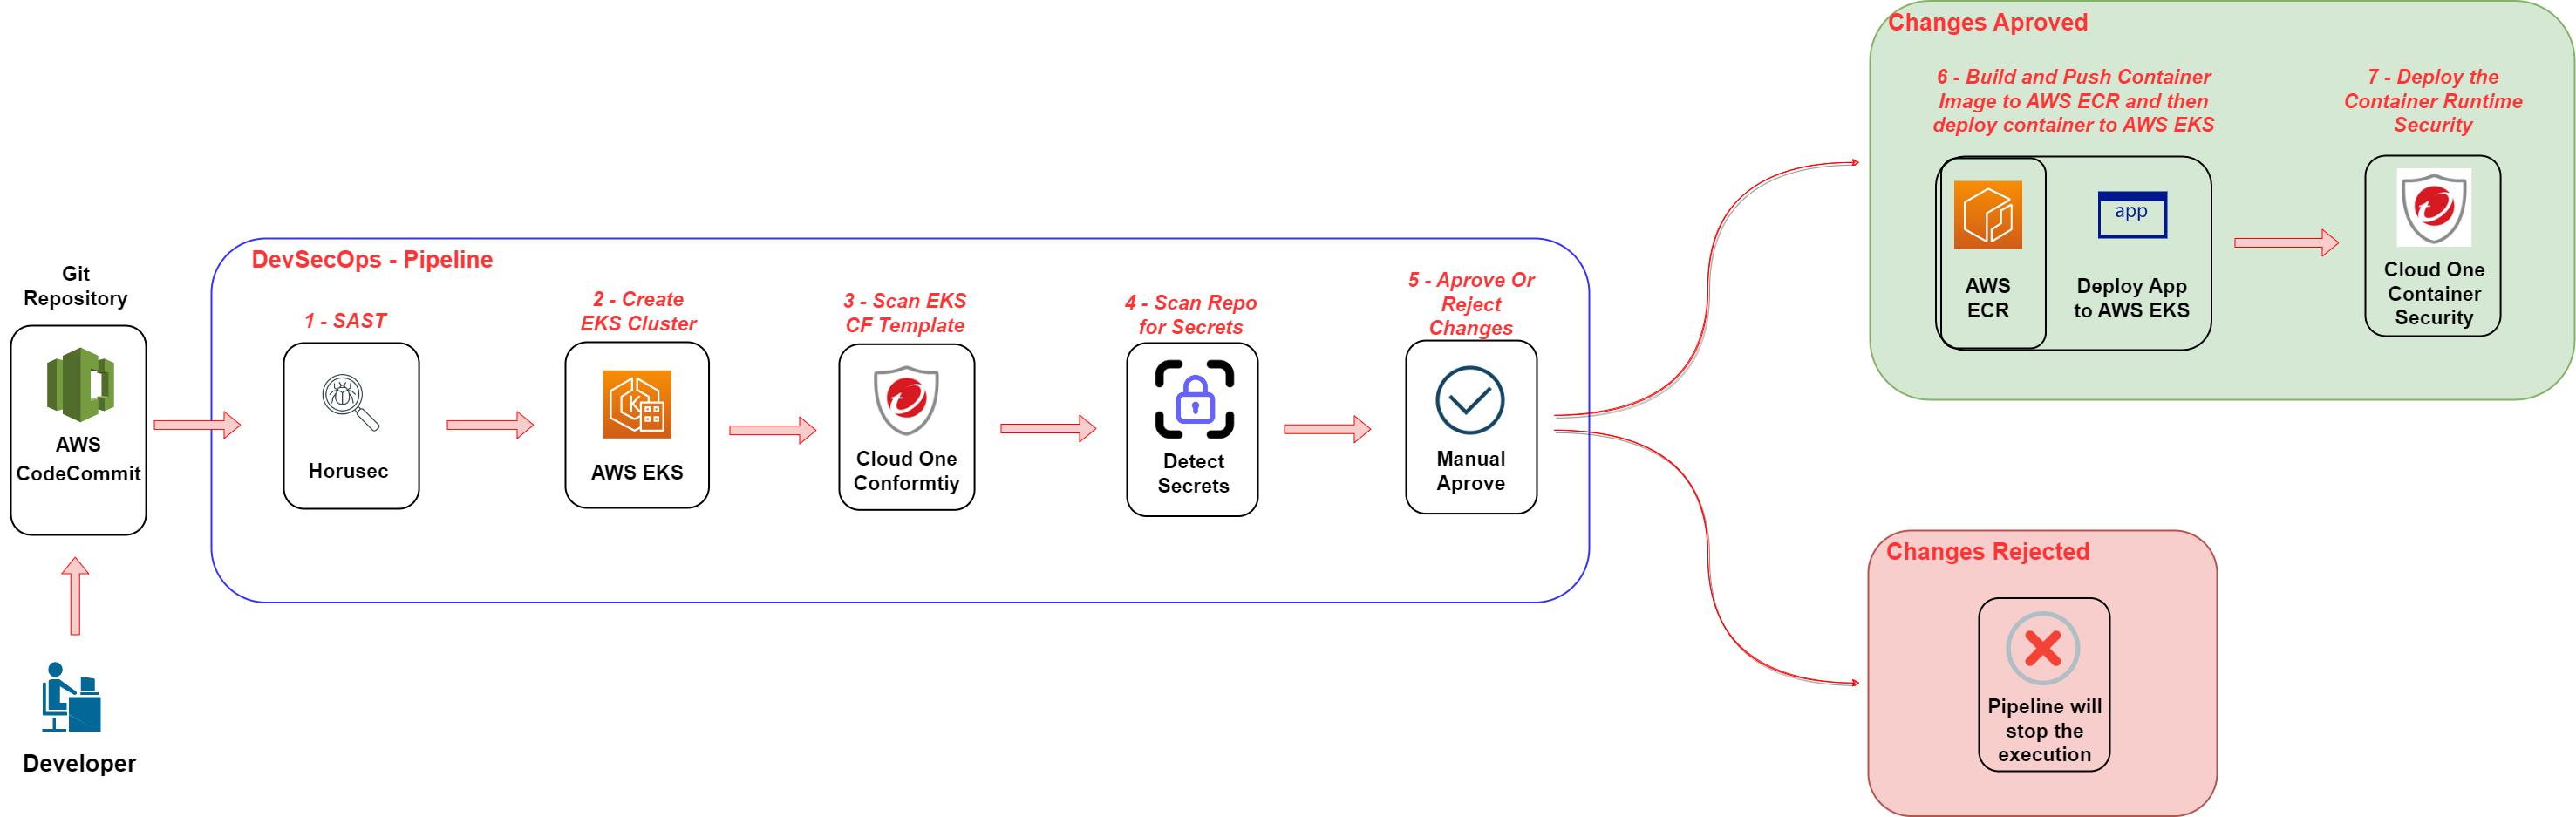
Pipeline
Finally let’s deploy everything we’ve done so far automatically so that we have our environment safe, and have a single source of truth for our entire environment, with our security processes included.
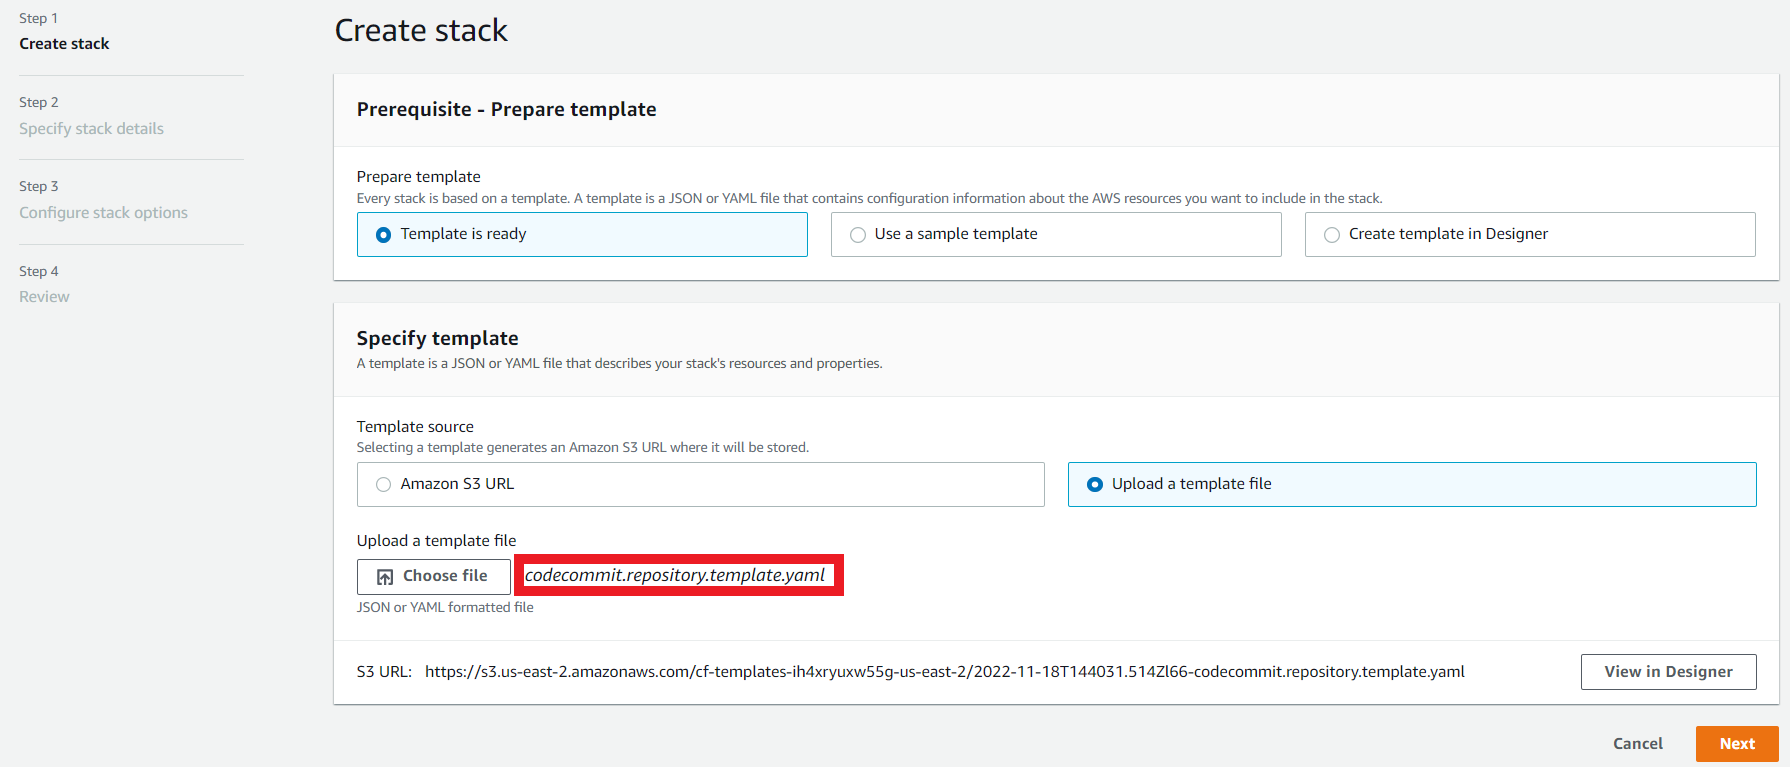
1. First let’s create our Git Repository in AWS CodeCommit

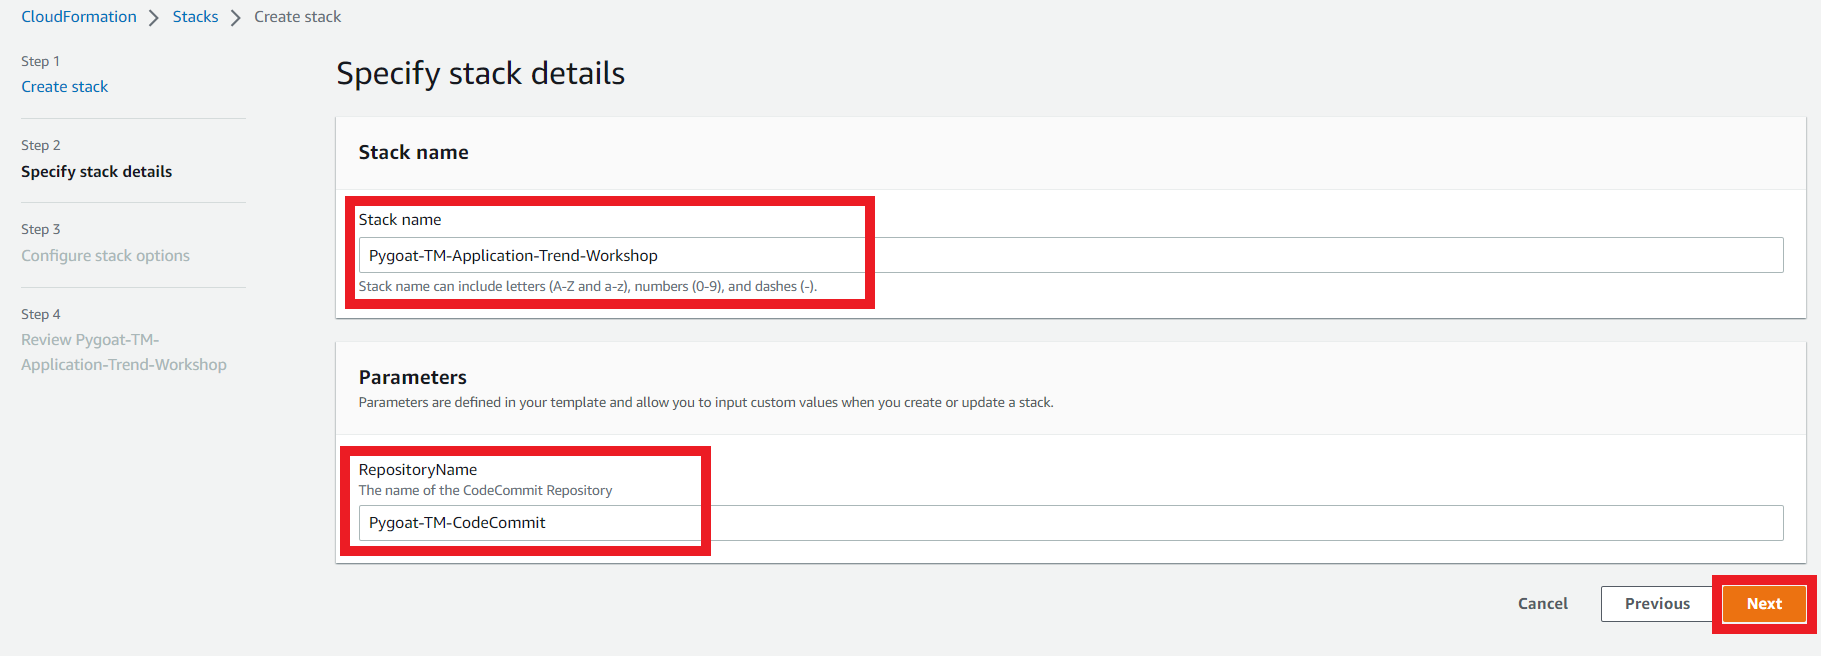
1.2. Stack Parameters
- Leave the parameters as they are, you don’t need to change anything.
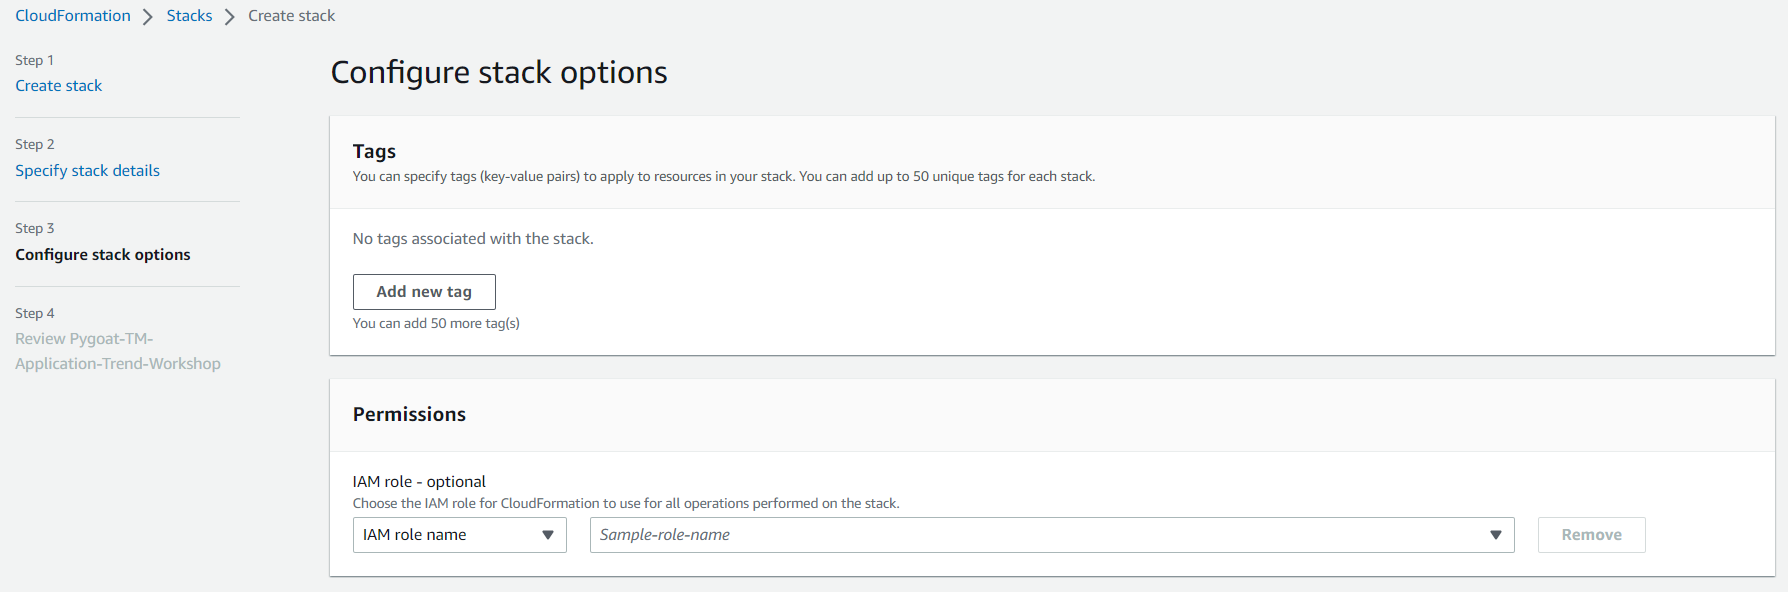
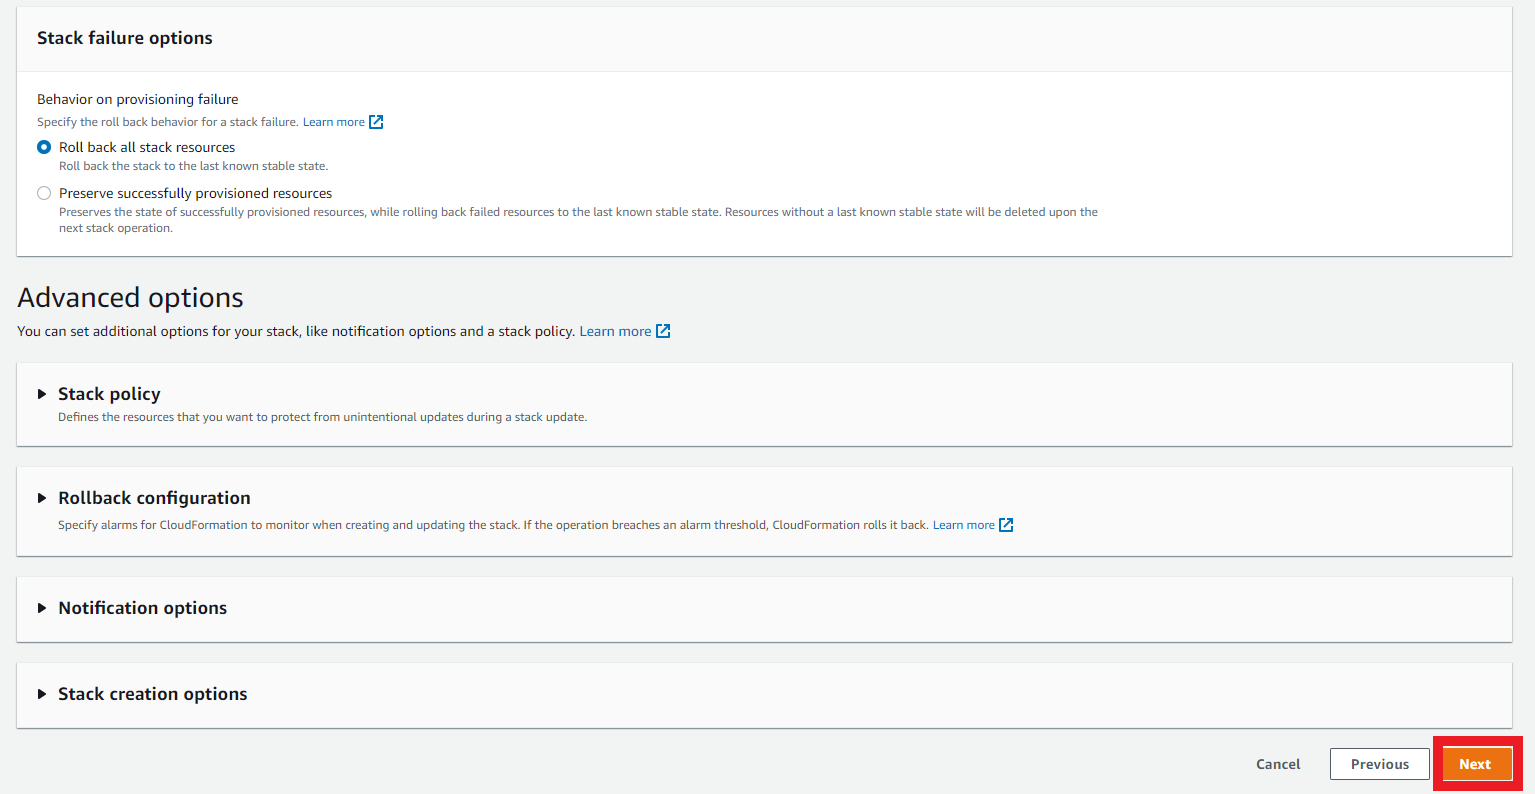
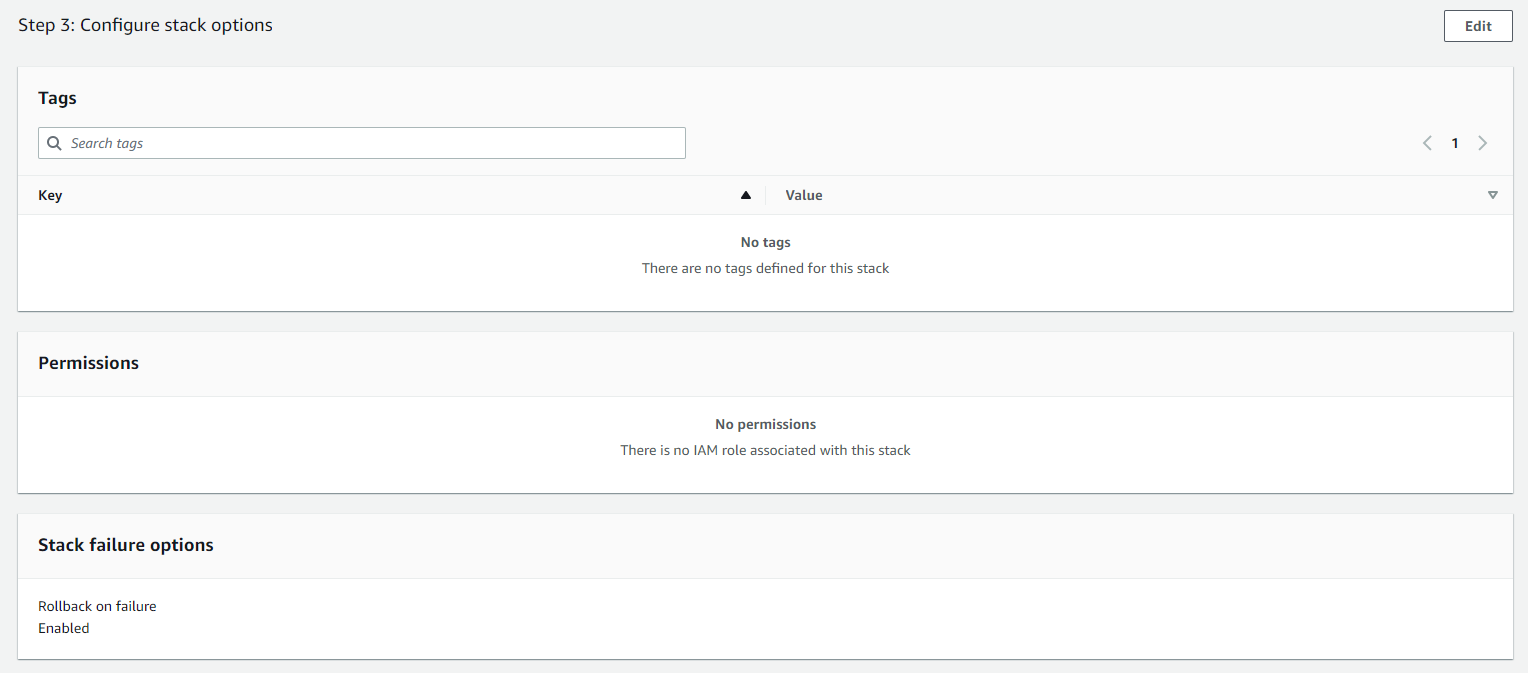
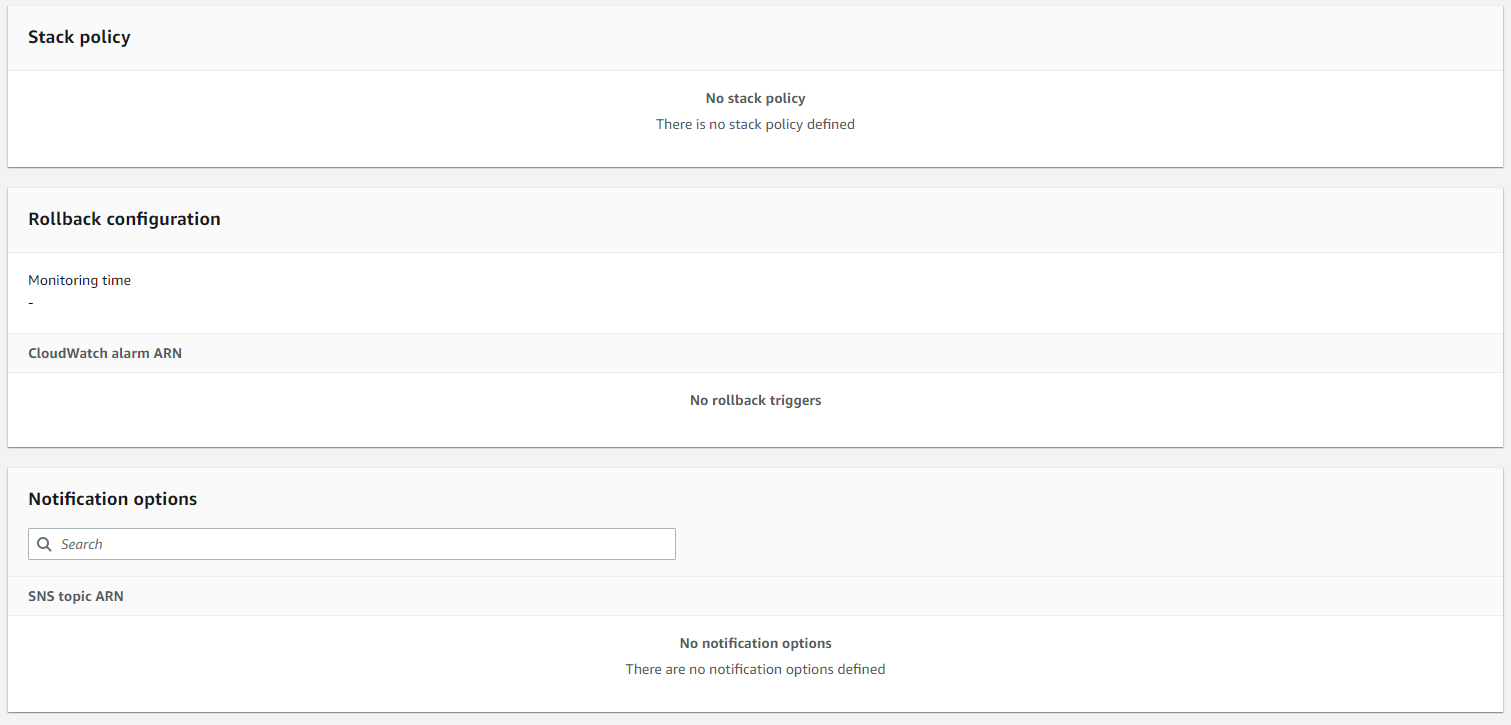
1.3. Configure the stack options
- Leave the fields as default and click Next, or optionally define tags to the evironment if desired.
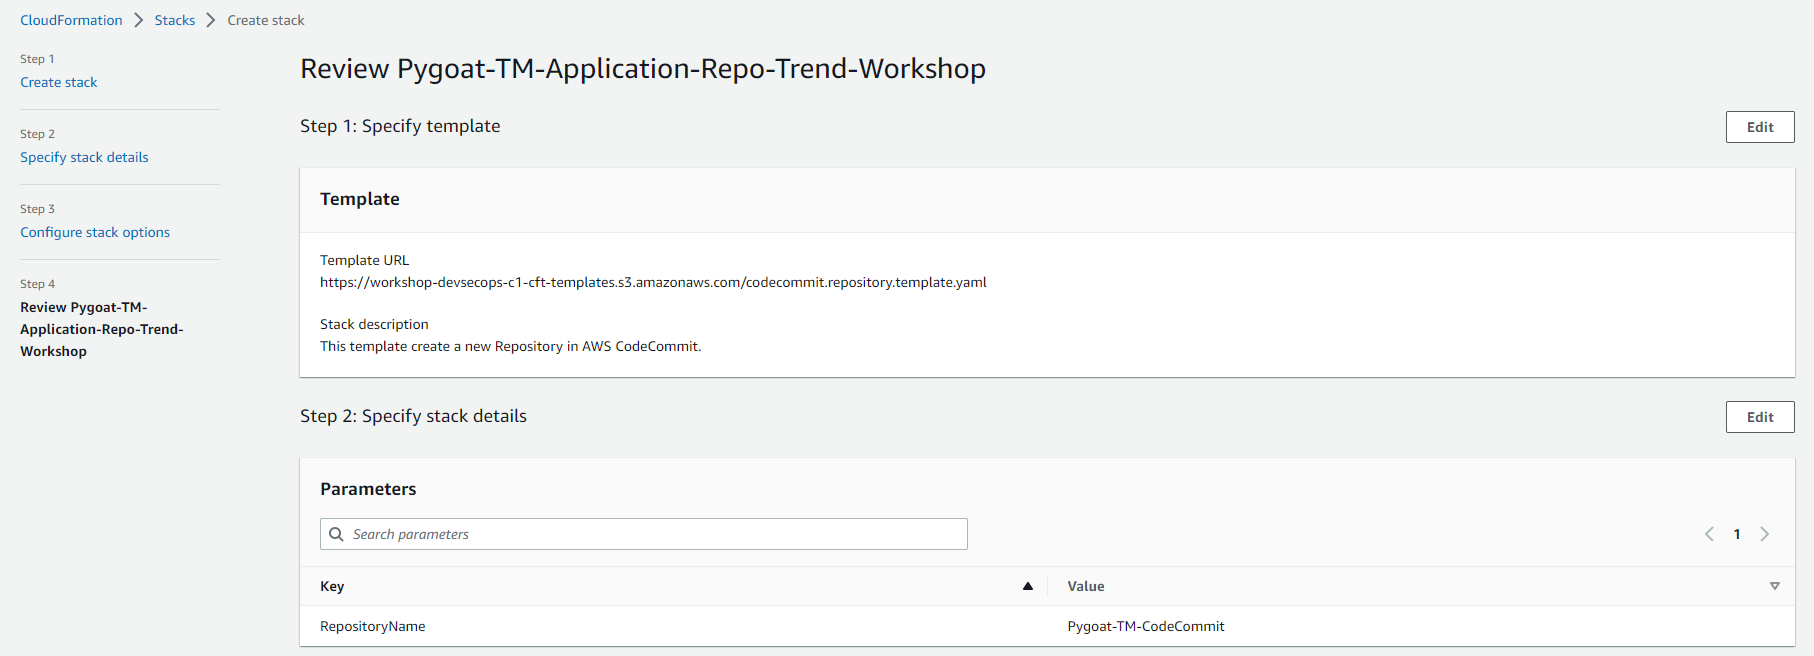
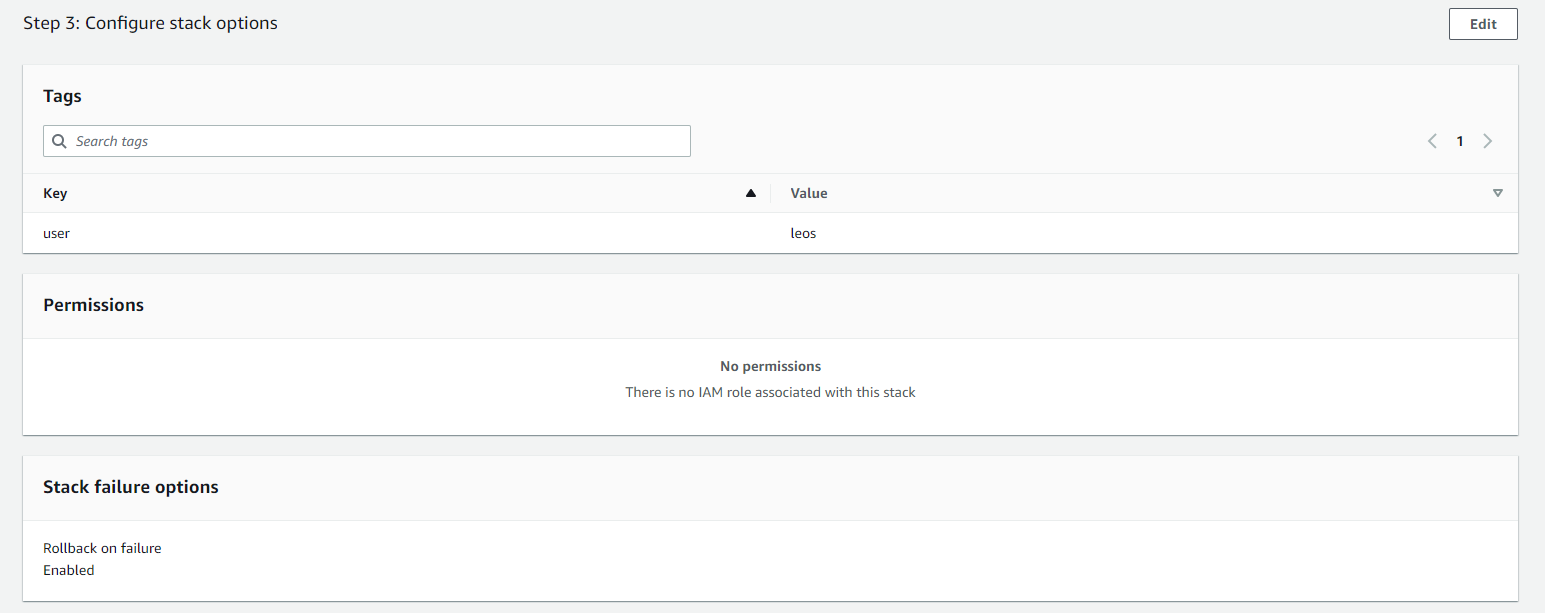
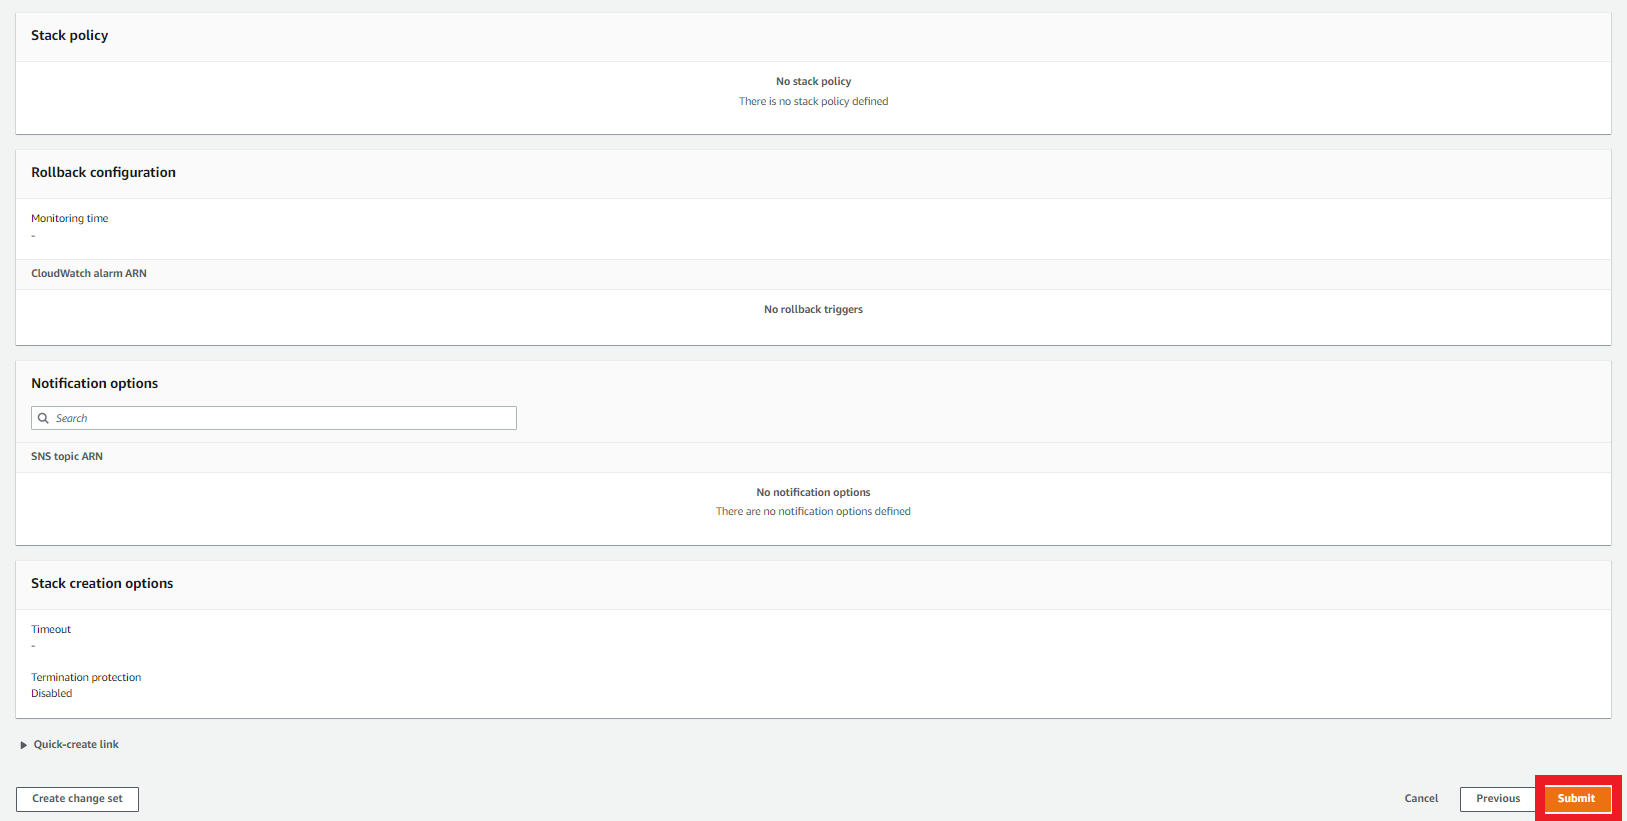
1.4. Review the template parameters
- Click on Create Stack or Submit
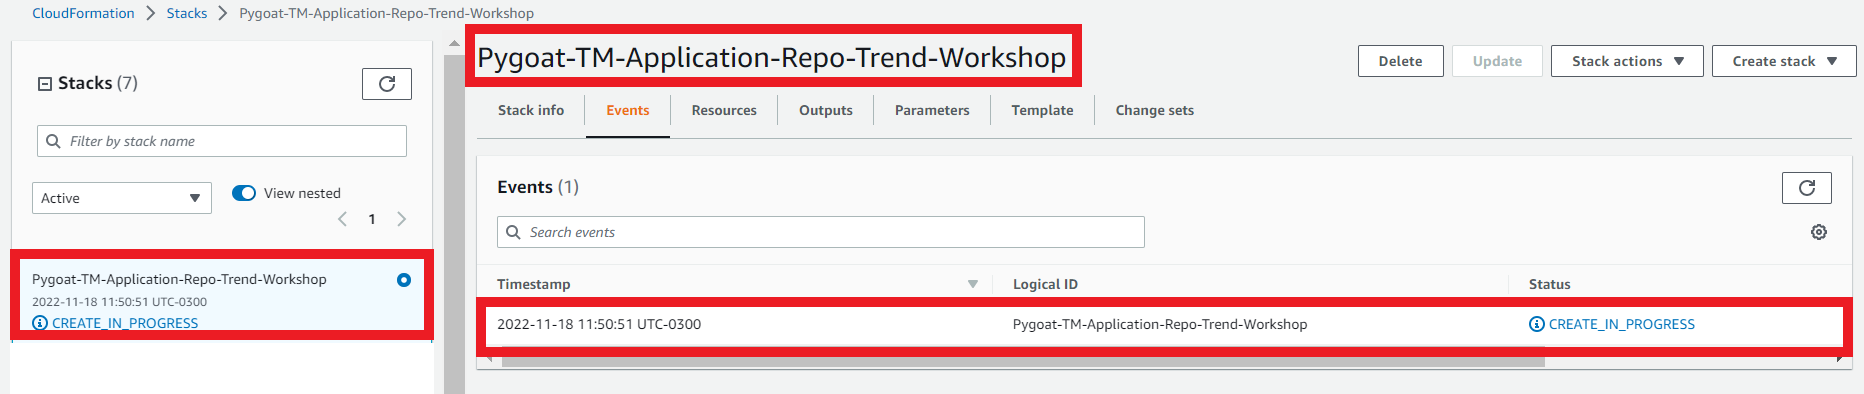
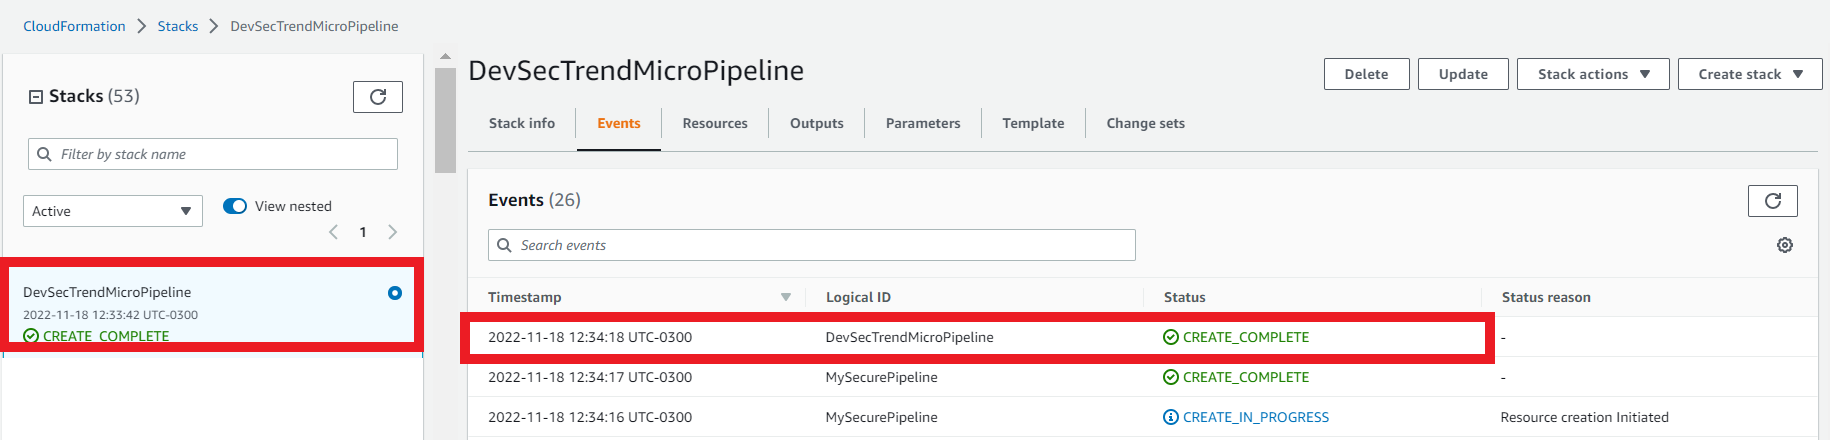
1.5. Follow up the events during creation of the stack
- Select the Events tab
- Click Refresh
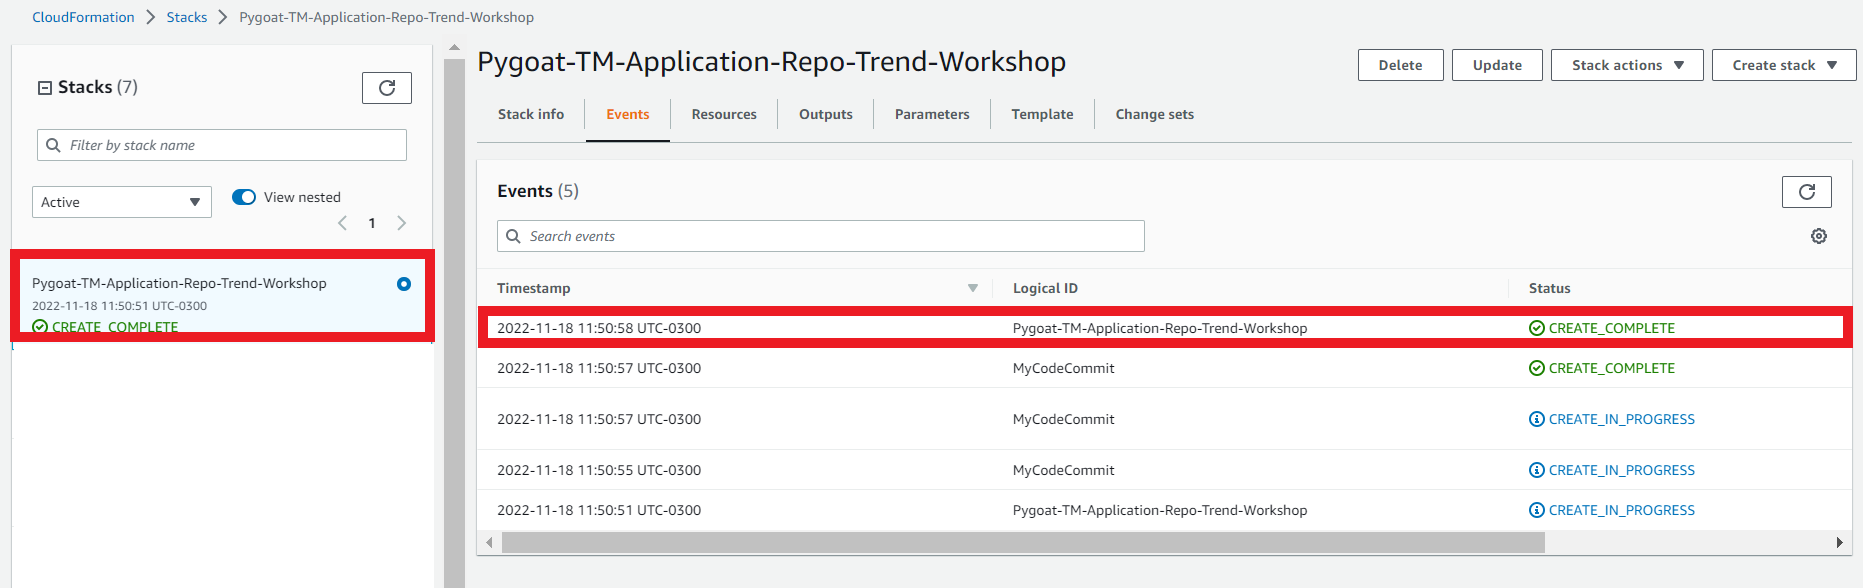
1.6. Ensure the stack status has reached Create_Complete
- Select the Stack info tab
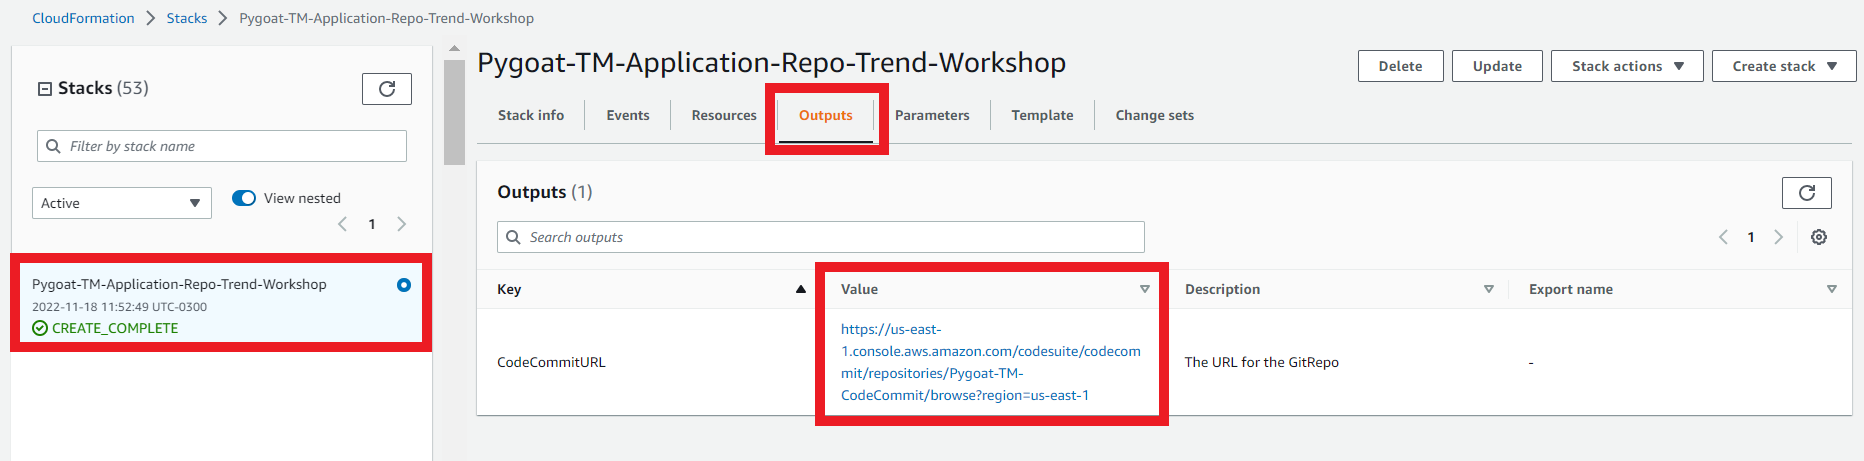
1.7. On the Outputs tab
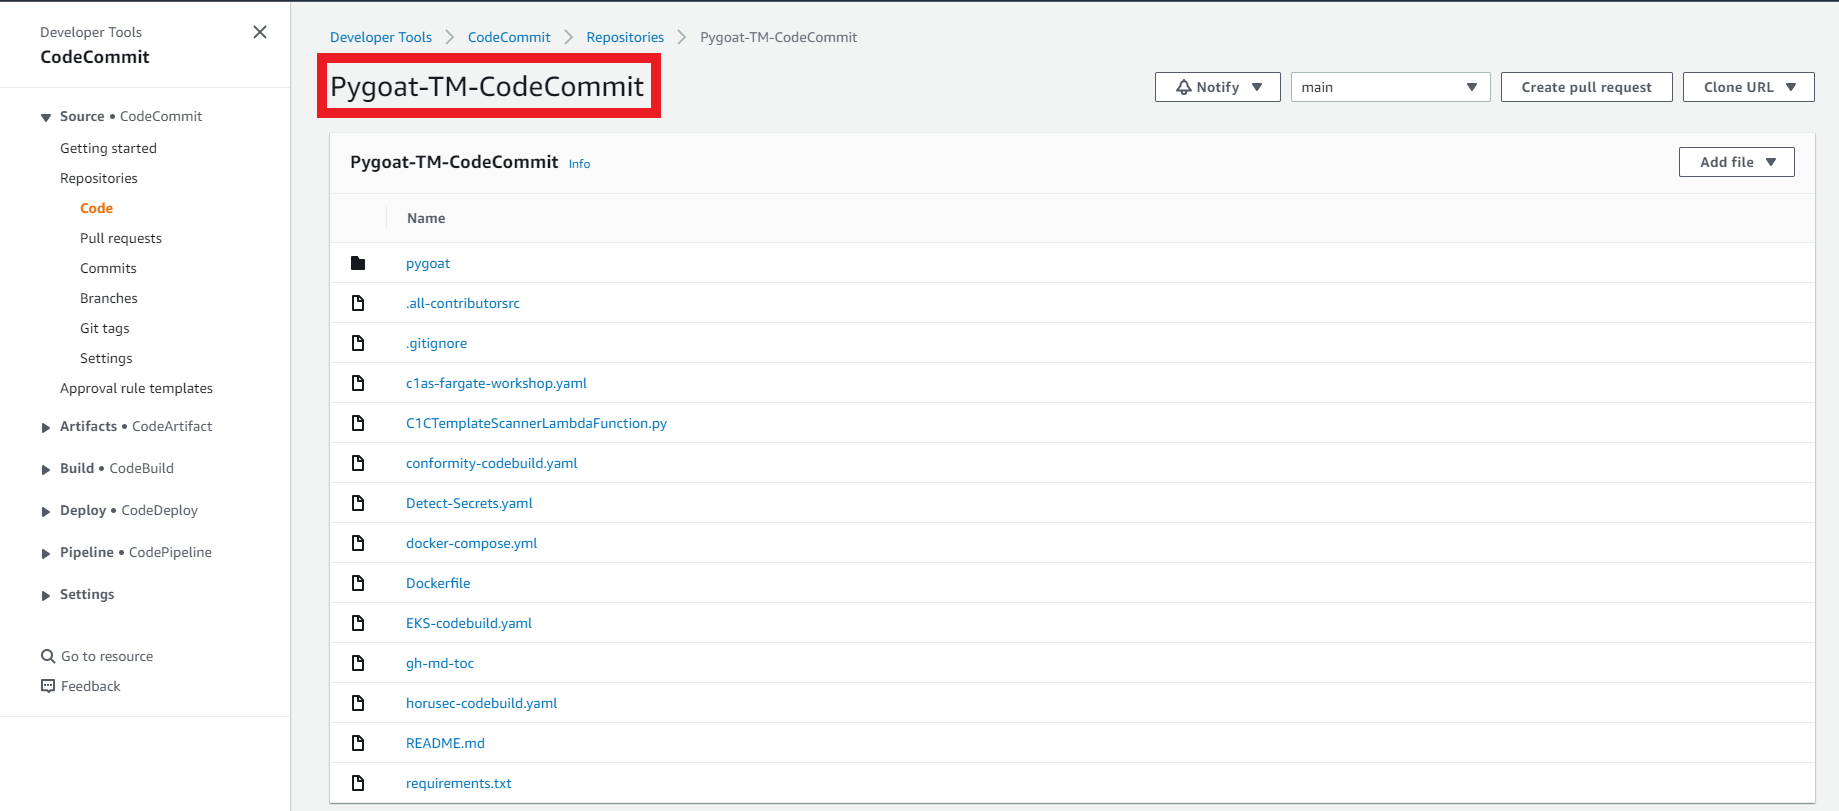
- Click on the link to go to your Repository
1. Deploy the Pipeline
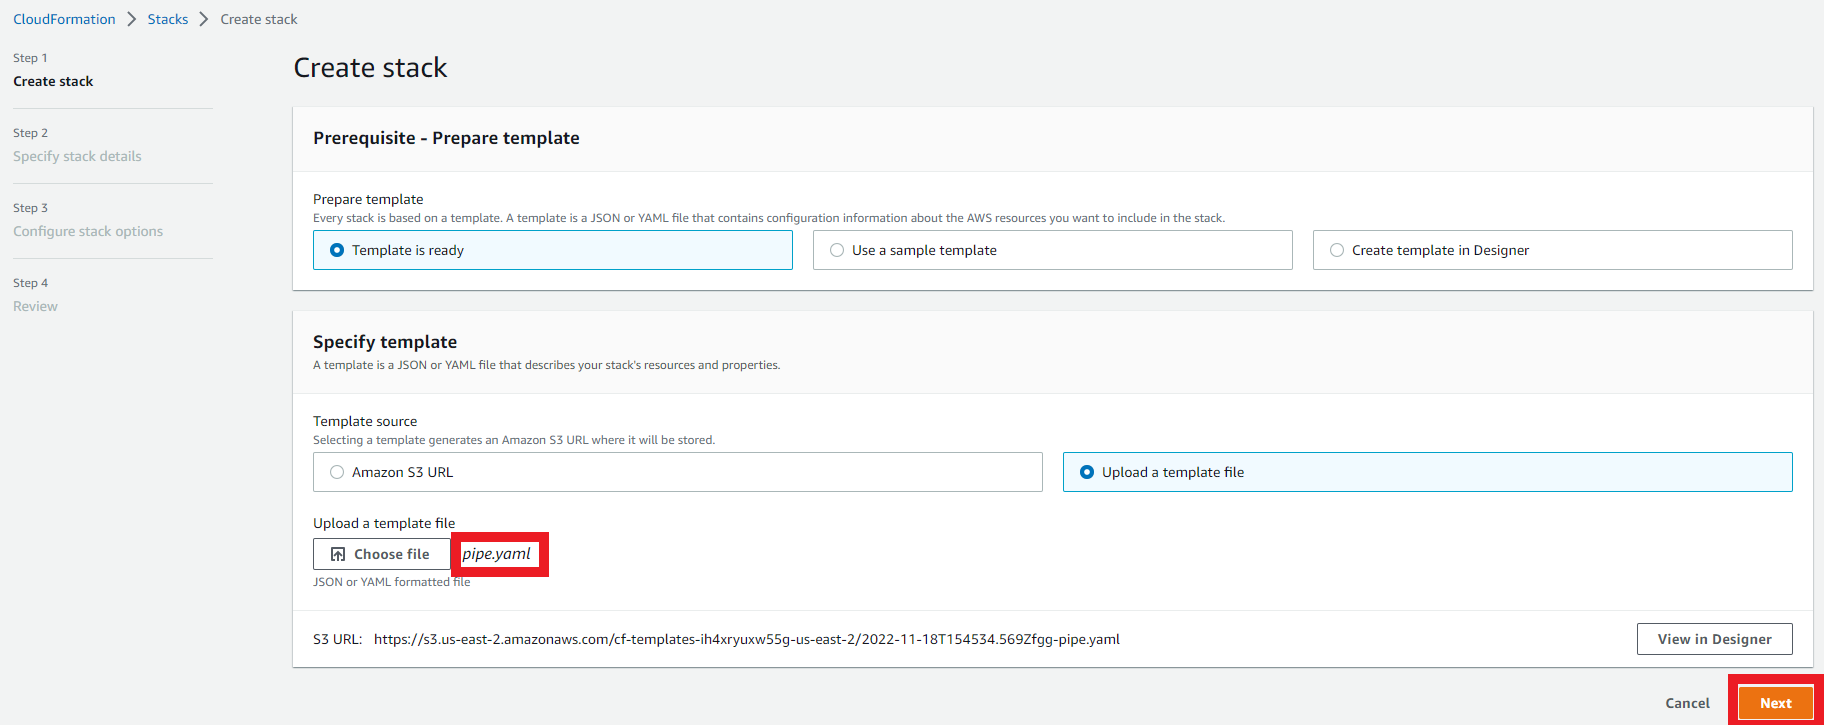
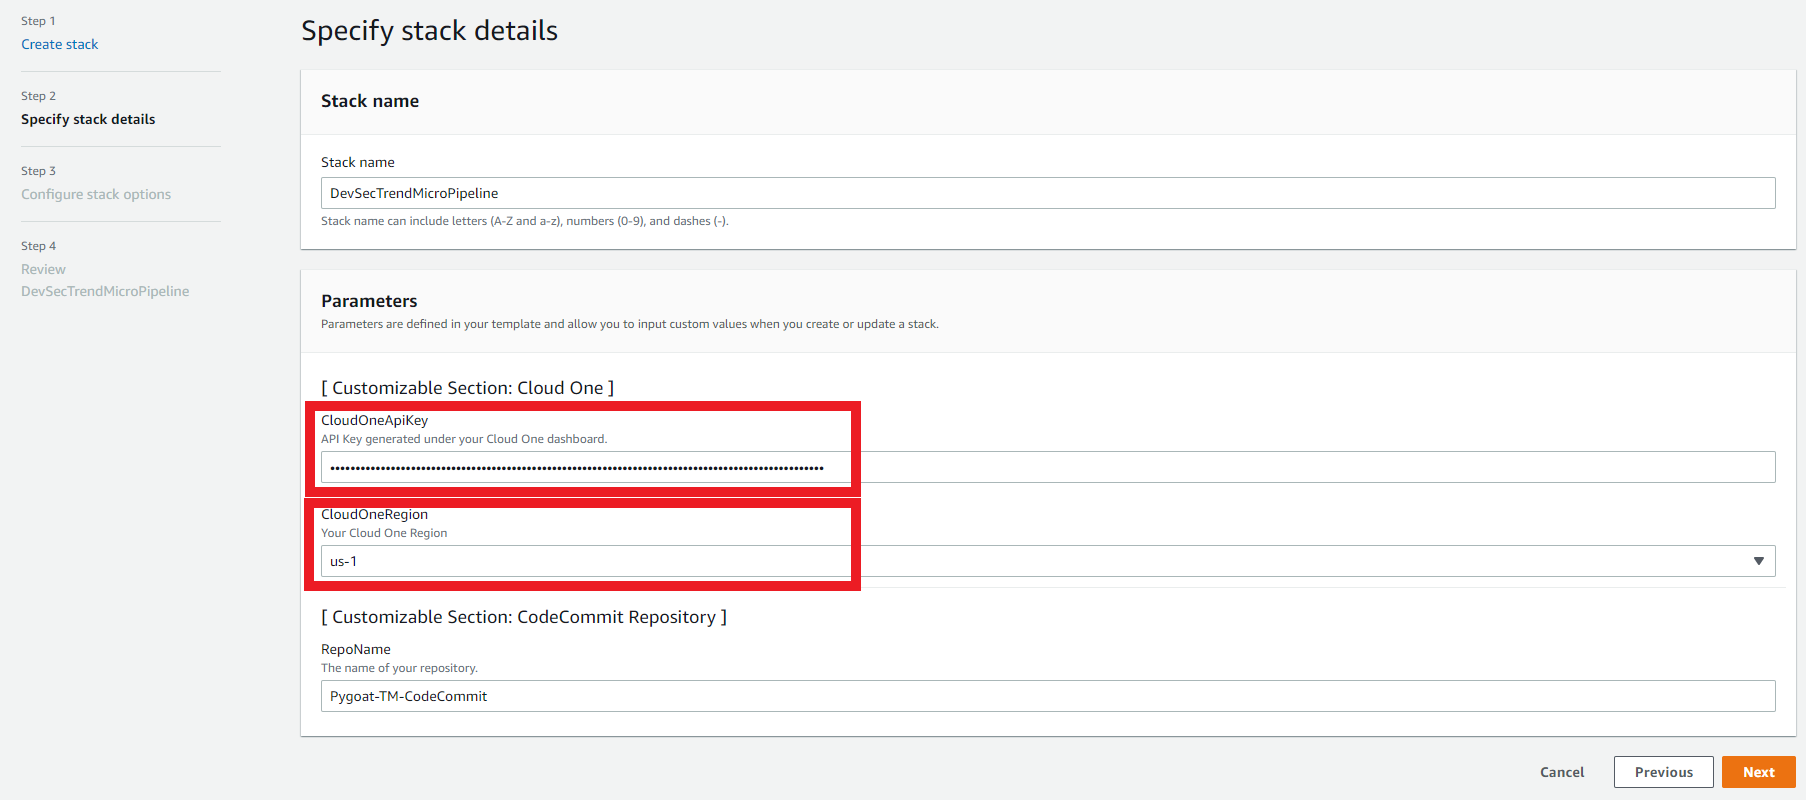
1.1. Specifying stack parameters that you need to change
If you still don't have a Cloud One API Key with Full Access created yet. Go check how to create HERE!
- CloudOneApiKey: Full Access API Key generated under your Cloud One dashboard. You can use the same one created before during this Workshop. Remember that this API Key must have Full Access.
- CloudOneRegion: Your Cloud One Region
- Click on Next
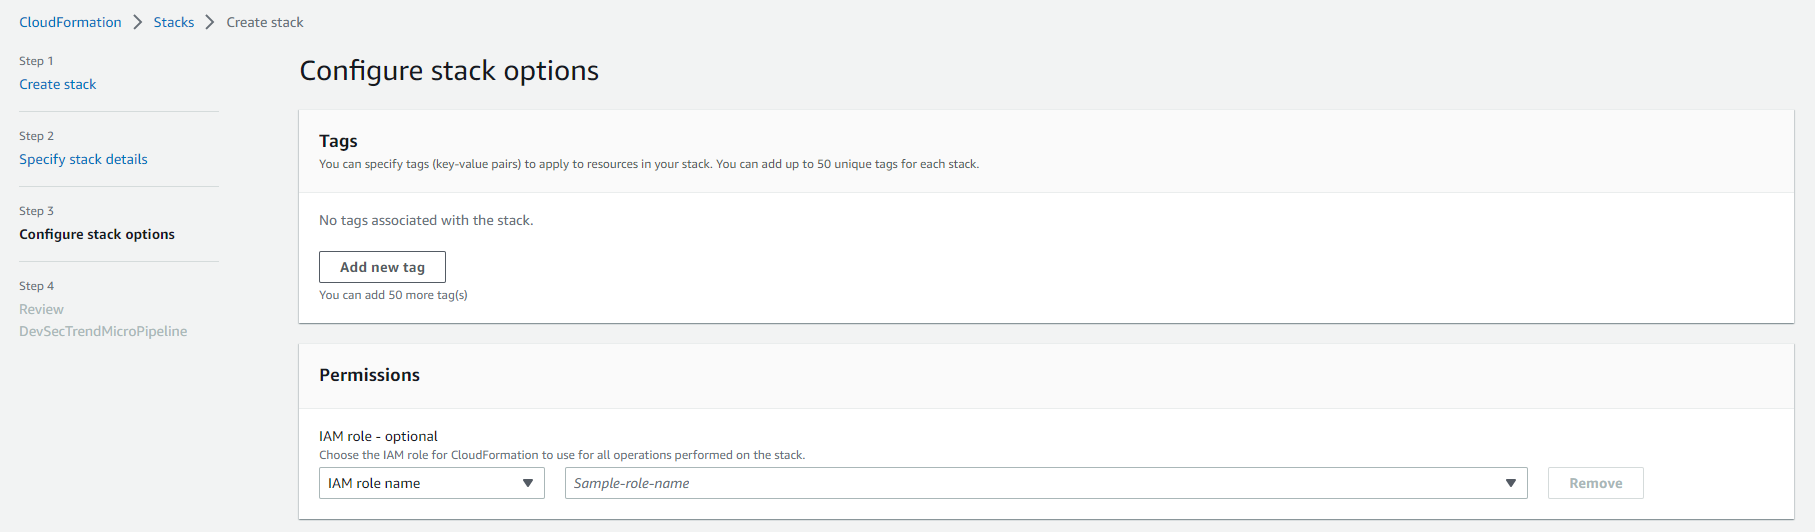
1.2. Configure the stack options
- Leave the fields as default and click Next, or optionally define tags to the evironment if desired.
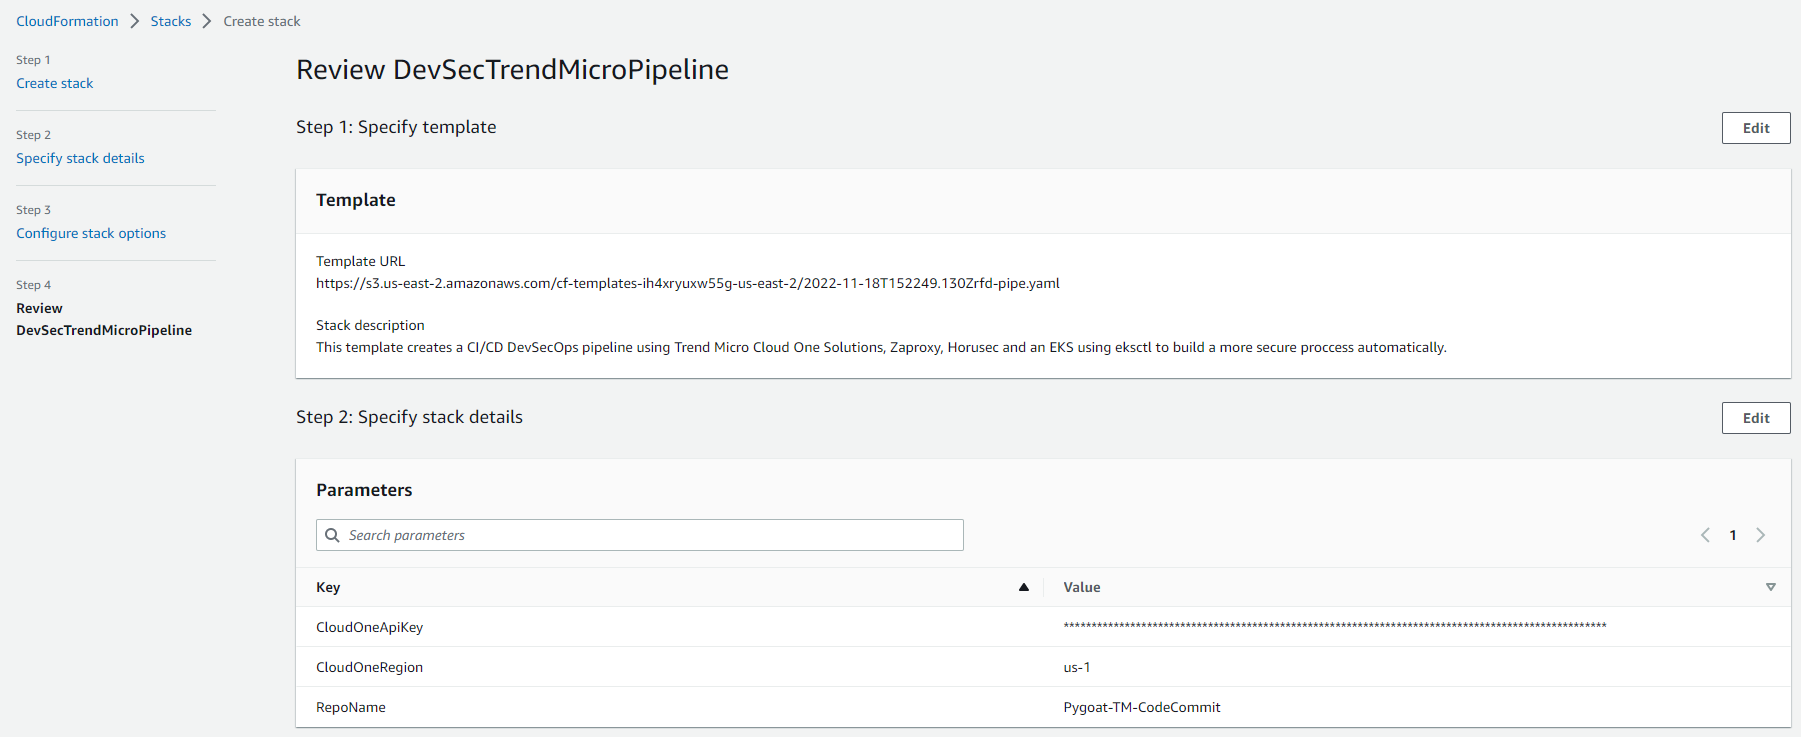
1.3. Review the template parameters
- Click on Create Stack or Submit

1.4. Follow up the events during creation of the stack
- Select the Events tab
- Click Refresh

1.5. Ensure the stack status has reached Create_Complete
- Select the Stack info tab
1.6. On the Outputs tab
- Click on the link to go to your Pipeline
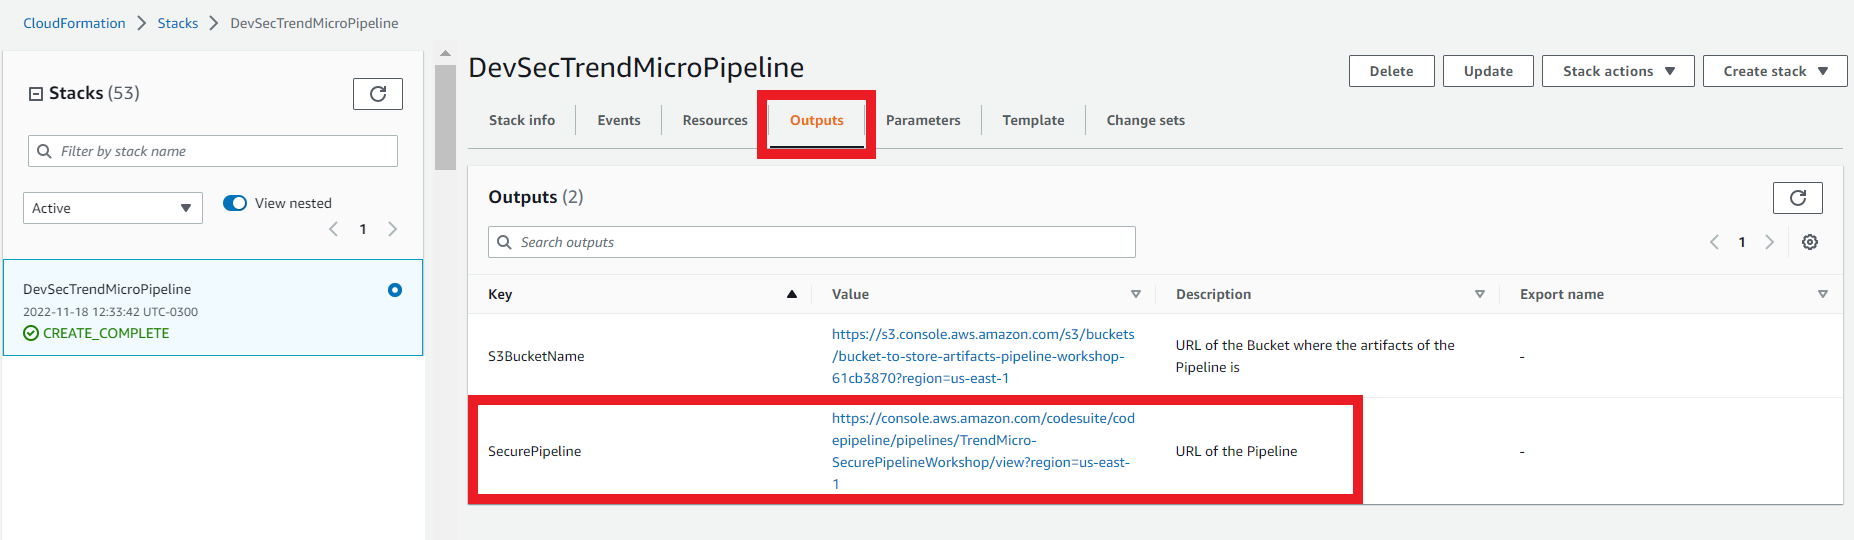
- You will be redirect to the Pipeline
2. Follow the execution of the Pipeline

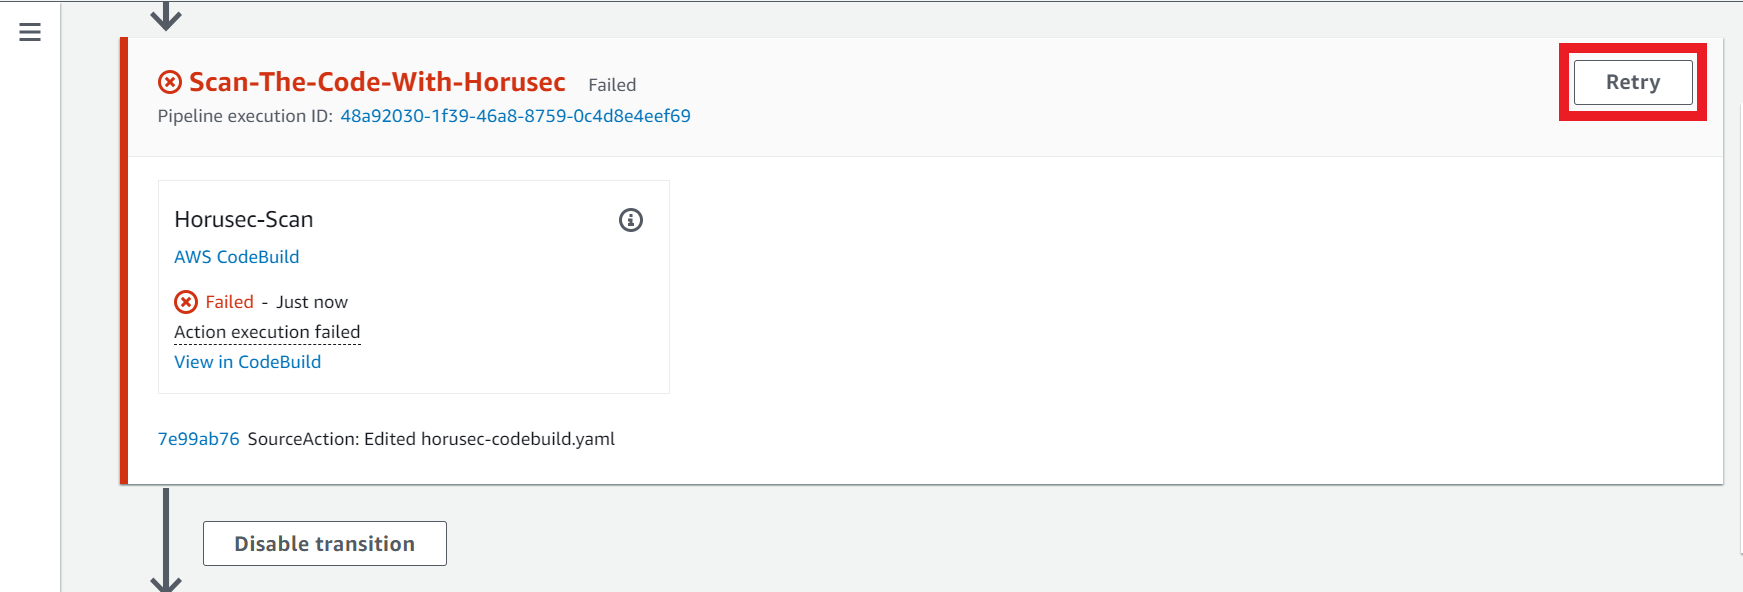
2.1. Second Action - Scan-The-Code-With-Horusec
Sometimes this action could fail due to the maximum number of requests to Docker Hub has been reached. You can click on the Retry button that appears when an action fails.
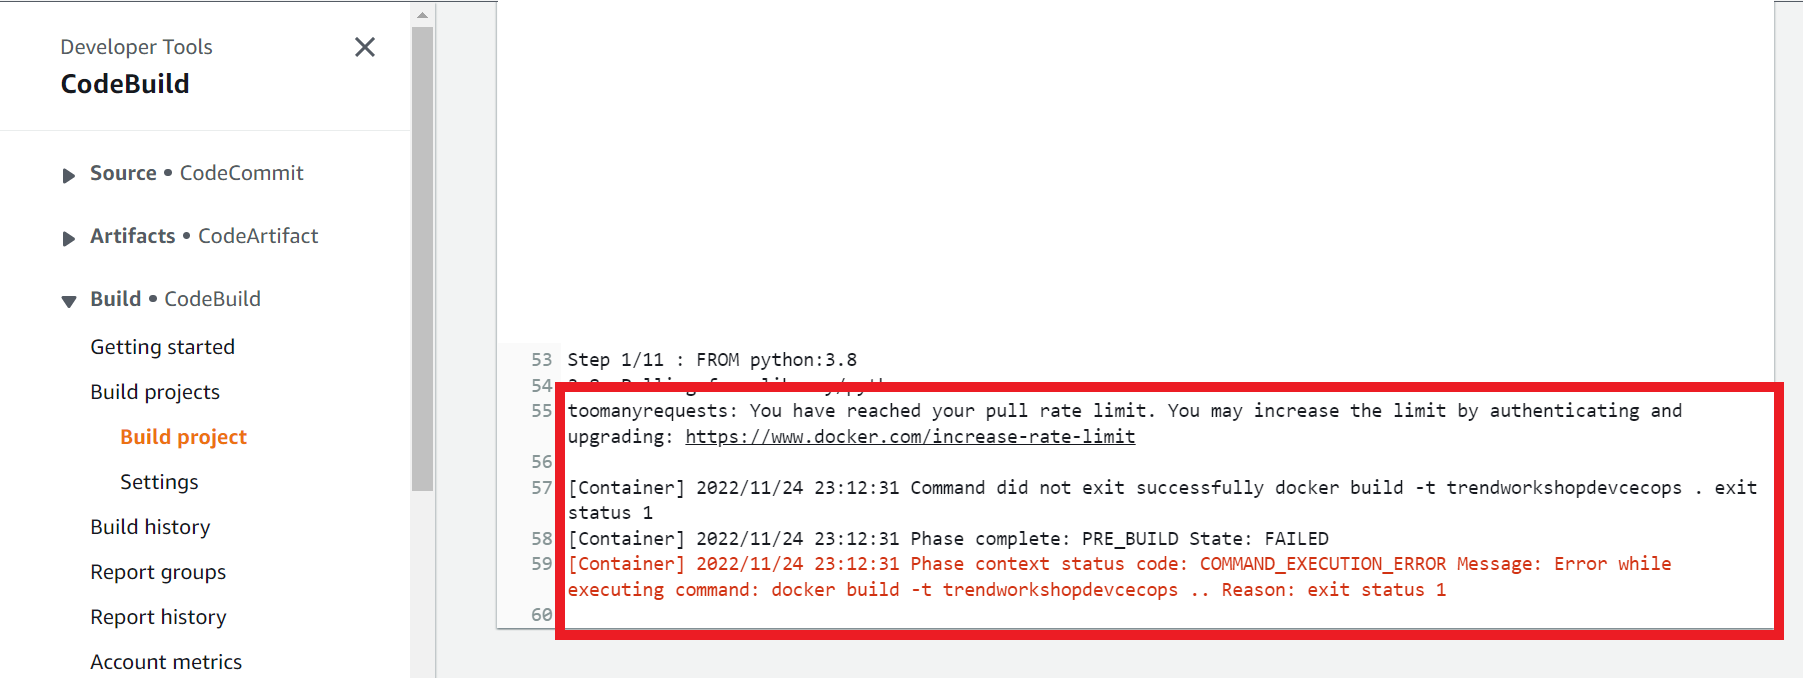
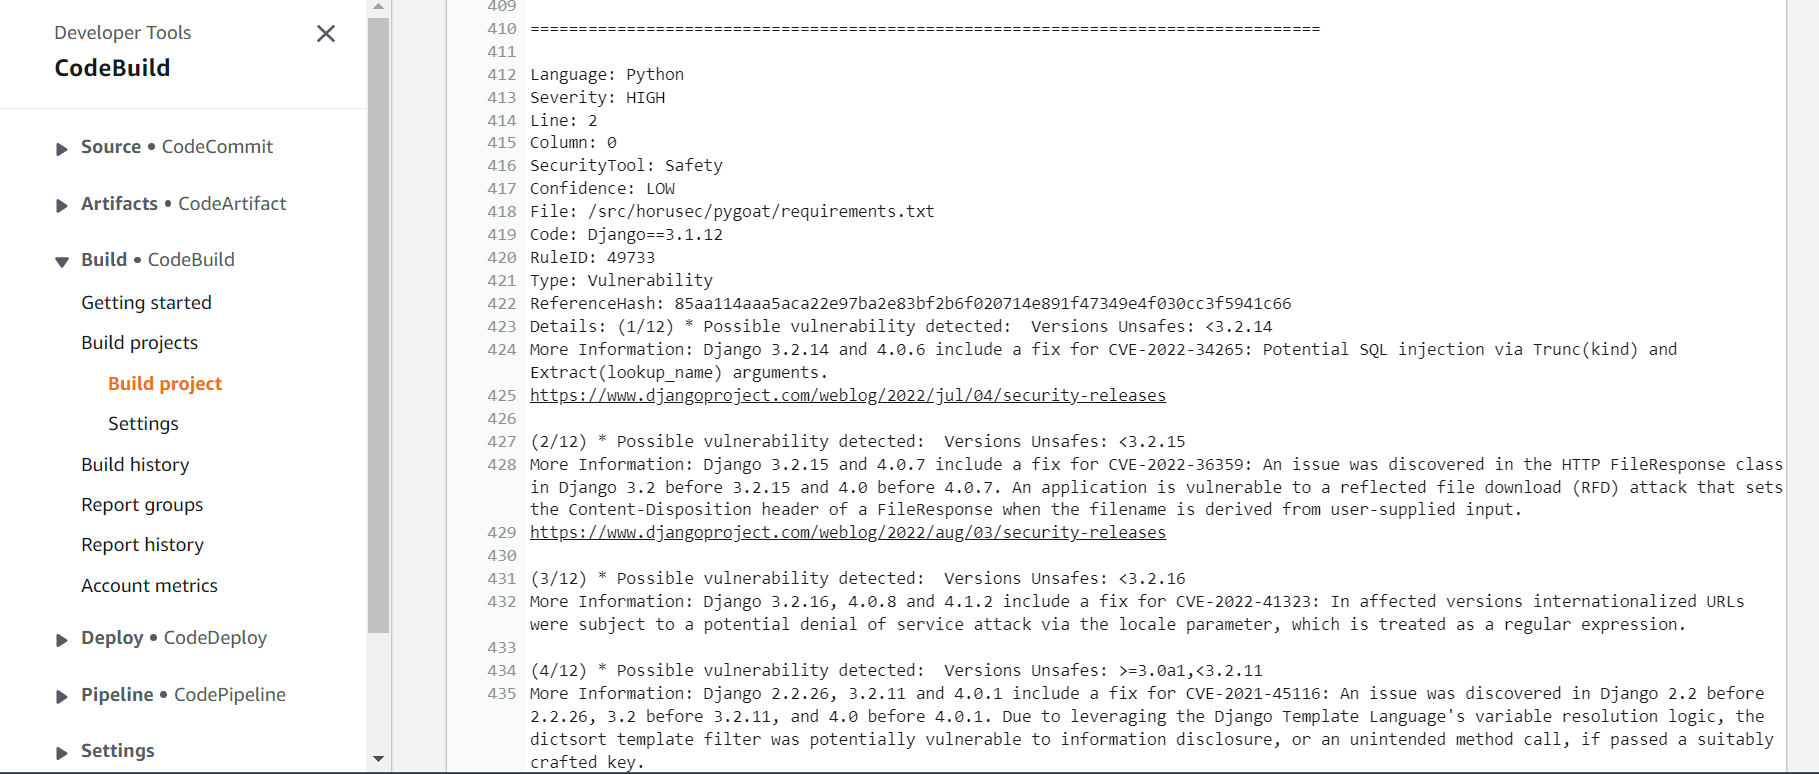
On this action the code of the application will be scanned to find vulnerabilities.
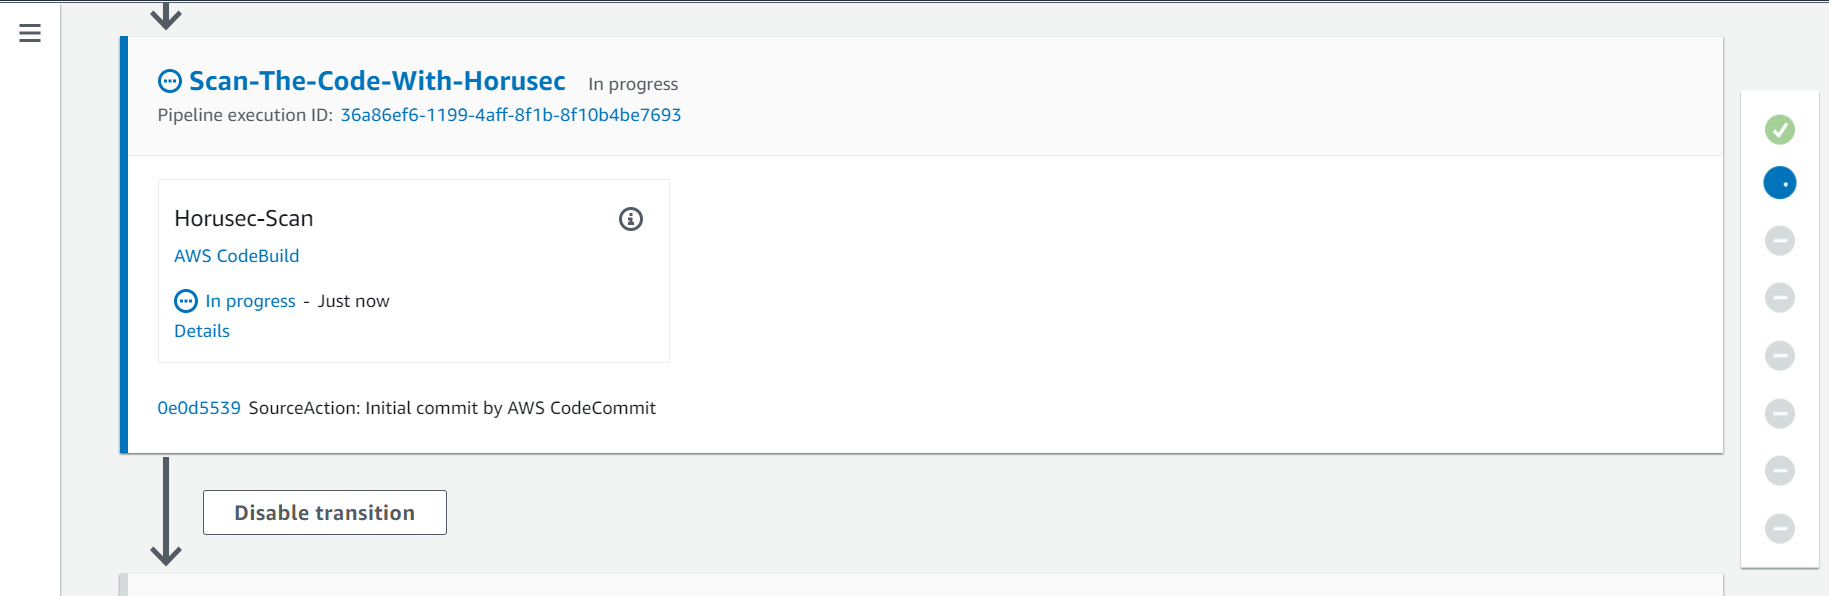
- Click on the Details button to see the log for this action and the Horusec findings.
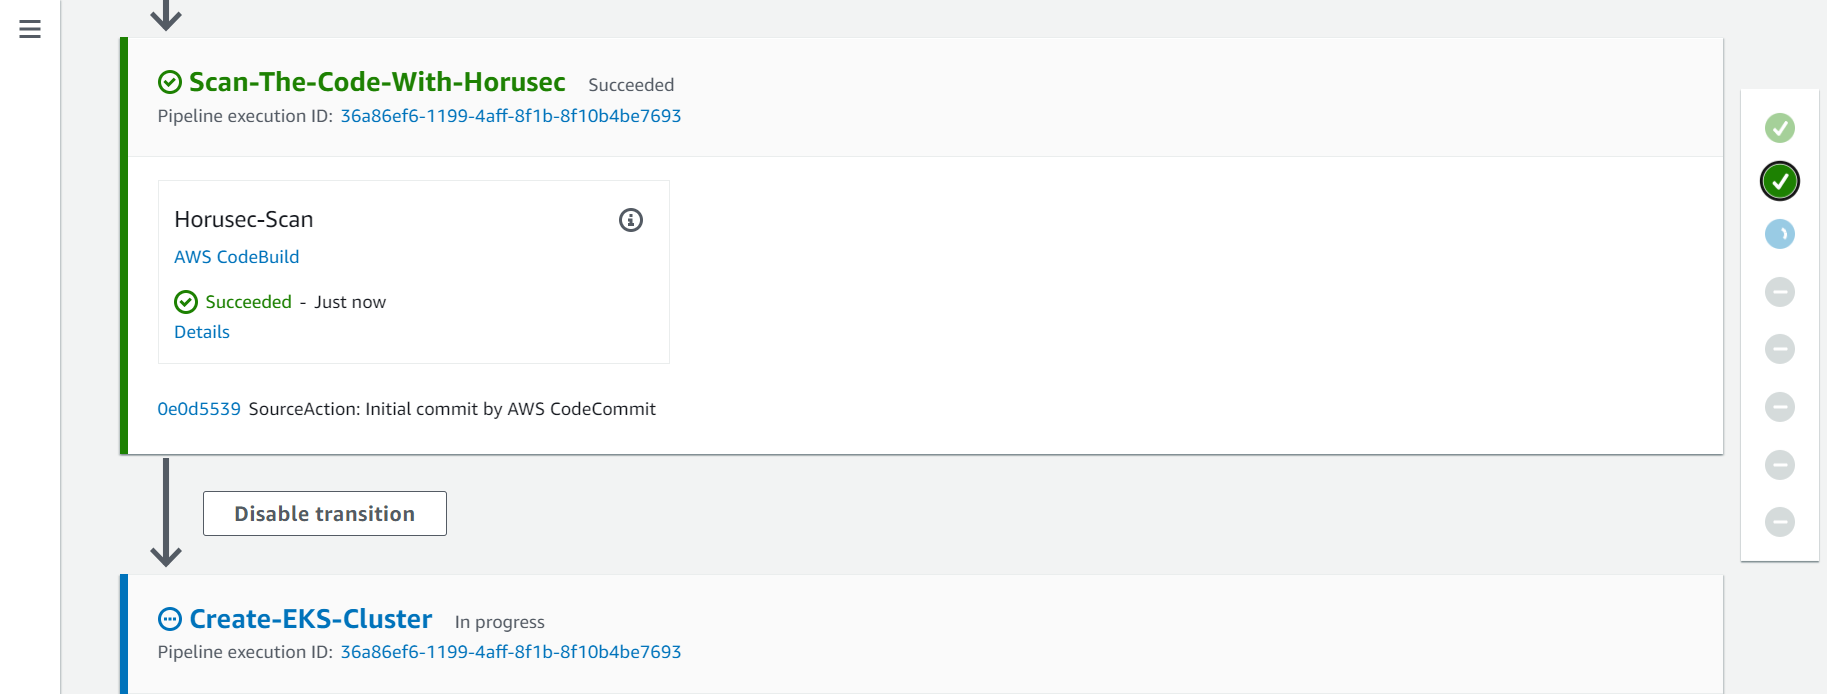
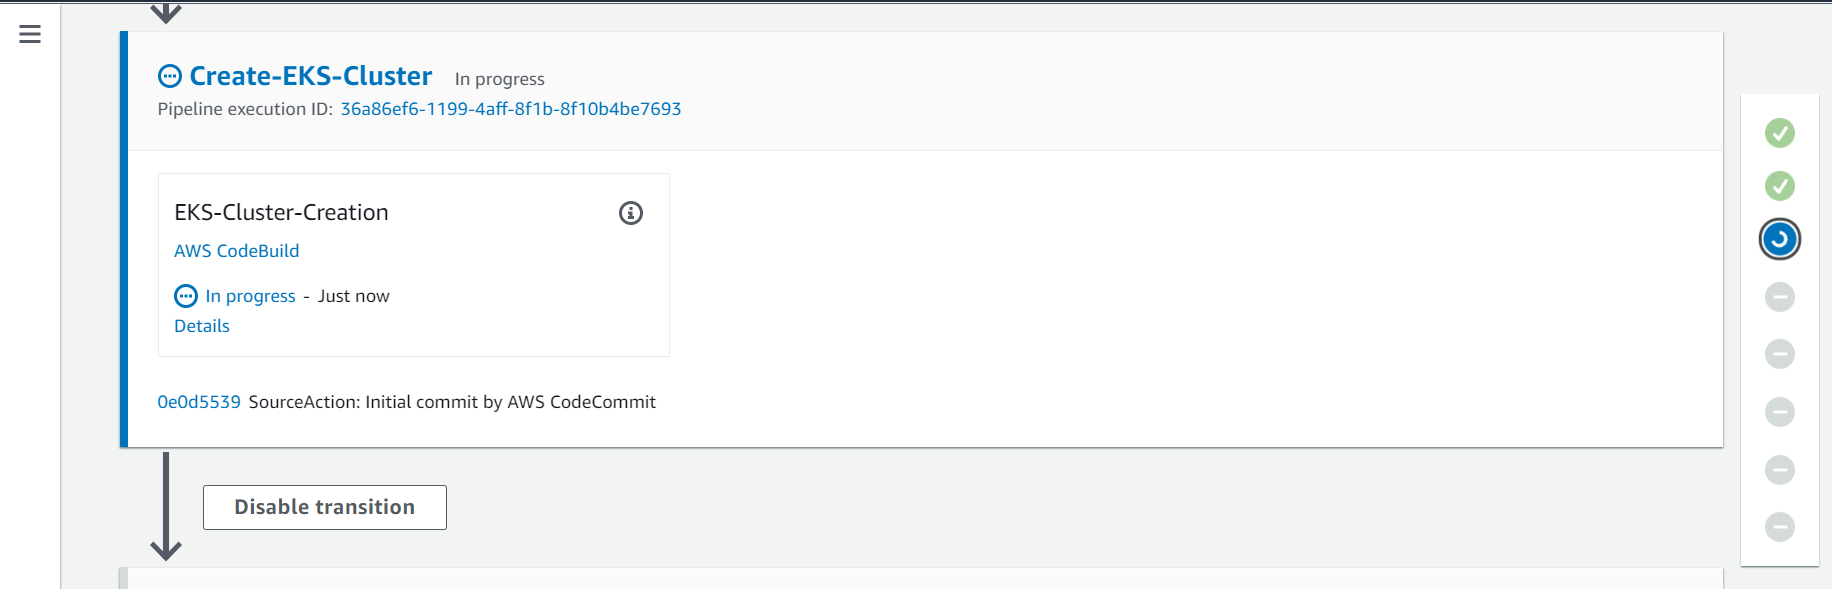
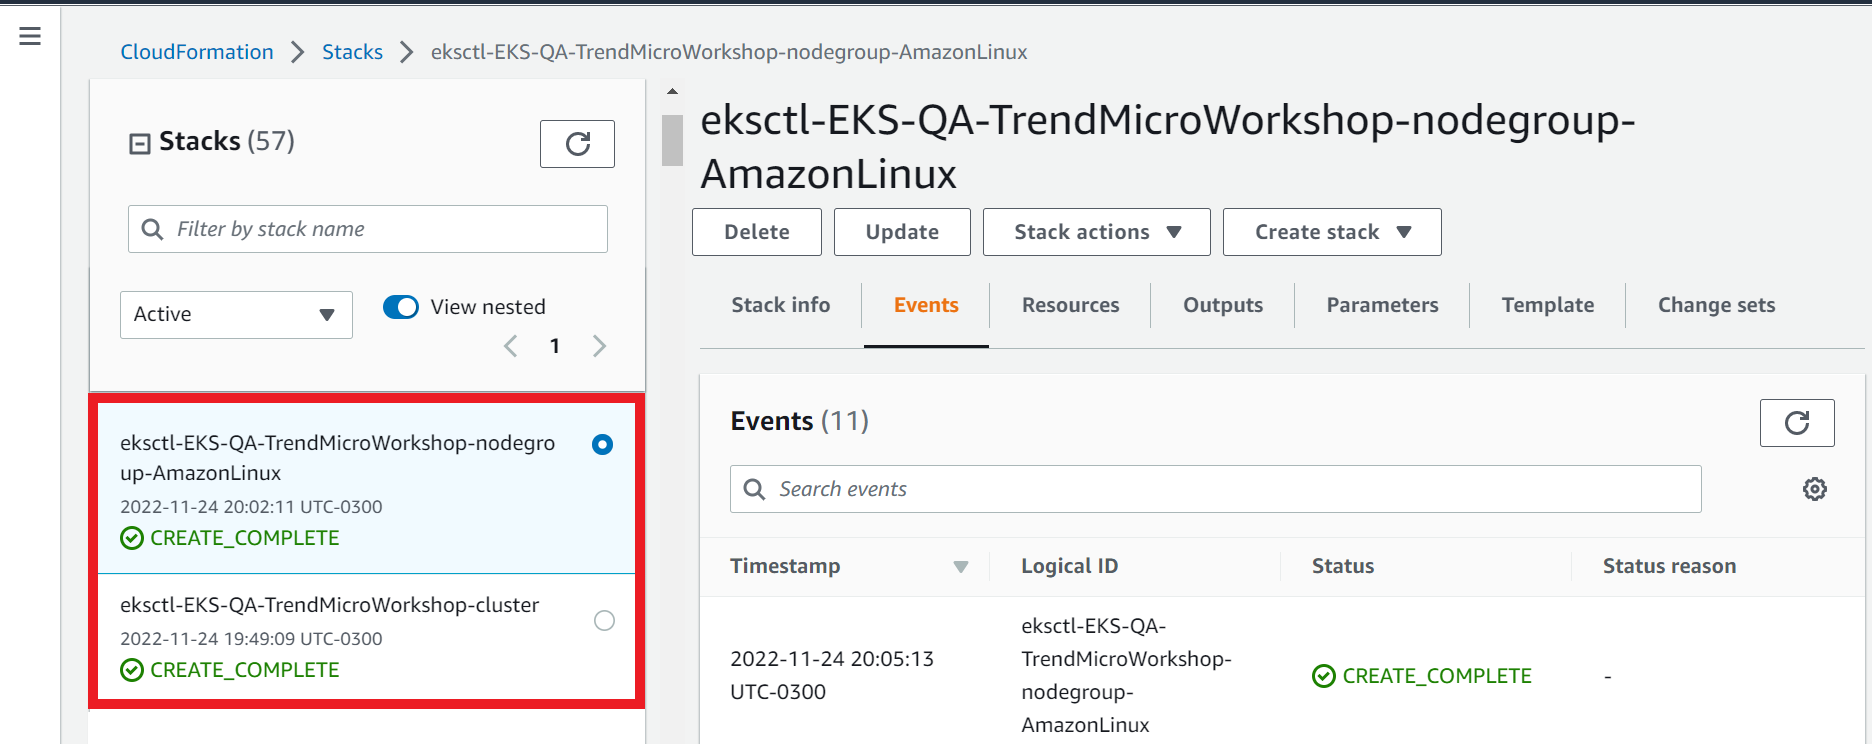
2.2. Third Action - Create-EKS-Cluster
On this action a AWS Elastic Kubernetes Service Cluster will be created.

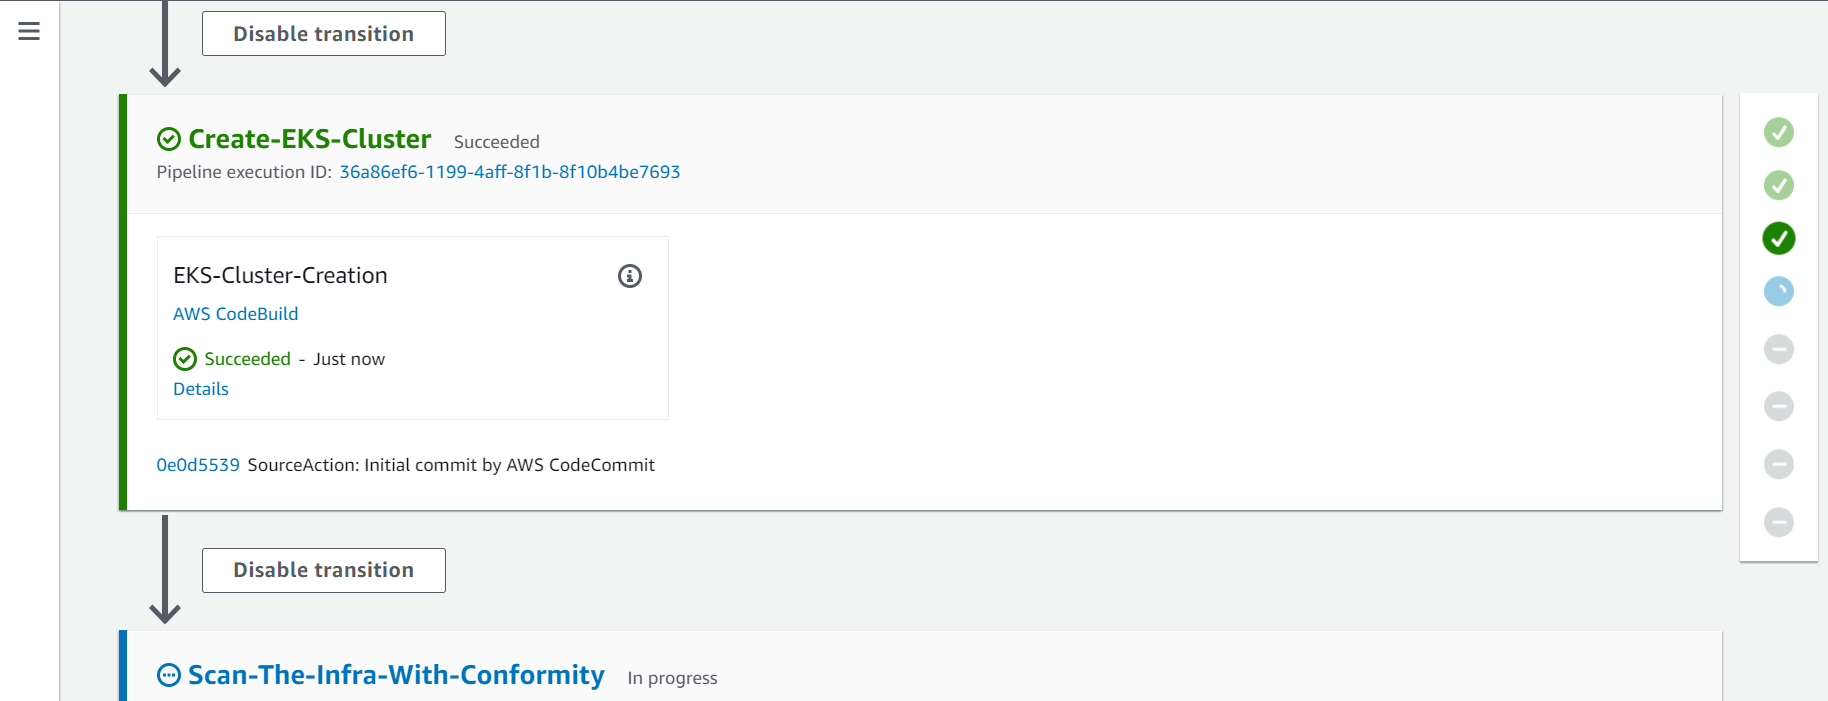
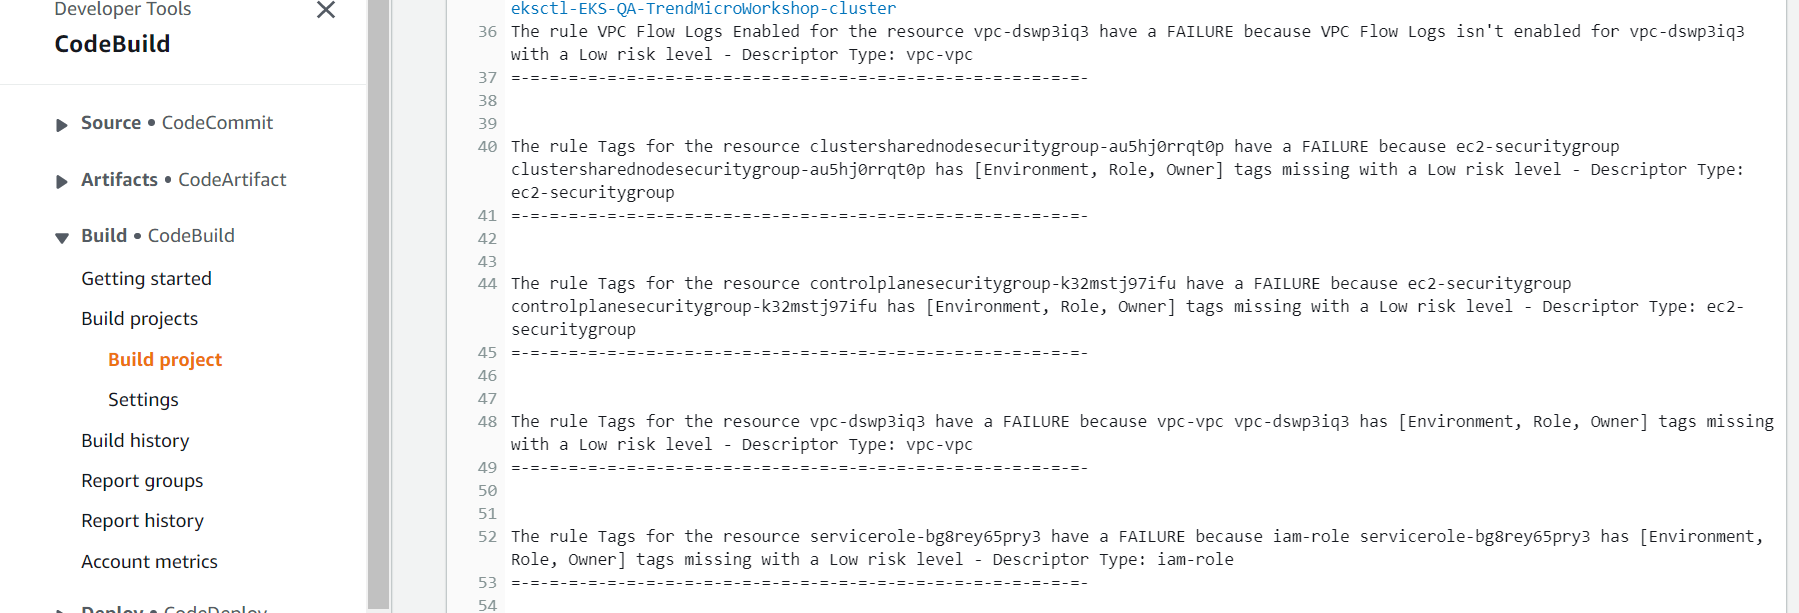
2.3. Fourth Action - Scan-The-Infra-With-Conformity
On this action Cloud One Conformity will scan the EKS Cloud Formation Template deployed to identify security and governance risks.
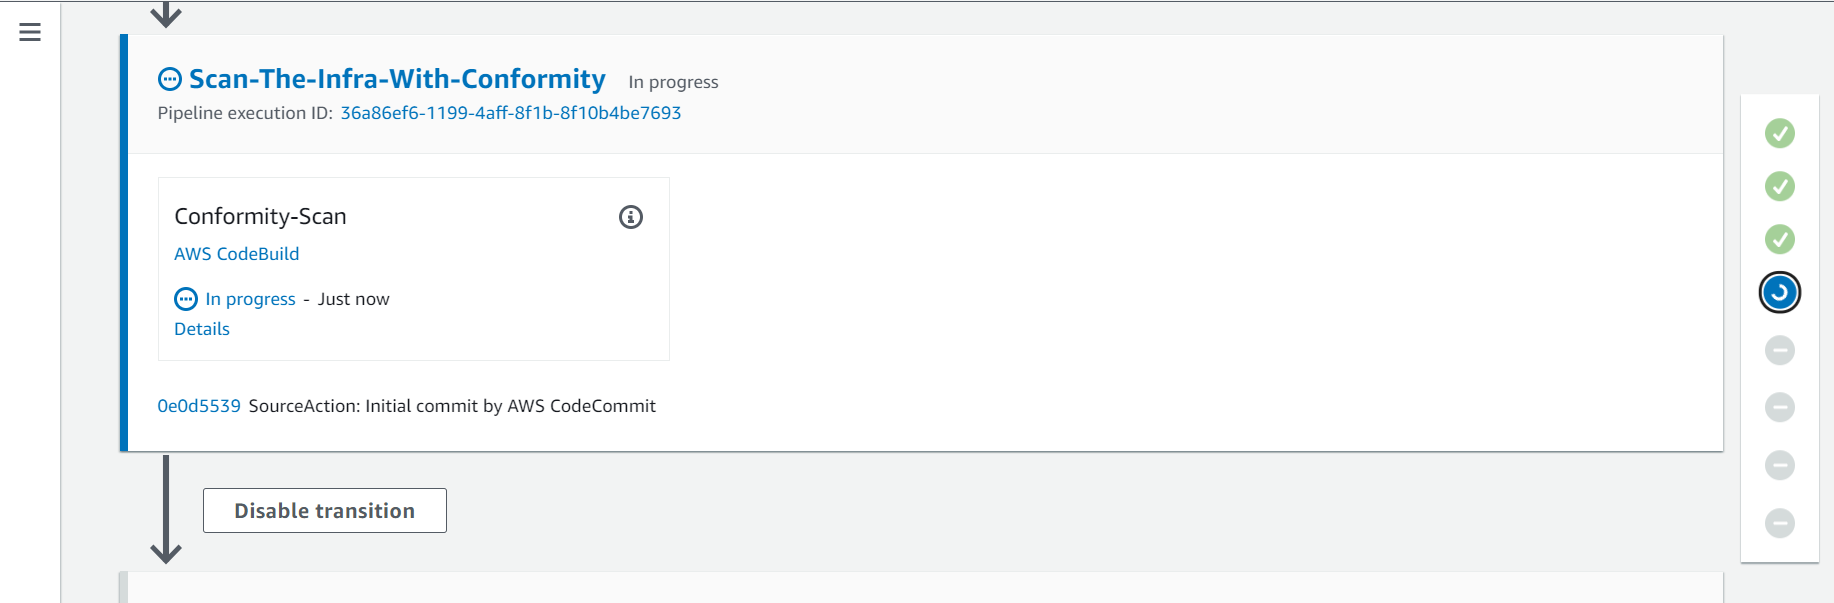
- Click on the Details button to see the log for this action and the Cloud One Conformity findings.
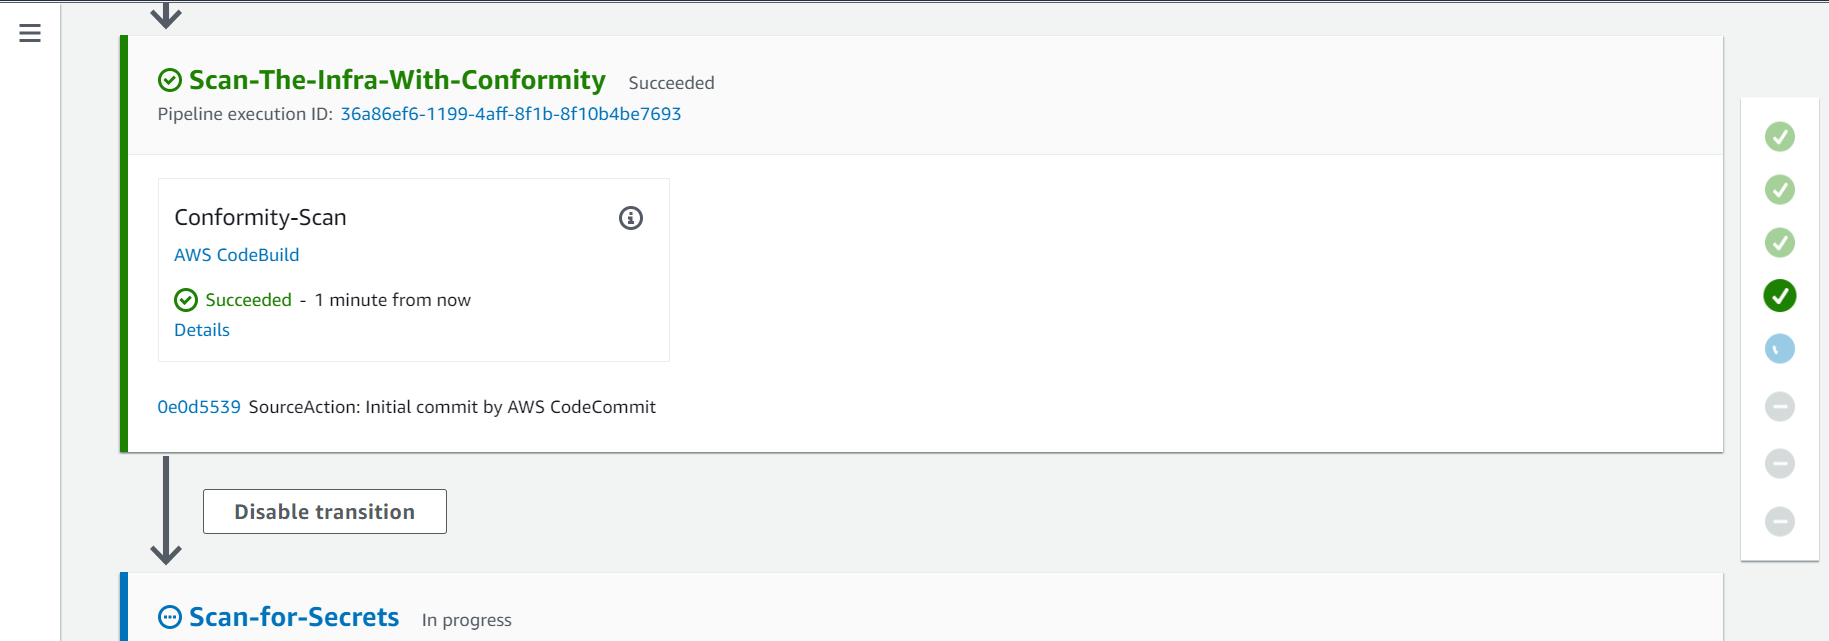
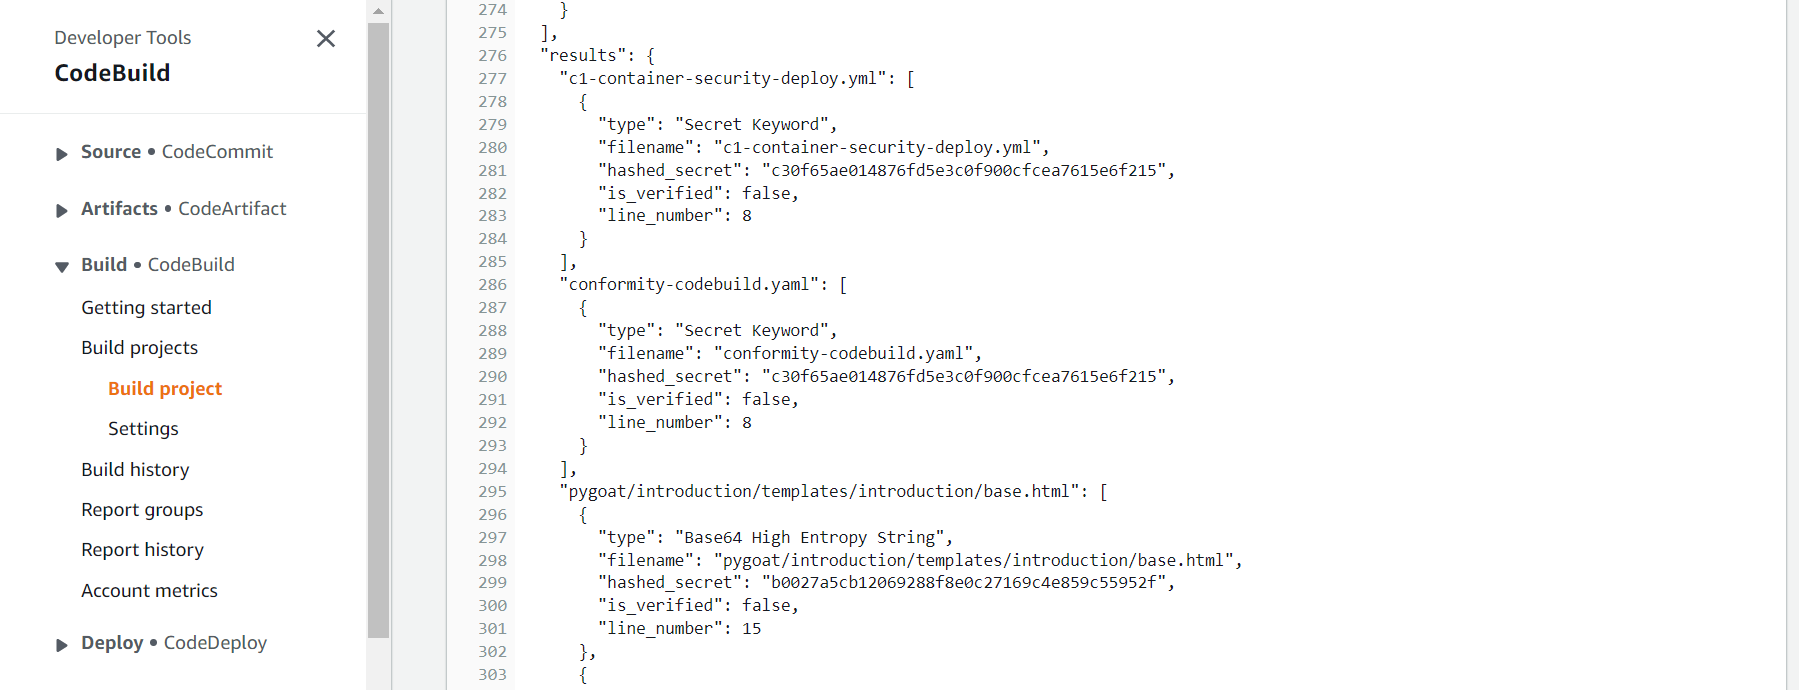
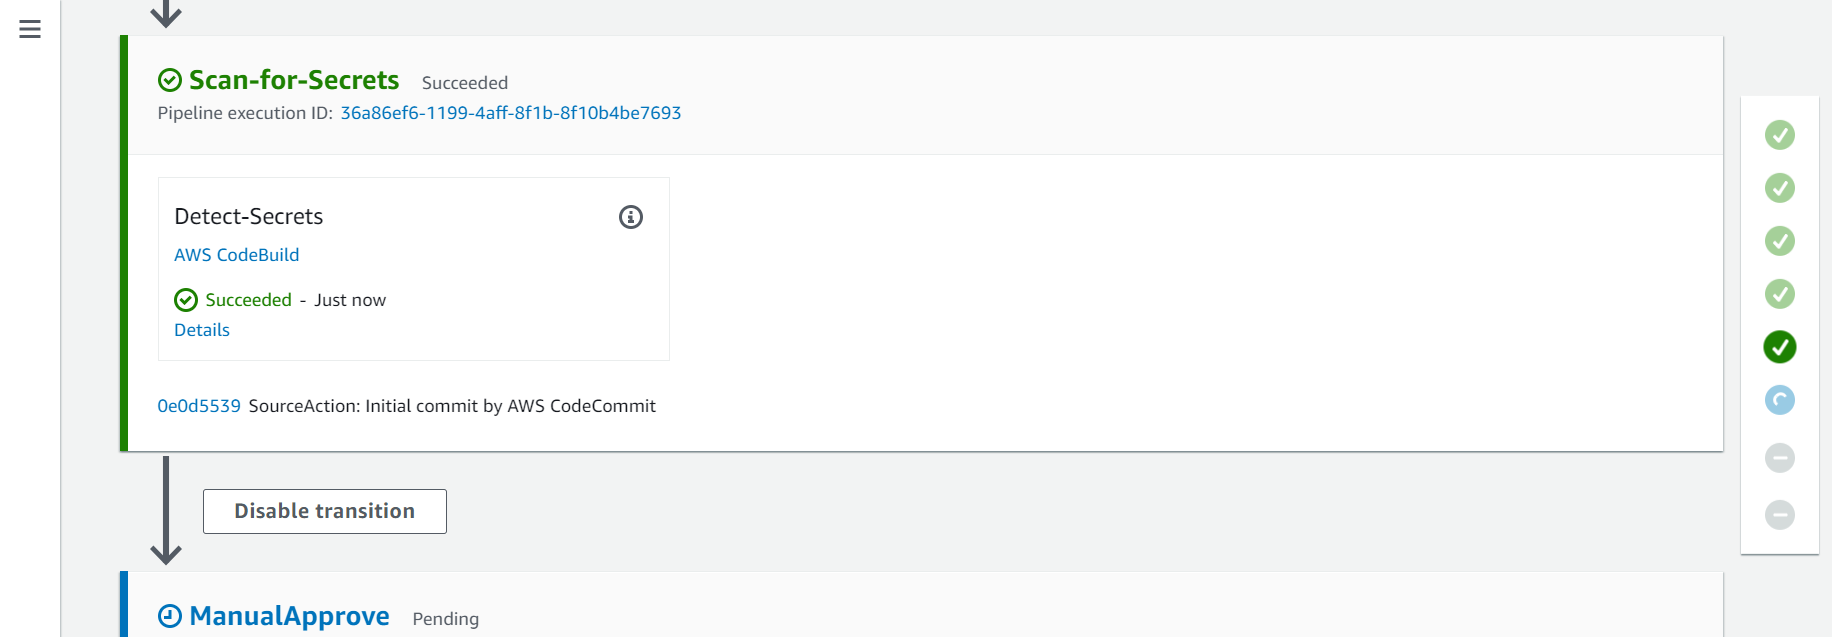
2.4. Fifith Action - Scan-for-Secrets
On this action the repository will be scanned by Detect Secrets to find any secrets in the repo.
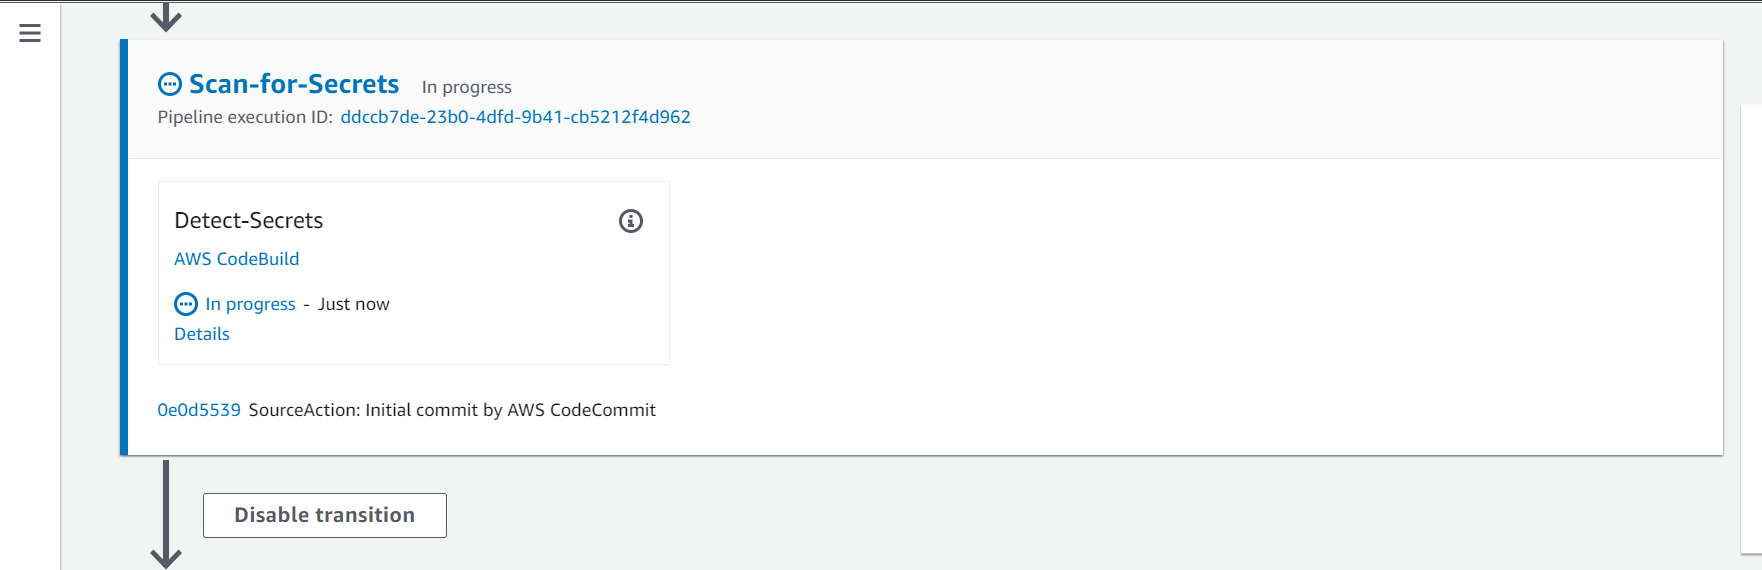
- Click on the Details button to see the log for this action and the Detect Secrets findings.
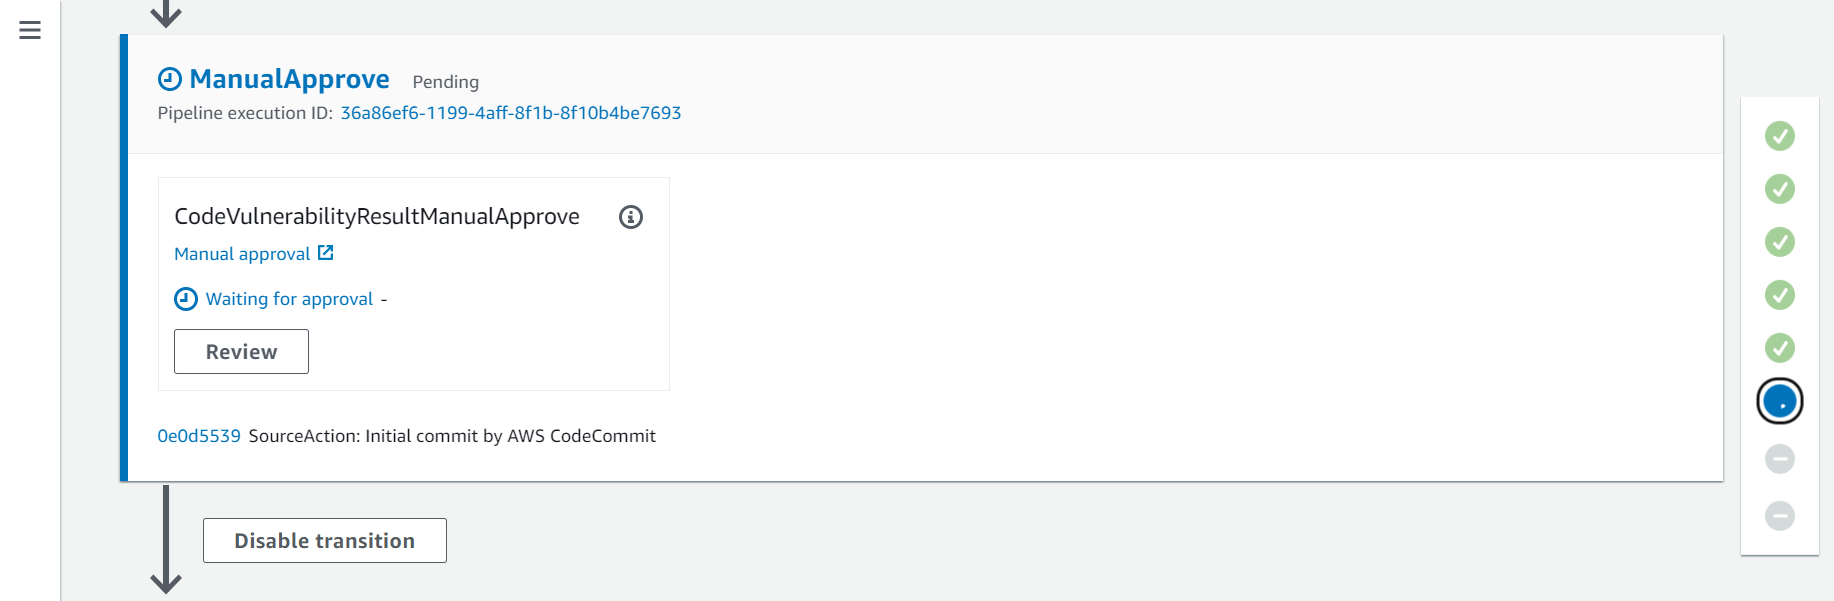
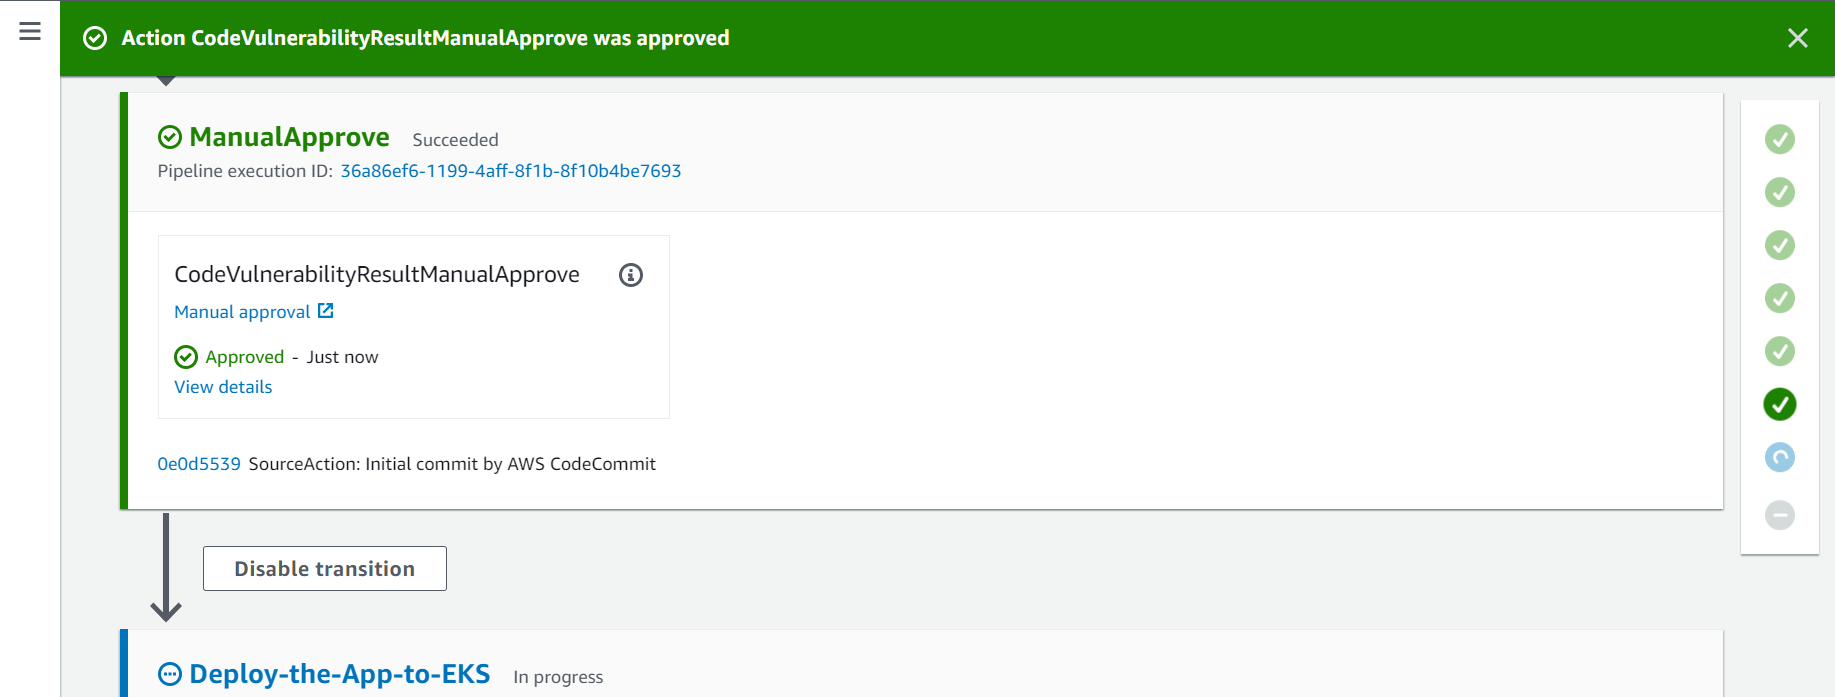
2.5. Sixth Action - ManualApprove
On this action you decide if the vulnerabilities found in the code and infrastructure are acceptable or not. And aprove or reject the changes. If you reject the changes the pipeline will stop the execution, accepting the changes and the pipeline will continue.
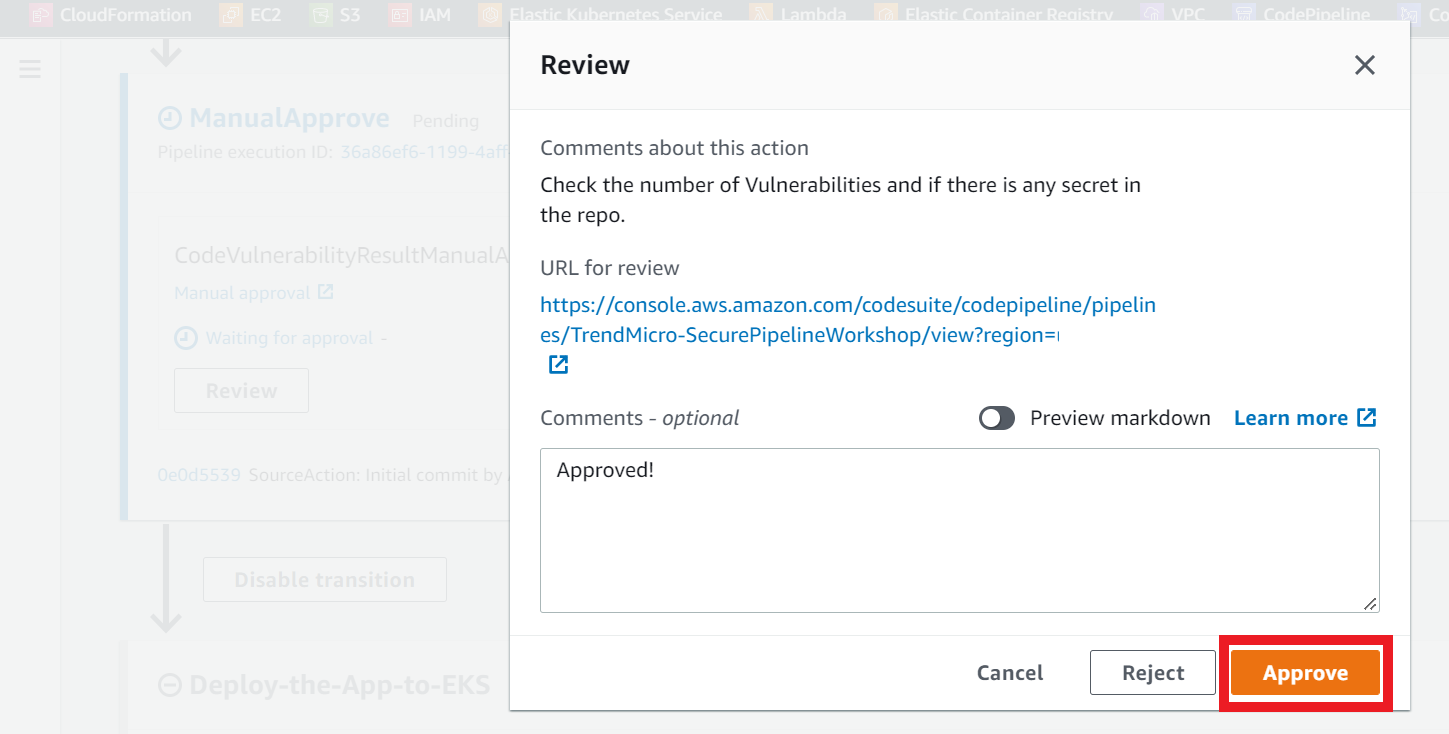
- Click on the Review button to approve or reject.
- Click on the Approve button to aprove the changes and move to the next Action.
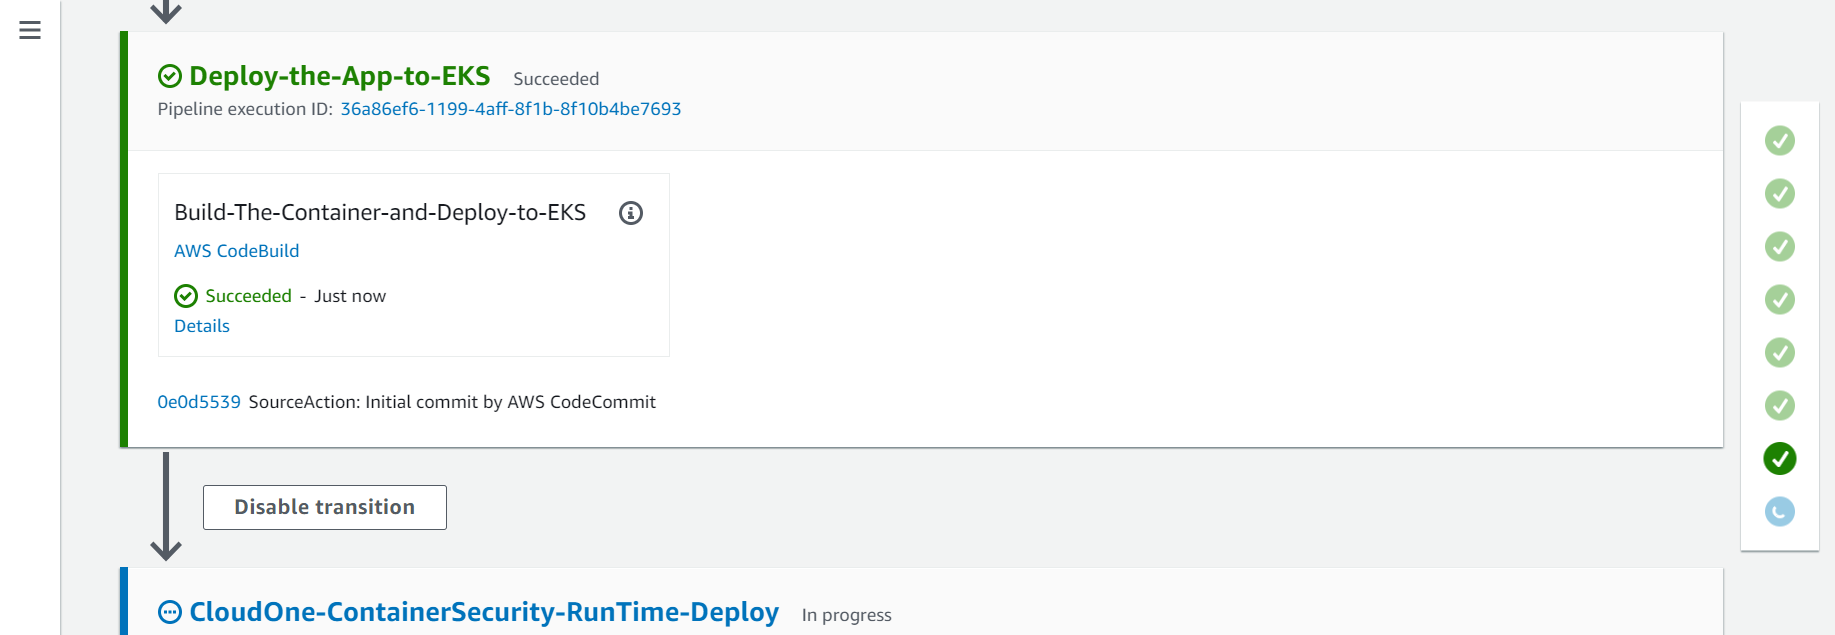
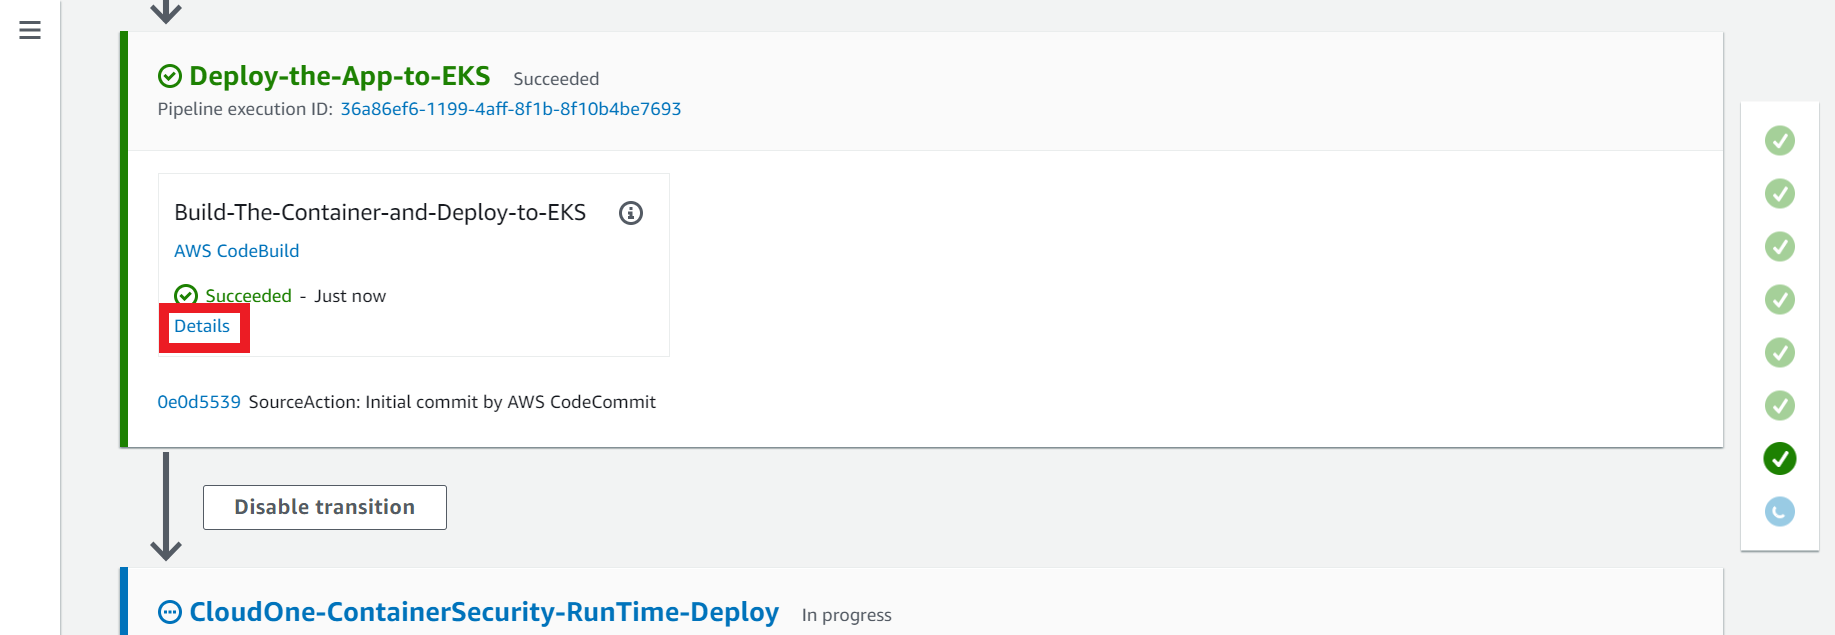
2.6. Seventh Action - Deploy-the-App-to-EKS
Sometimes this action could fail due to the maximum number of requests to Docker Hub has been reached. You can click on the Retry button that appears when an action fails.
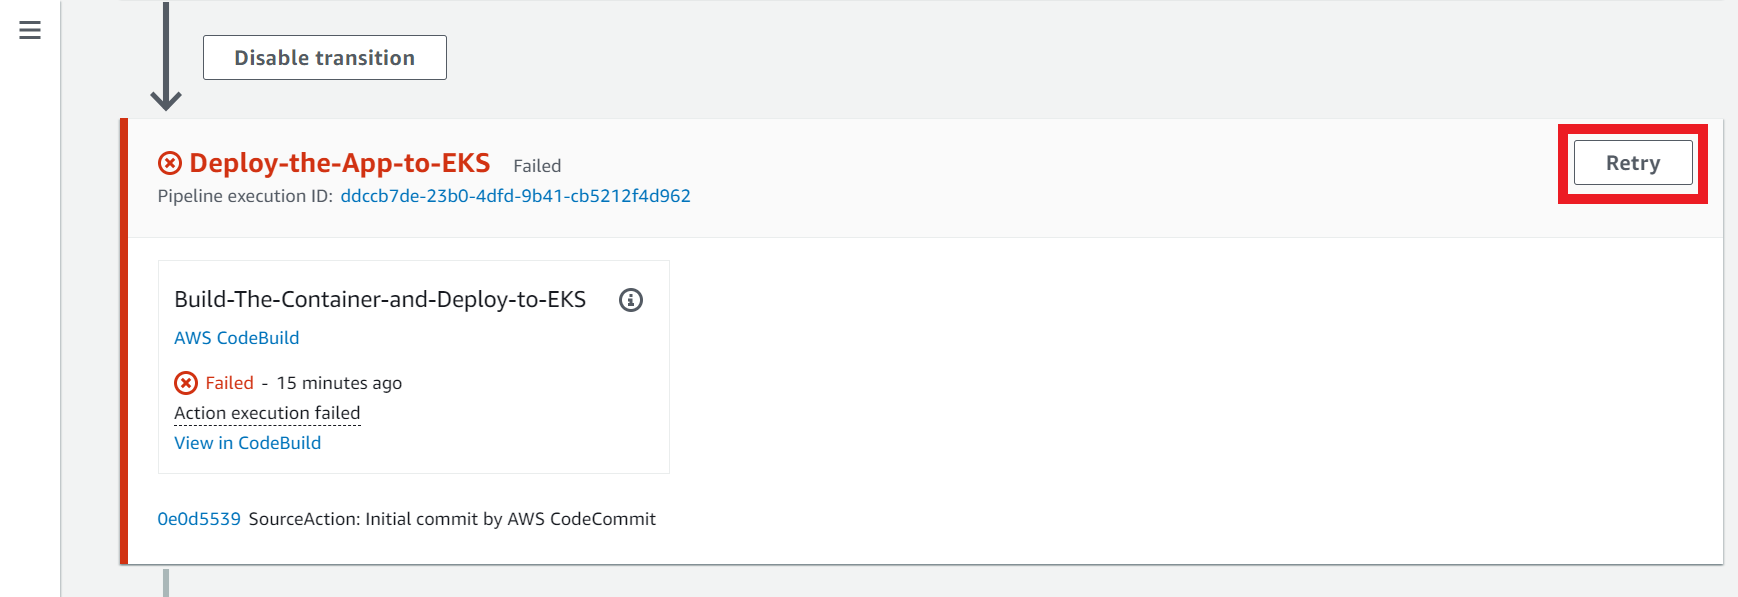
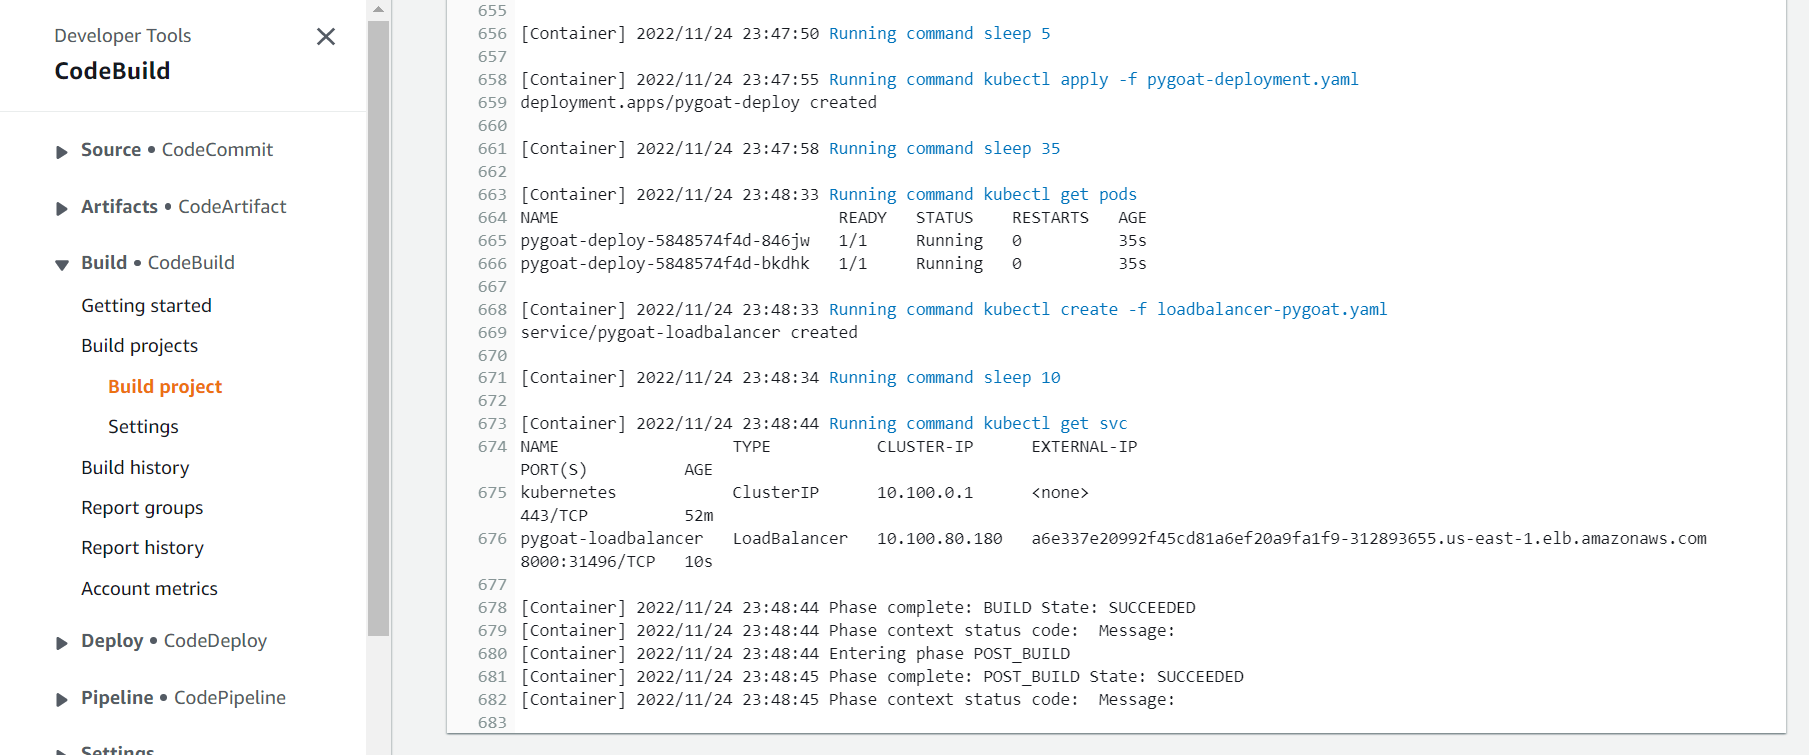
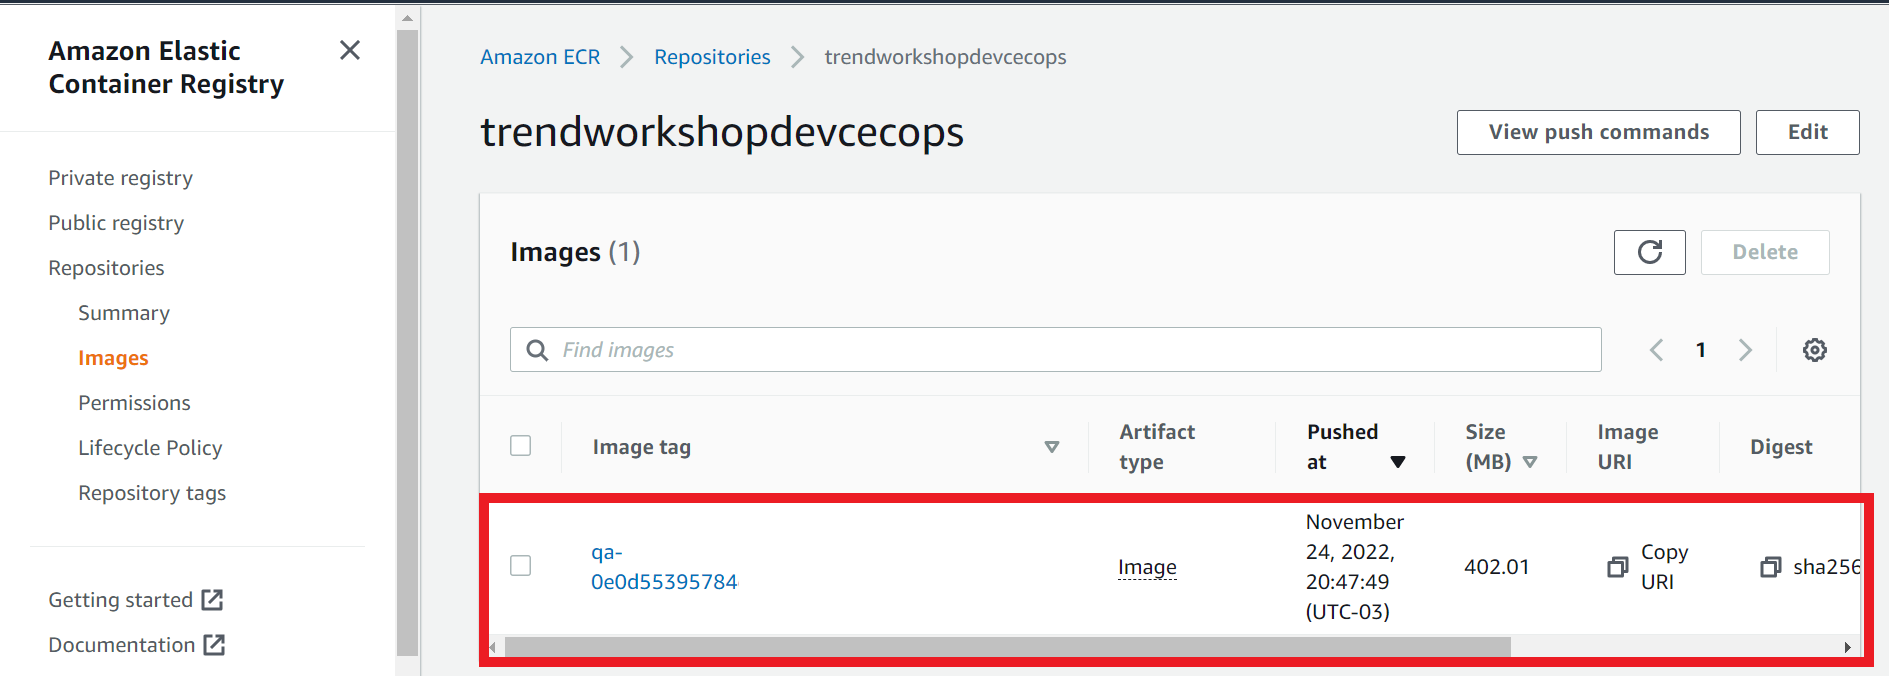
On this action it will build the docker image, push to the AWS ECR trendworkshopdevcecops repository we created previous on the workshop, deploy the container with the app to EKS and create the Load Balancer.
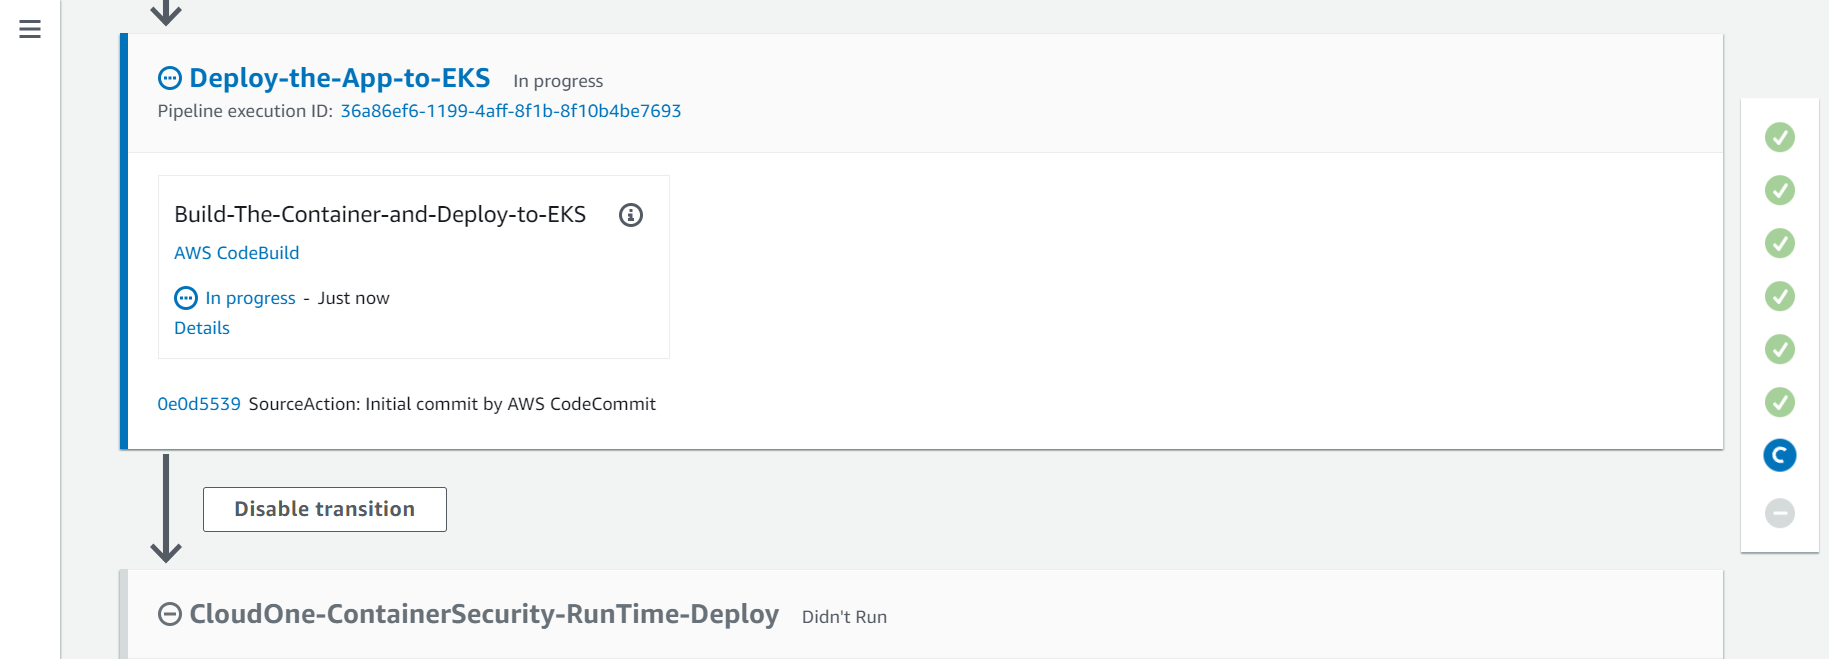
- Click on the Details button to see the logs.
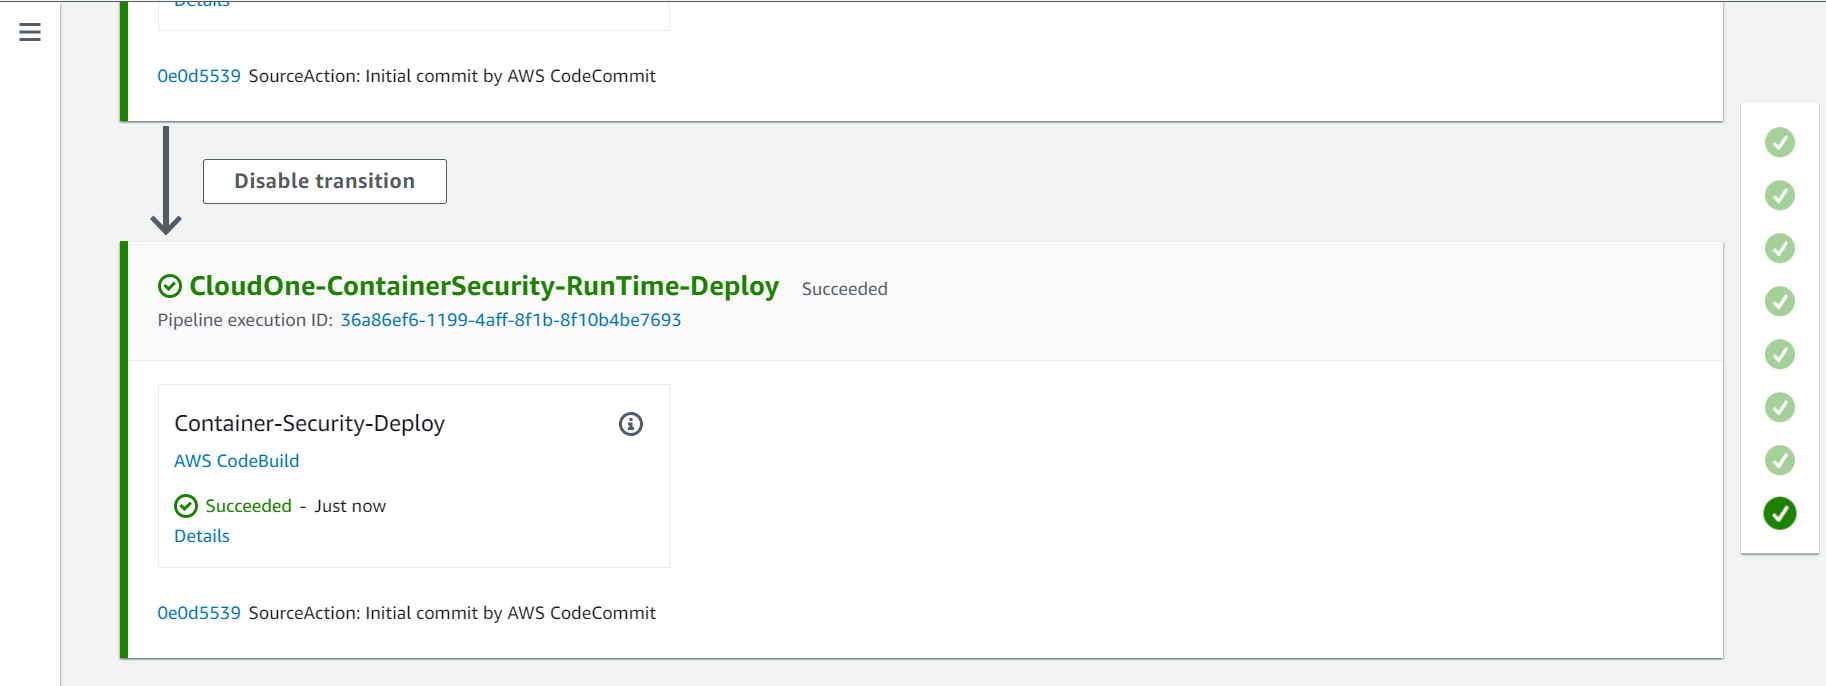
2.7. Eighth Action - CloudOne-ContainerSecurity-RunTime-Deploy
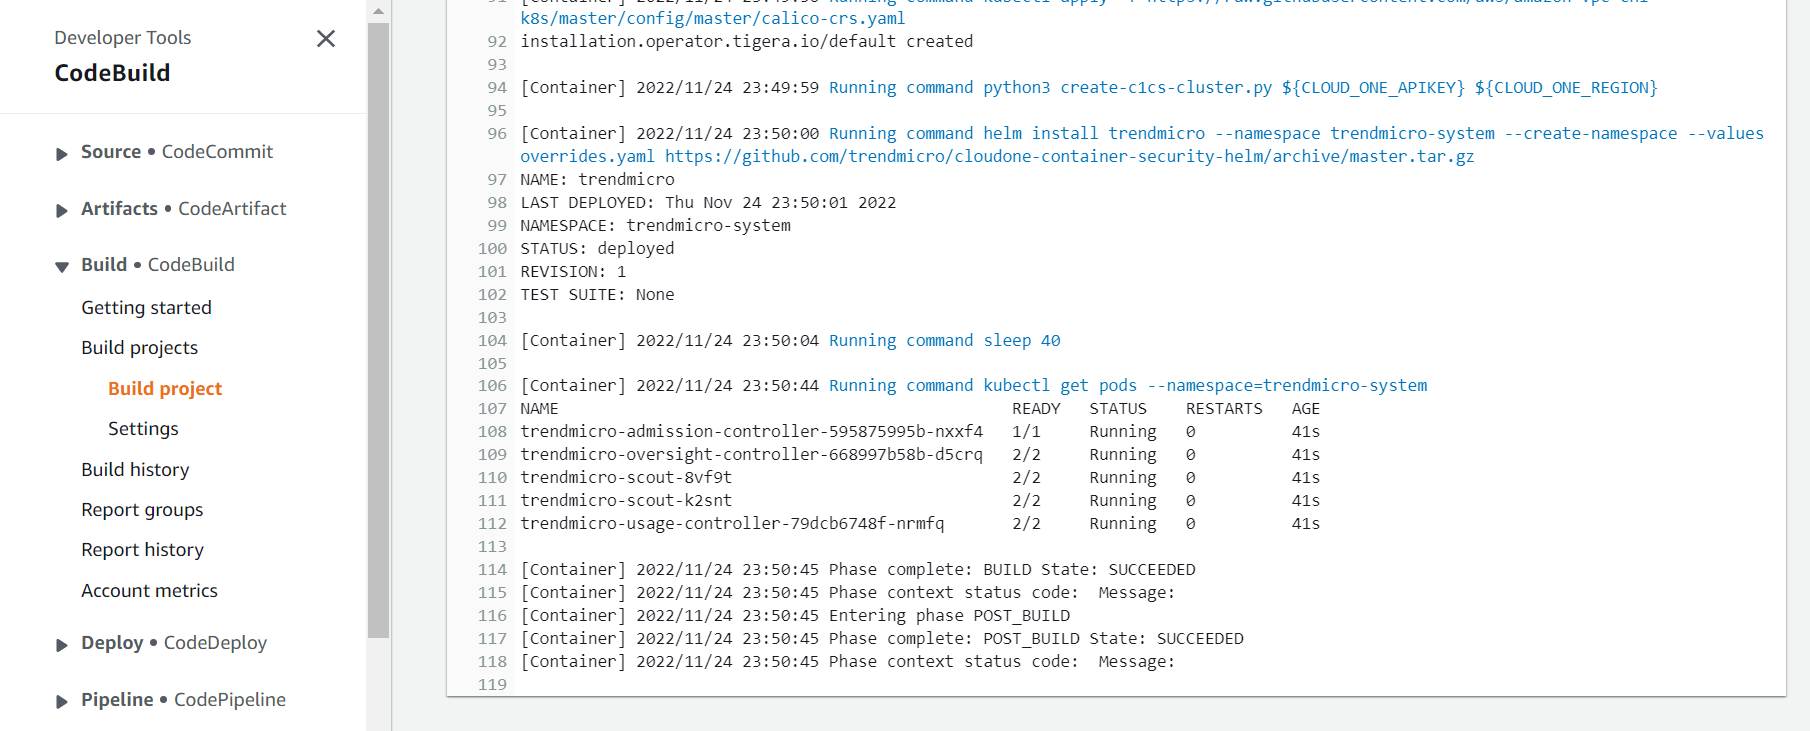
On this action will deploy the Cloud One Container Security Runtime to the EKS Cluster, create a Cluster on Container Security console and associate it with the policy TrendMicroDevSecOpsWorkshopPolicy that we created before.
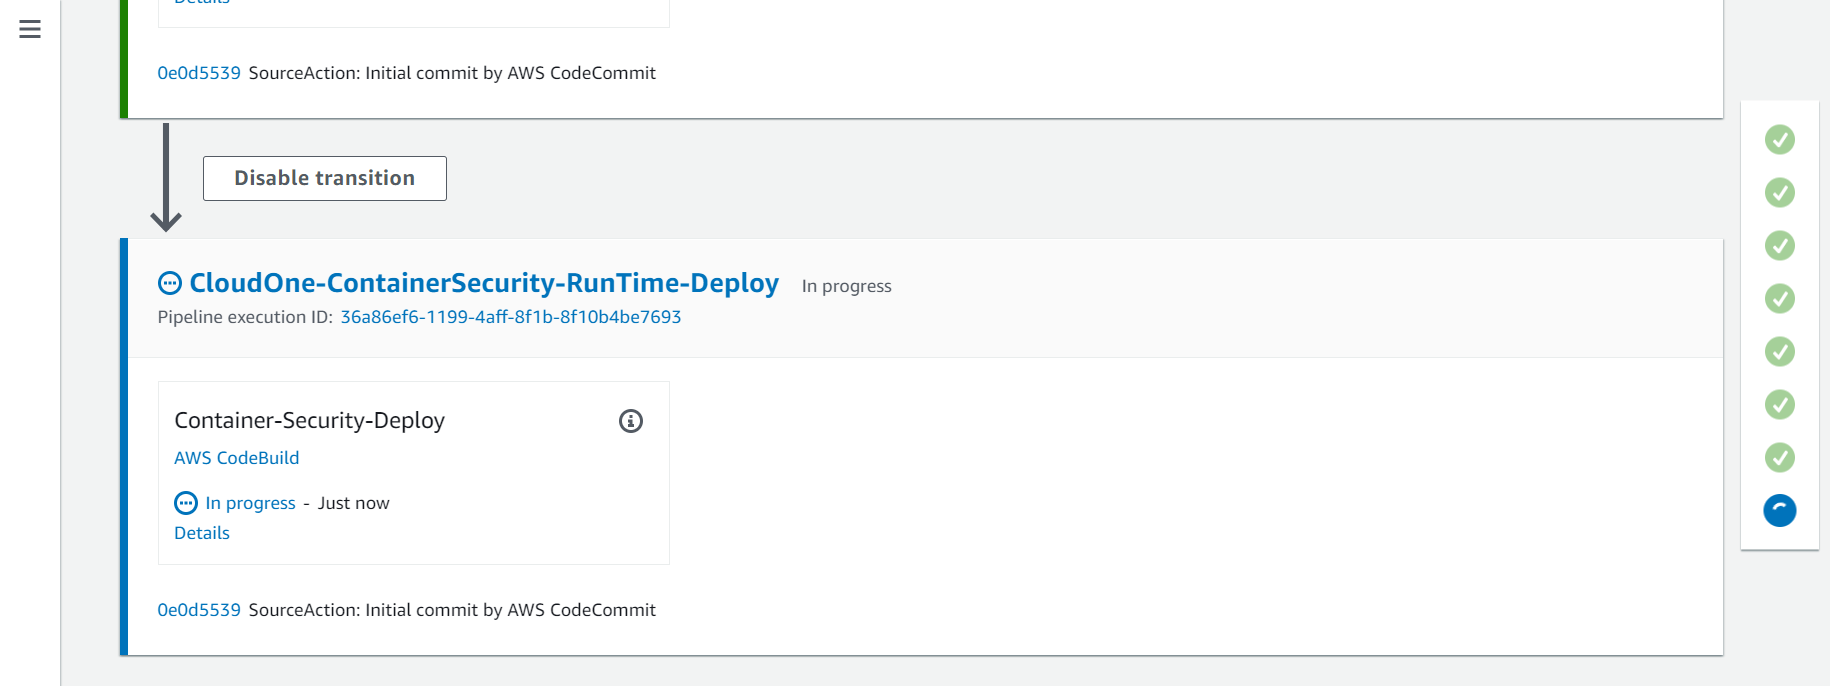
- Click on the Details button to see the logs.
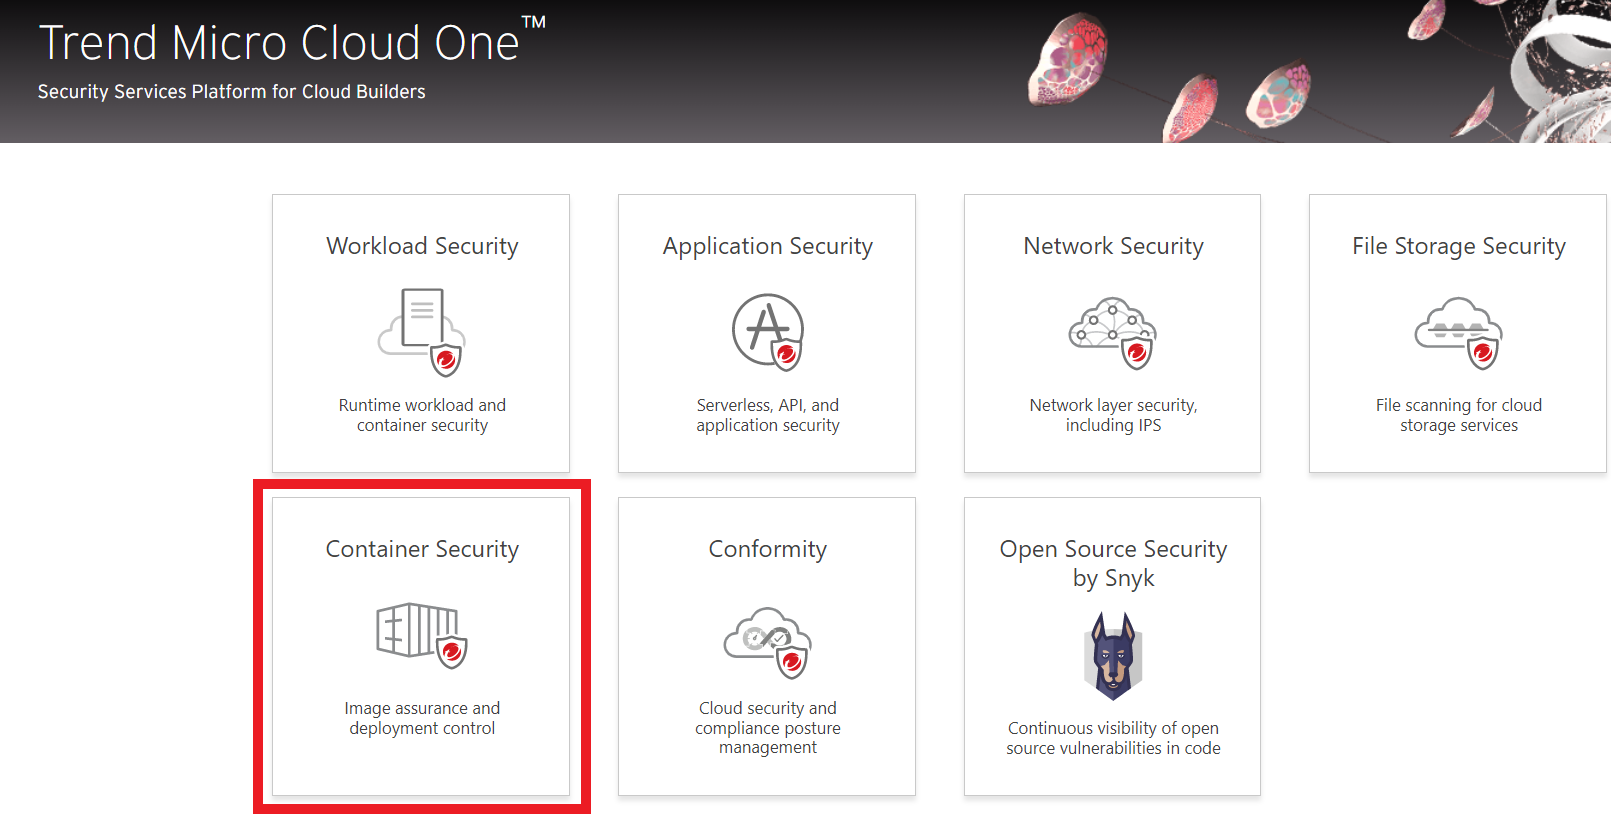
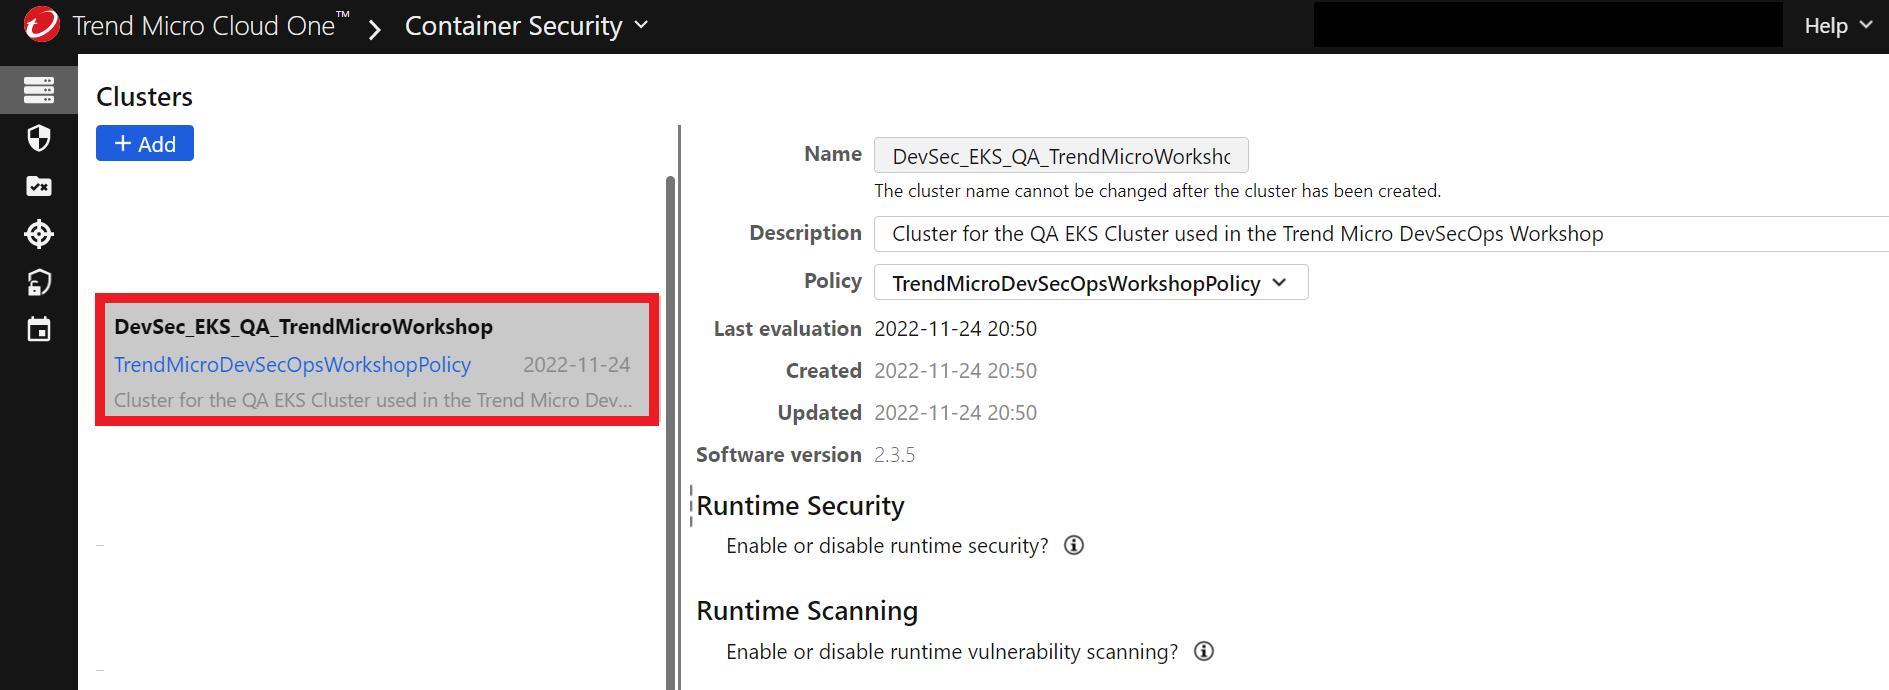
3. On the Cloud One Container Security console
- You will see that now you already have a Cluster created called DevSec_EKS_QA_TrendMicroWorkshop with the policy we created earlier in the step of Deploy Security Tools - Container Security on the Workshop.
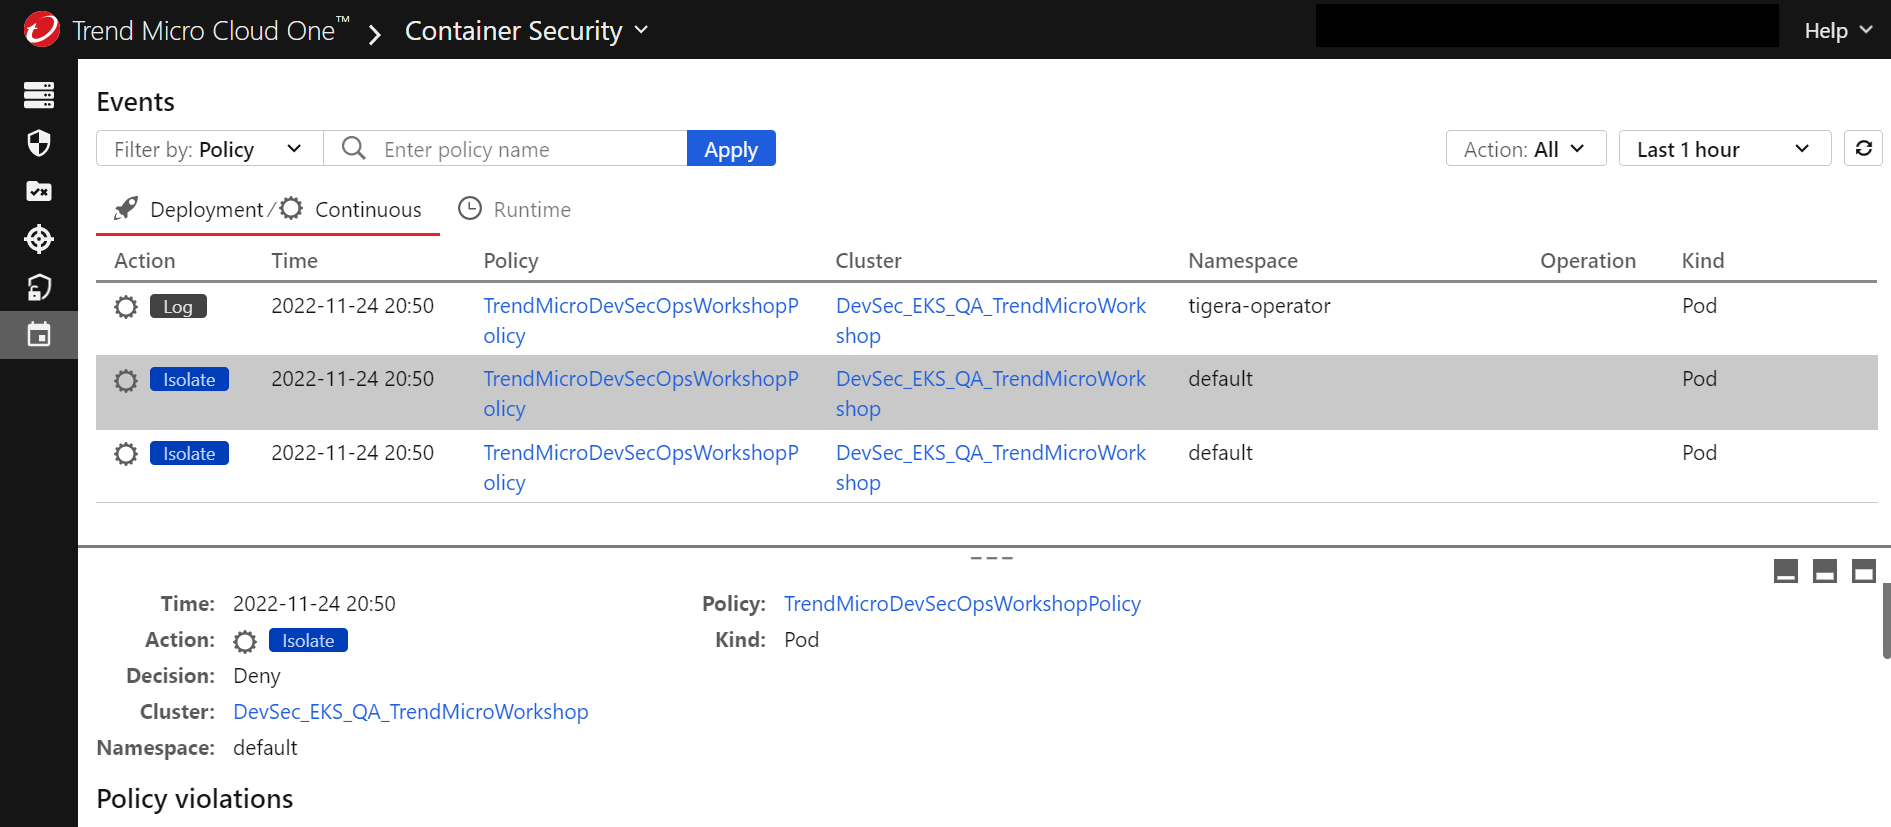
- If you go to the Events tab there will have some events about our newly deployement through the Pipeline. Our deployment has a Privileged Container, because of this the pod has been isolated.
3.1. Let’s try access the application
- On the Deploy-the-App-to-EKS Action click on Details
- On the bottom of the page will have the Application URL
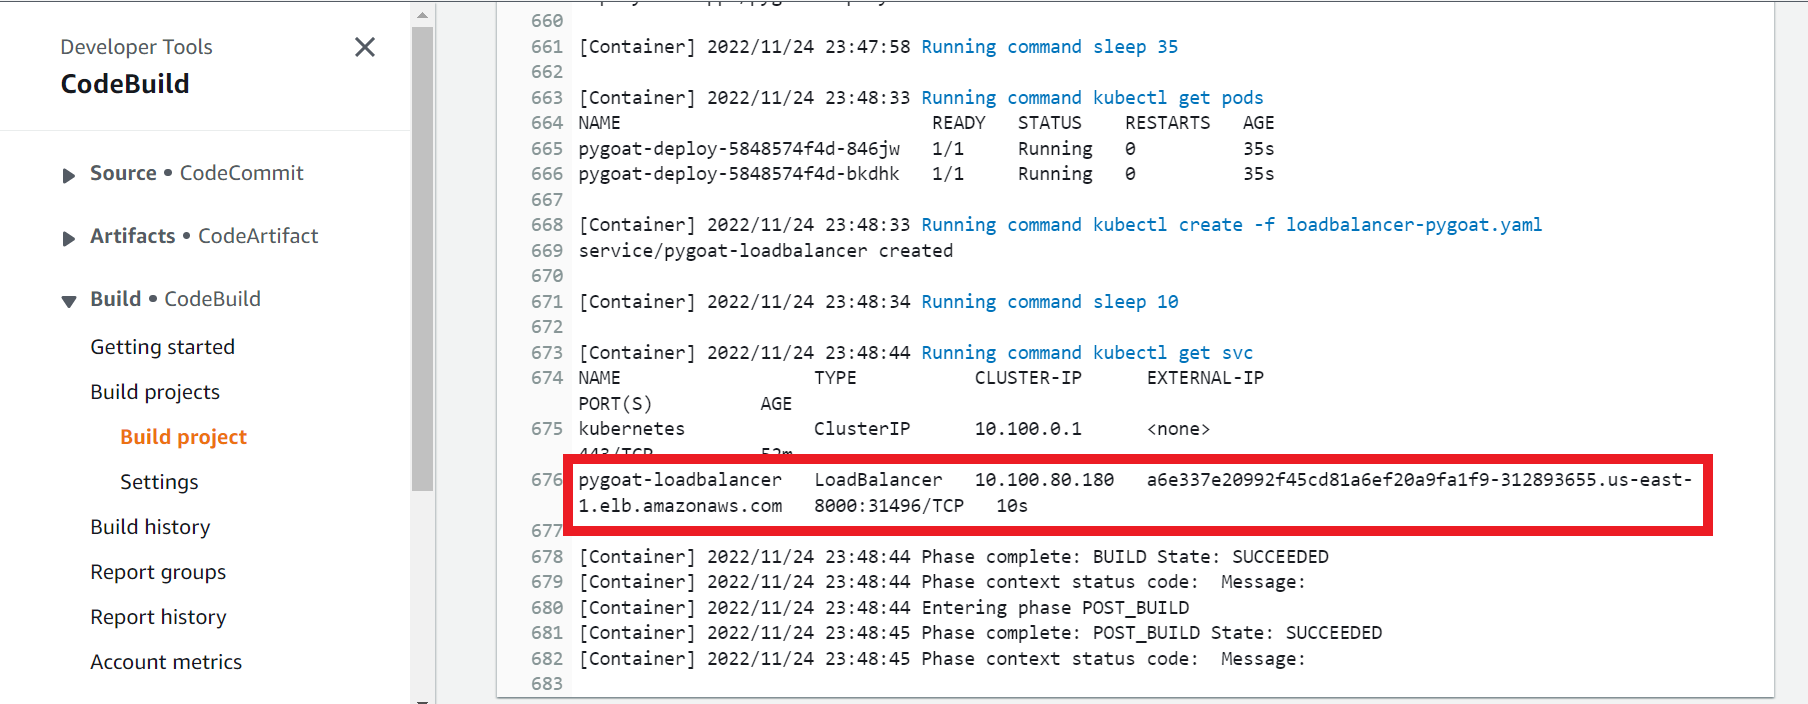
- Copy and paste on the browser
http://###:8000
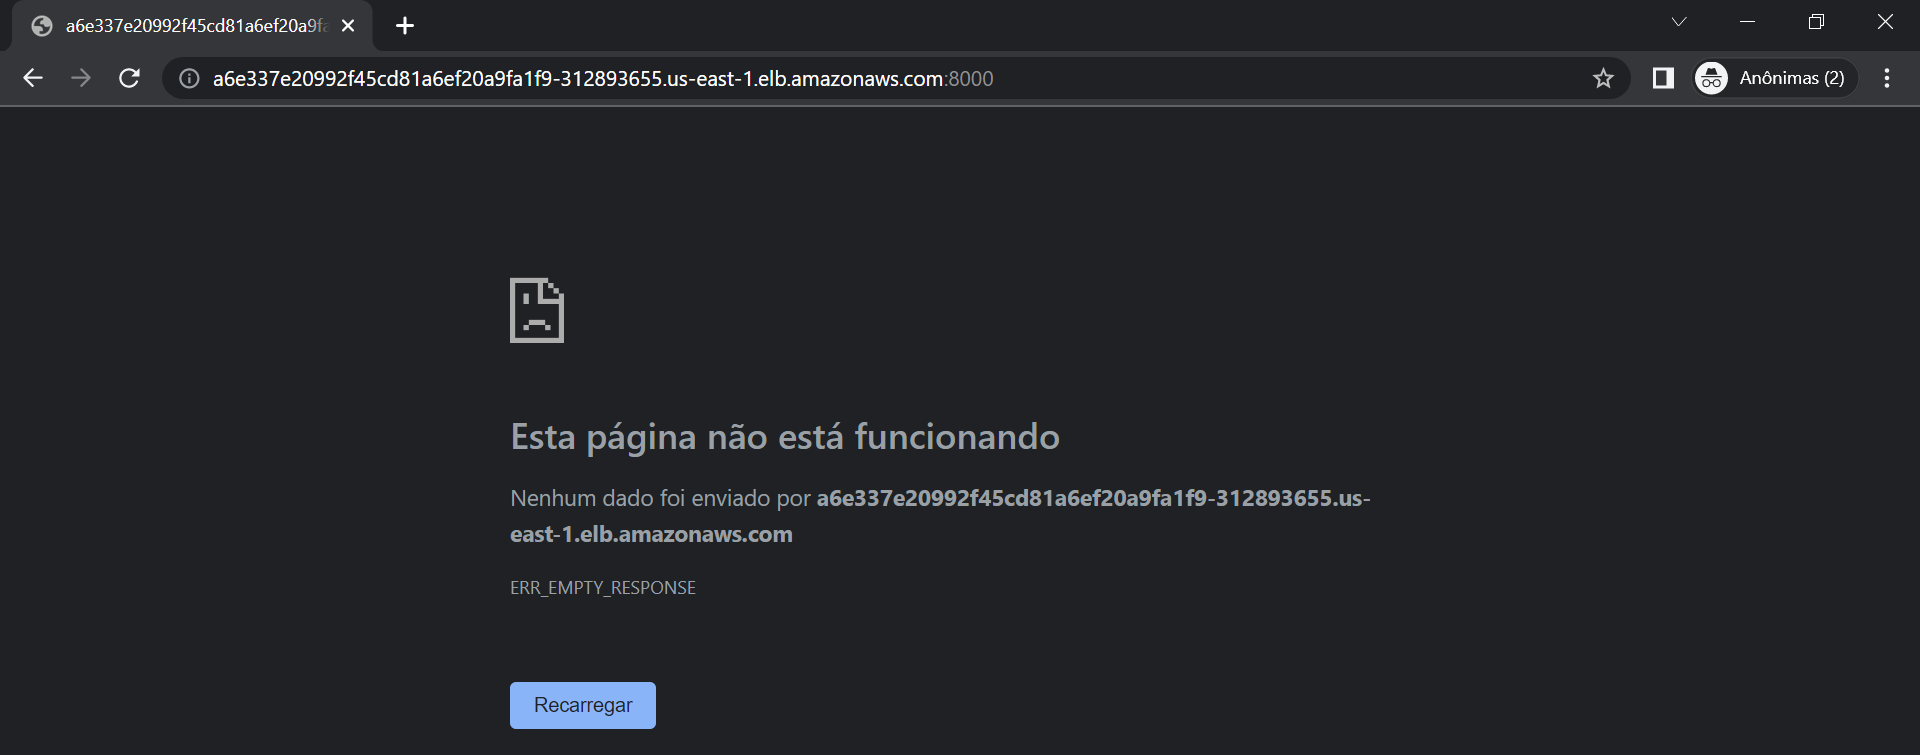
- You will not be able to access because the pods were isolated, because it was attempt to deploy a Privileged Container.