Deploy Stage
Now we will use a wide variety of tools and methodologies to actually test and secure our application environment:
The application that we will use in our company will be this one:
Deploy the infrastructure that will host our application on AWS EKS (Elastic Kubernetes Service)
For this, we are going to use eksctl. EKSCTL is a simple CLI tool for creating clusters on AWS Elastic Kubernetes Service (EKS): eksctl Github repo
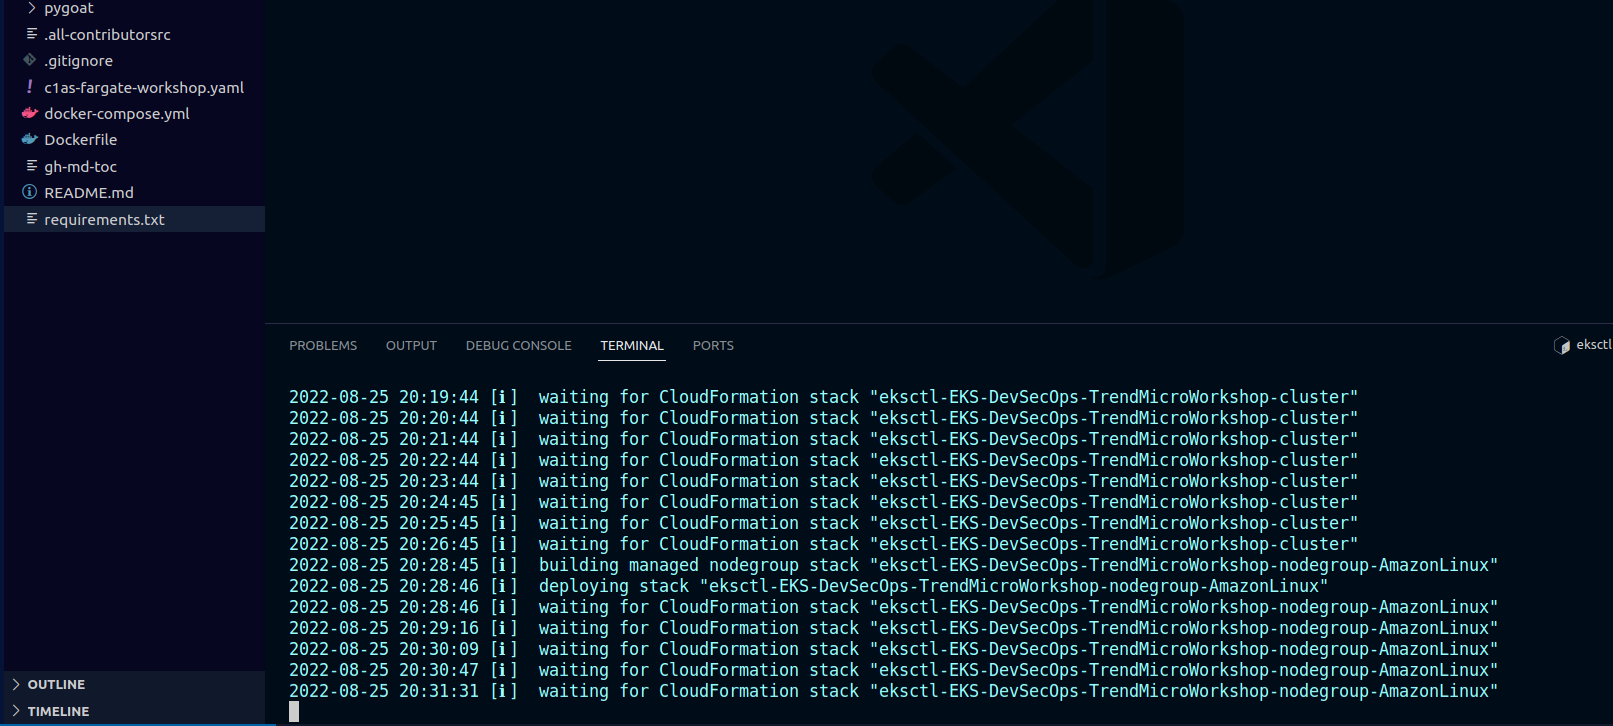
eksctl will create two Stacks for us, the first is the EKS Control Plane and the second Stack is for the NodeGroup
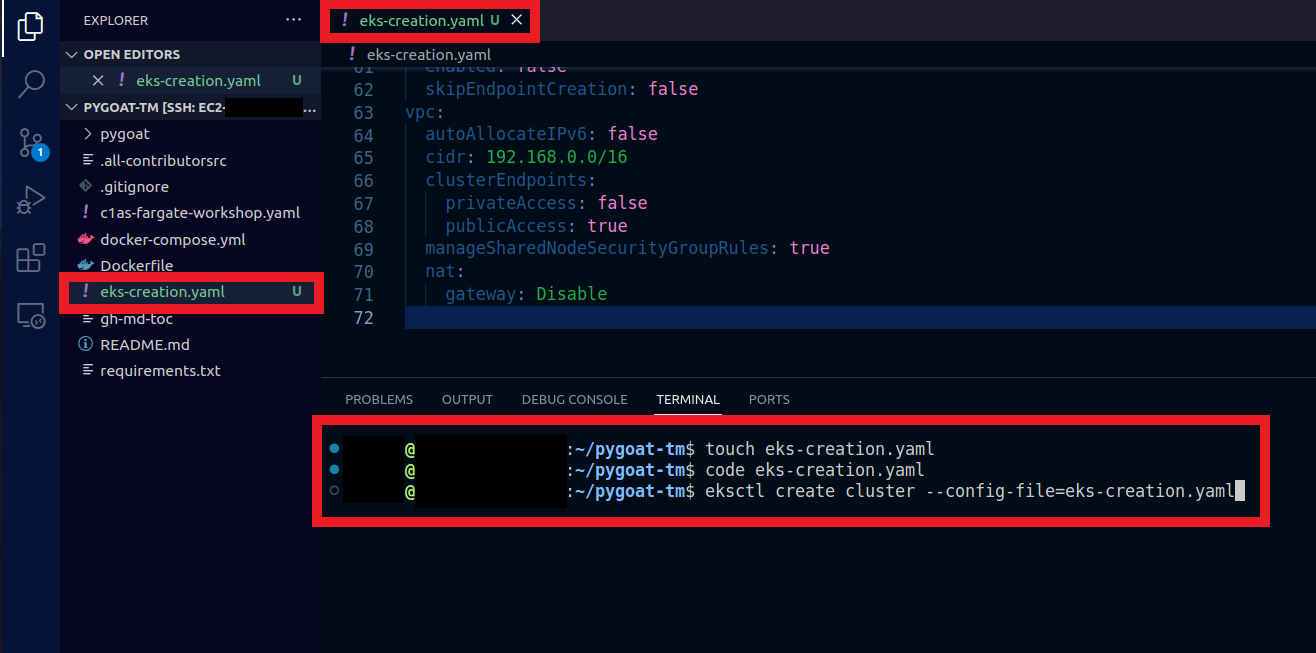
1. In the terminal create the configuration file so that we can create our cluster control plane and our node group in EKS using eksctl
- In the terminal, type the command
touch eks-creation.yaml - In the left column where it shows the files, double click on the file eks-creation.yaml
- Or type the command
code eks-creation.yamlto open the file
And paste the following:
apiVersion: eksctl.io/v1alpha5
availabilityZones:
- us-east-1b
- us-east-1a
cloudWatch:
  clusterLogging: {}
iam:
  vpcResourceControllerPolicy: true
  withOIDC: false
kind: ClusterConfig
kubernetesNetworkConfig:
  ipFamily: IPv4
managedNodeGroups:
- amiFamily: AmazonLinux2
  desiredCapacity: 2
  disableIMDSv1: false
  disablePodIMDS: false
  iam:
    withAddonPolicies:
      albIngress: false
      appMesh: false
      appMeshPreview: false
      autoScaler: false
      awsLoadBalancerController: false
      certManager: false
      cloudWatch: false
      ebs: false
      efs: false
      externalDNS: false
      fsx: false
      imageBuilder: false
      xRay: false
  instanceSelector: {}
  instanceType: t3.medium
  labels:
    alpha.eksctl.io/cluster-name: EKS-DevSecOps-TrendMicroWorkshop
    alpha.eksctl.io/nodegroup-name: AmazonLinux
  maxSize: 3
  minSize: 2
  name: AmazonLinux
  privateNetworking: false
  releaseVersion: ""
  securityGroups:
    withLocal: null
    withShared: null
  ssh:
    allow: false
    publicKeyPath: ""
  tags:
    alpha.eksctl.io/nodegroup-name: AmazonLinux
    alpha.eksctl.io/nodegroup-type: managed
  volumeIOPS: 3000
  volumeSize: 80
  volumeThroughput: 125
  volumeType: gp3
metadata:
  name: EKS-DevSecOps-TrendMicroWorkshop
  region: us-east-1
  version: "1.22"
privateCluster:
  enabled: false
  skipEndpointCreation: false
vpc:
  autoAllocateIPv6: false
  cidr: 192.168.0.0/16
  clusterEndpoints:
    privateAccess: false
    publicAccess: true
  manageSharedNodeSecurityGroupRules: true
  nat:
    gateway: Disable
- Type the command to create the Cluster and Node Group
eksctl create cluster --config-file=eks-creation.yaml
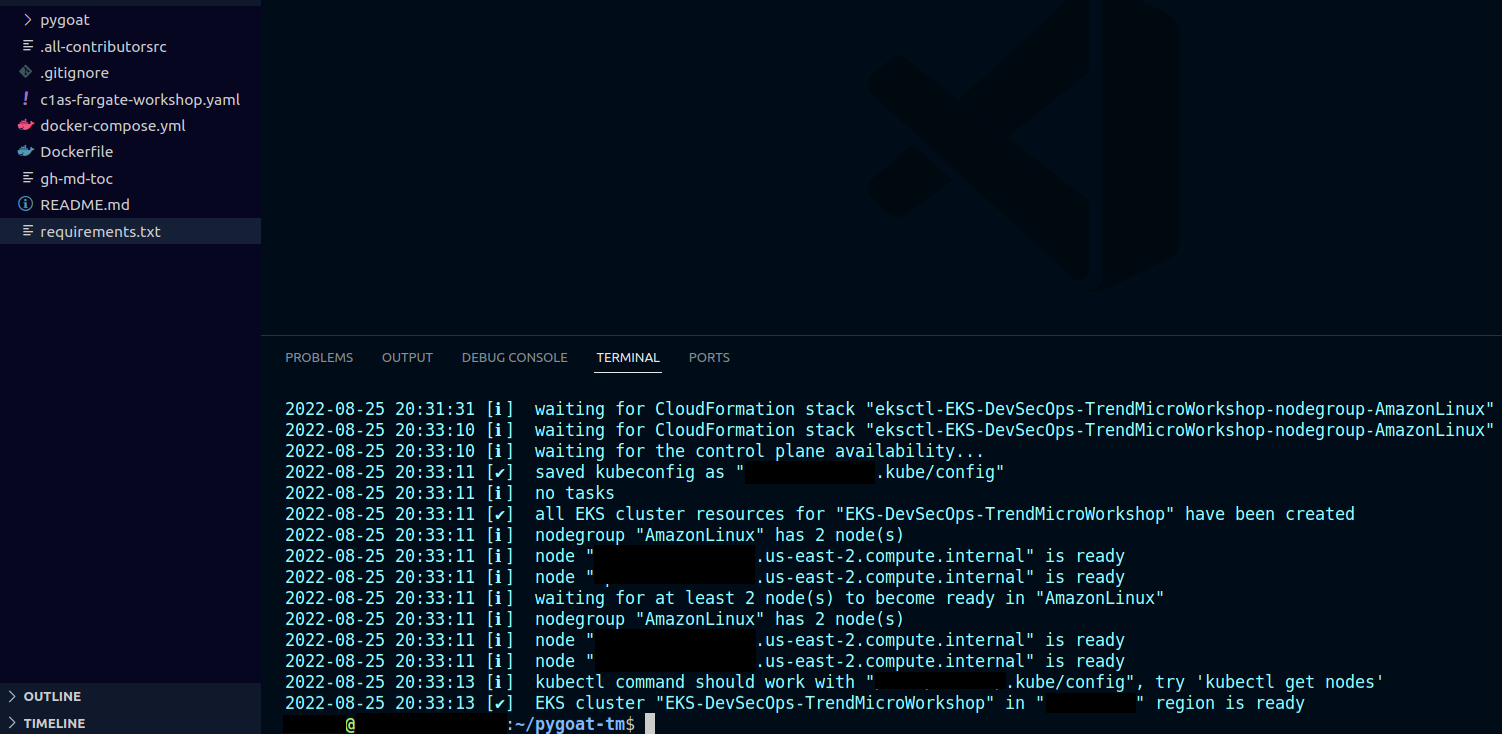
To follow the creation process
- You can follow through the terminal
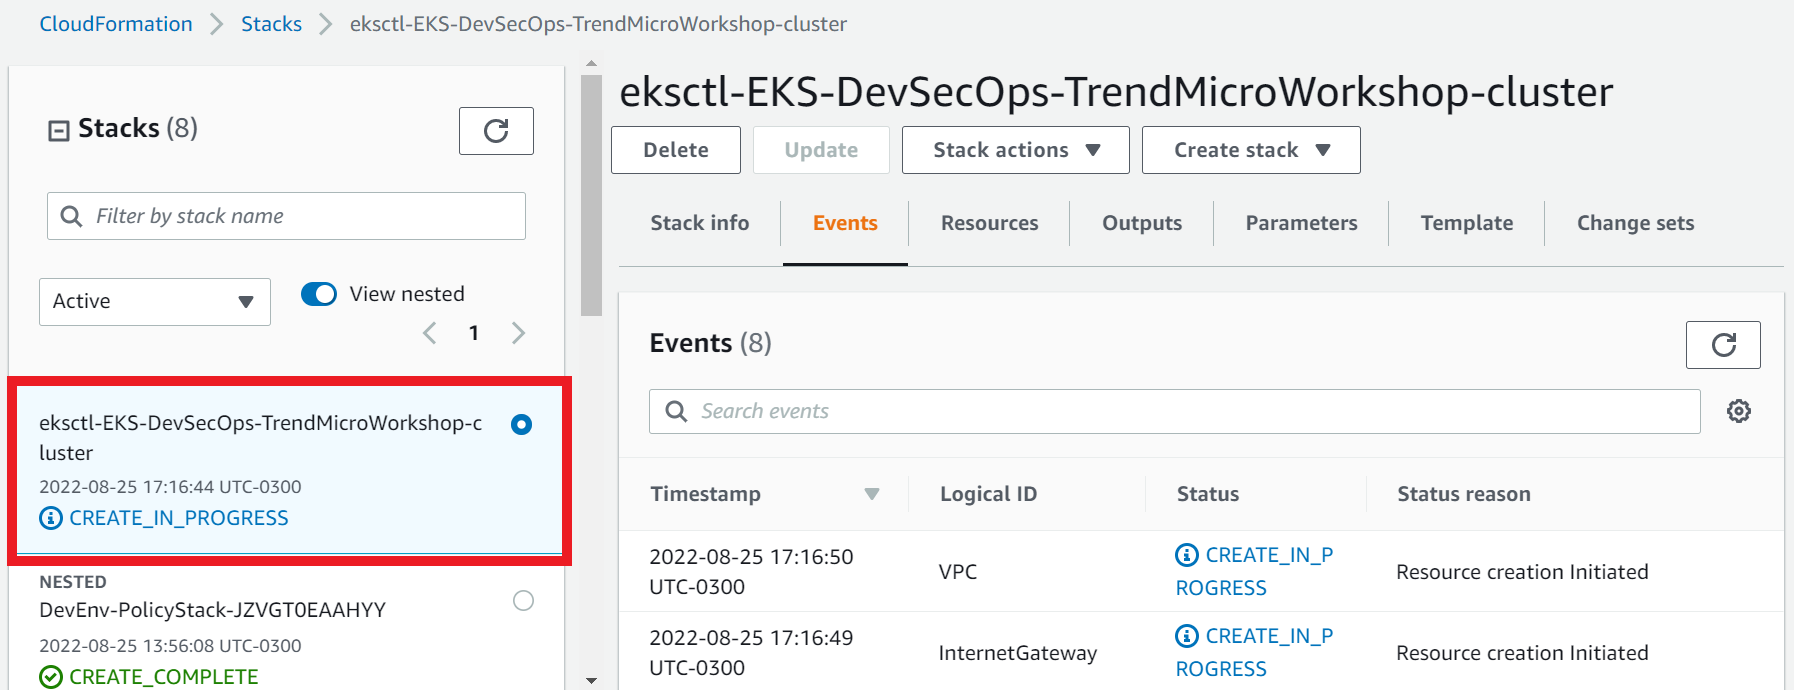
Or you can go to the AWS console, in the CloudFormation service
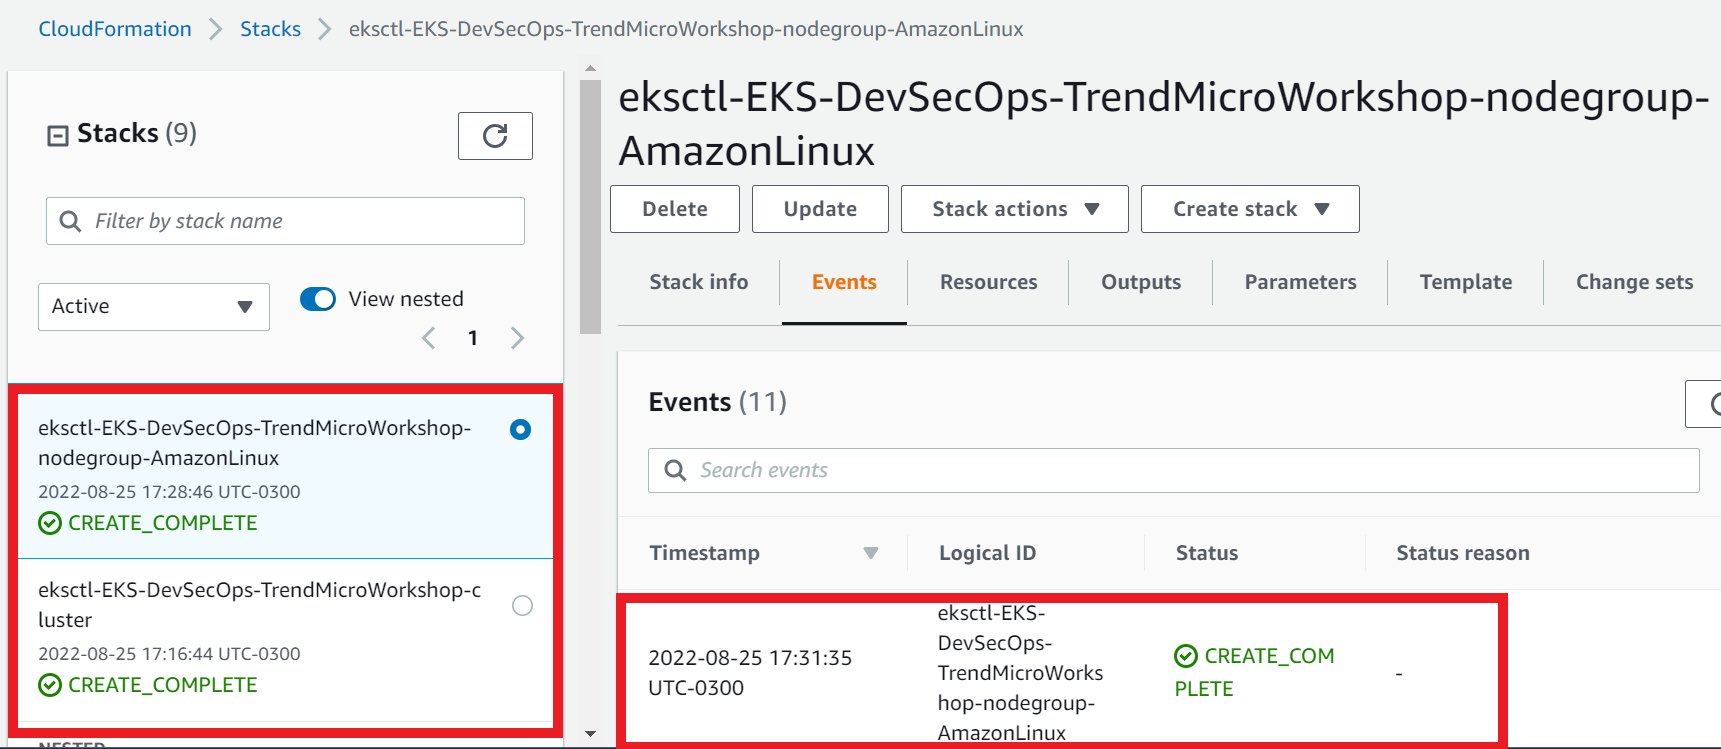
- Follow up the events during the creation of the stack EKS-DevSecOps-TrendMicroWorkshop and eksctl-EKS-DevSecOps-TrendMicroWorkshop-nodegroup-AmazonLinux
- It can take some time
- Select the Events tab
- Click Refresh
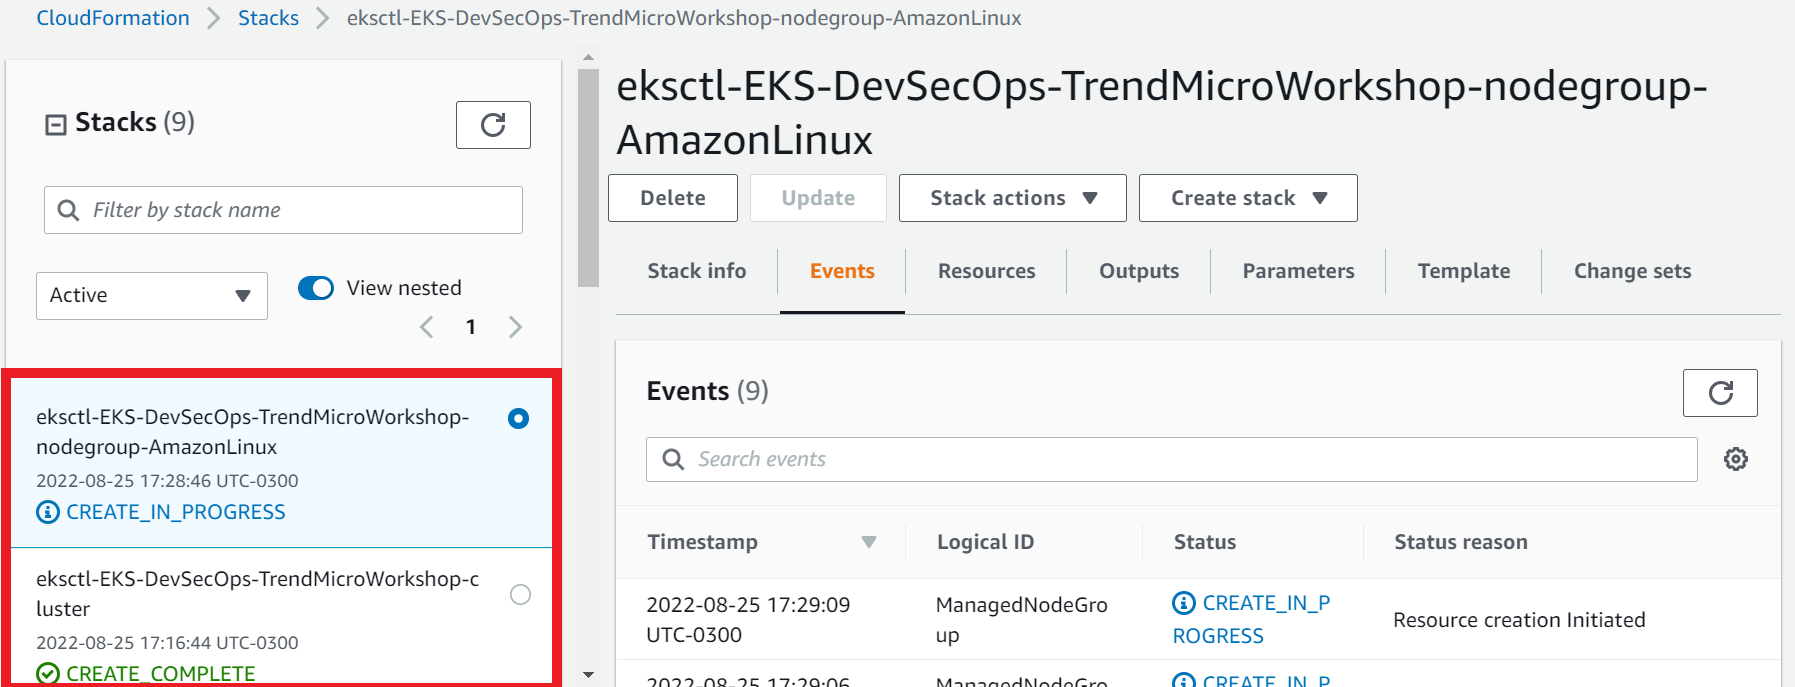
1.2. Ensure both stacks status has reached Create_Complete.
- Select the Stack info tab
One of the technologies that we will use to protect our EKS Cluster is Cloud One Container Security.
To use the Continuous Compliance feature we'll need a network plugin with NetworkPolicy support, in this case we will use the Project Calico.
1.1. Now Let’s follow the instructions to install Calico add-on on our EKS cluster
Amazon EKS doesn't maintain the manifests used in the following procedures. The recommended way to install Calico on Amazon EKS is by using the Calico Operator instead of these manifests. But as this is an ephemeral environment for us to learn we will use these manifests.
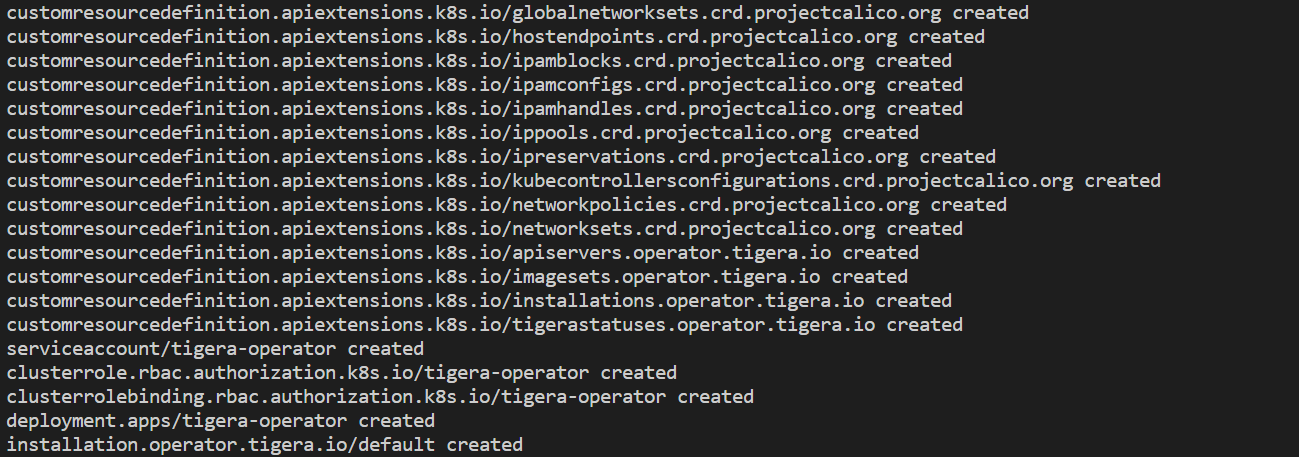
To install Calico using manifests:
kubectl create -f https://raw.githubusercontent.com/projectcalico/calico/v3.25.1/manifests/tigera-operator.yaml

kubectl create -f - <<EOF
apiVersion: operator.tigera.io/v1
kind: Installation
metadata:
  name: default
spec: {}
EOF

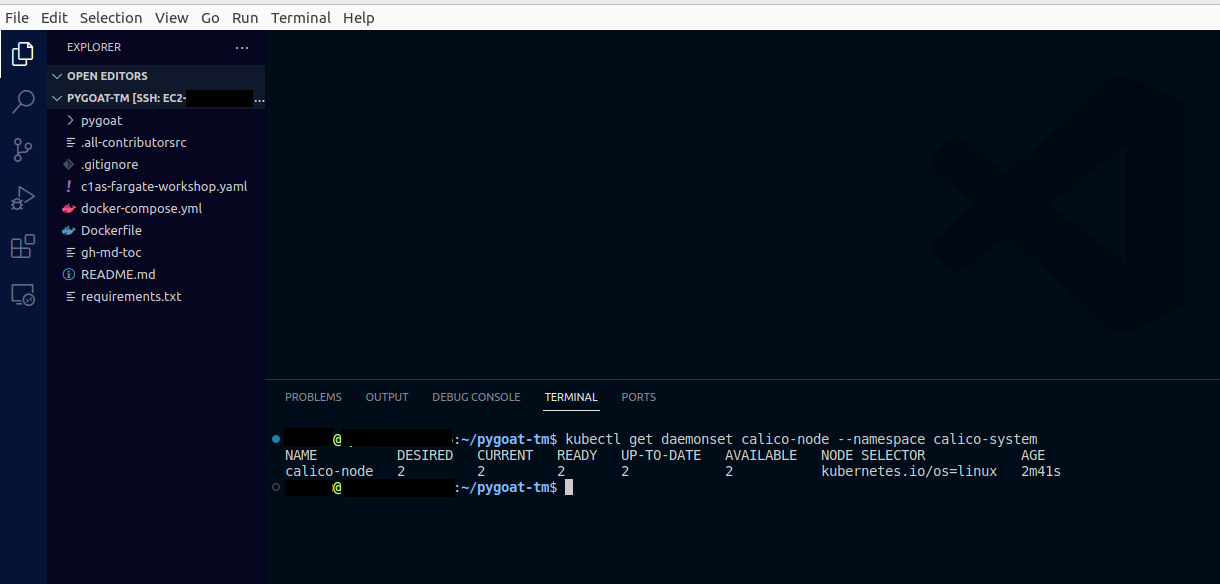
View the resources in the calico-system namespace.
kubectl get daemonset calico-node --namespace calico-system
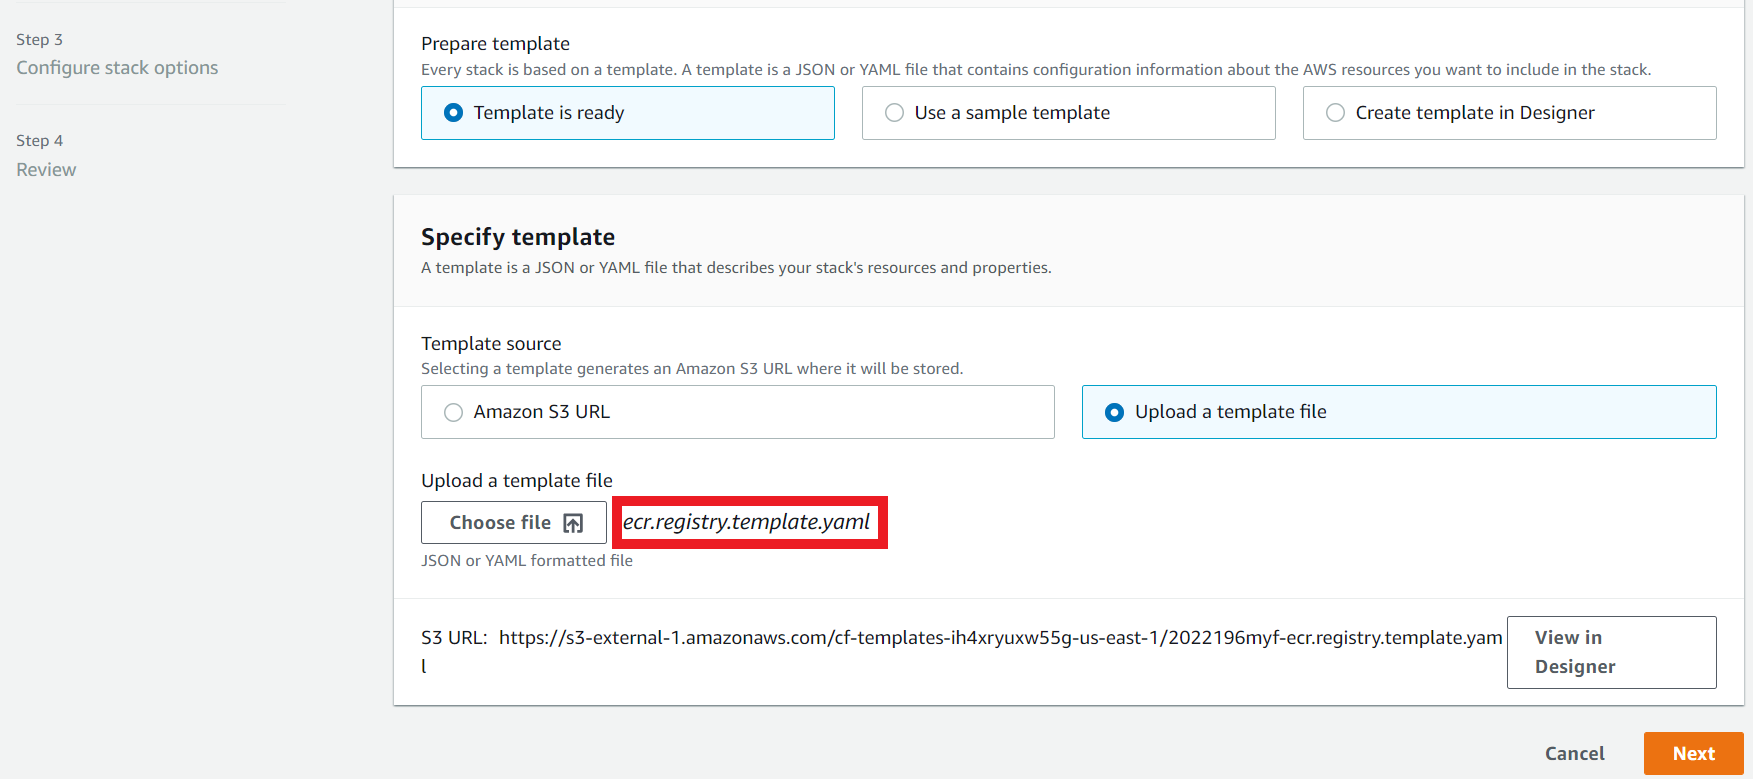
Let’s deploy our repository in AWS ECR (Elastic Container Registry)

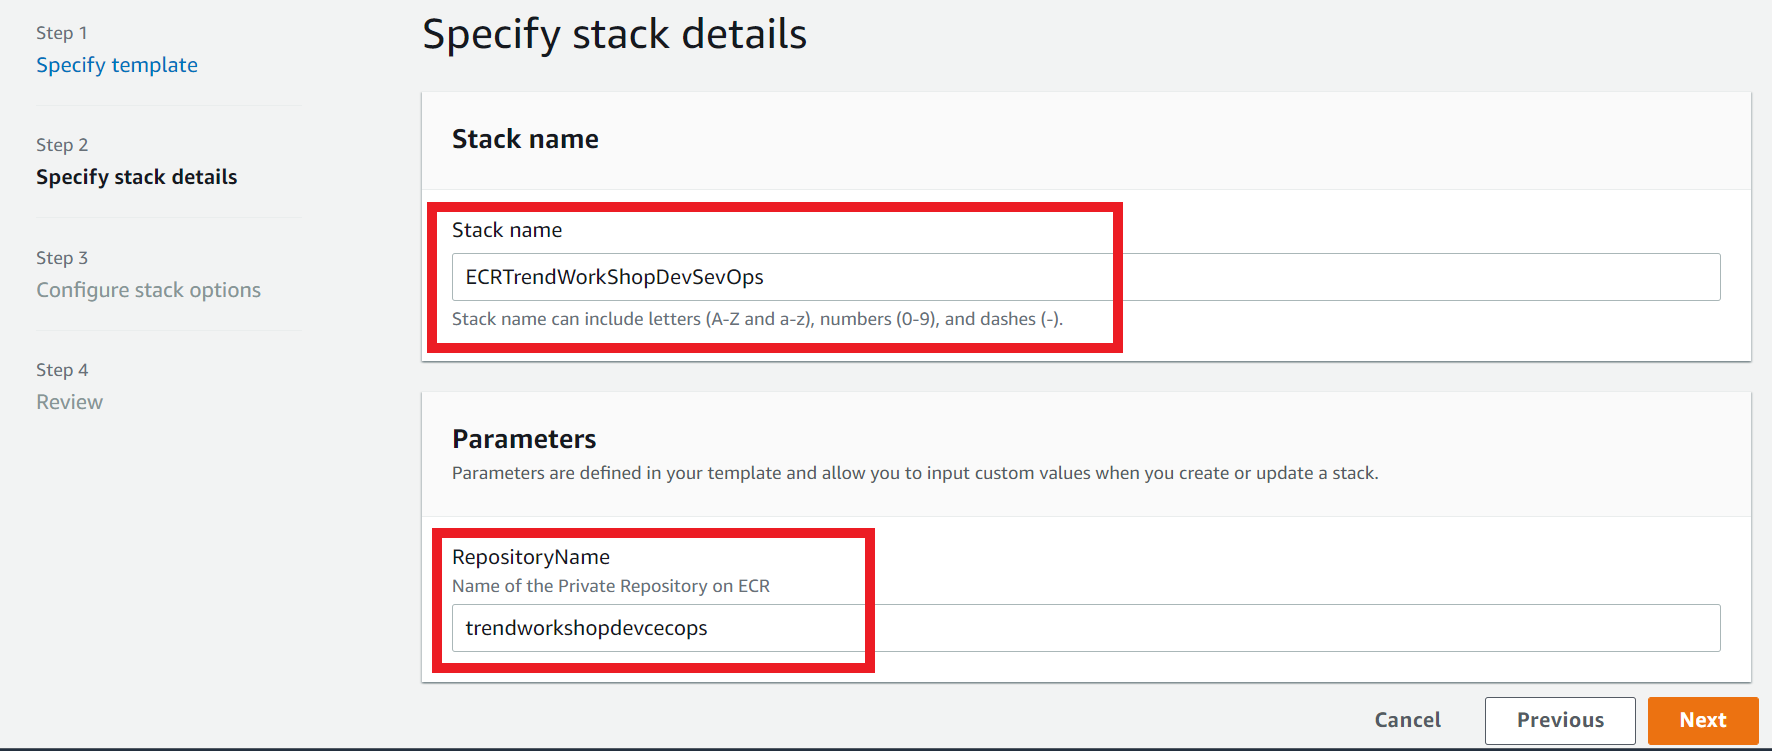
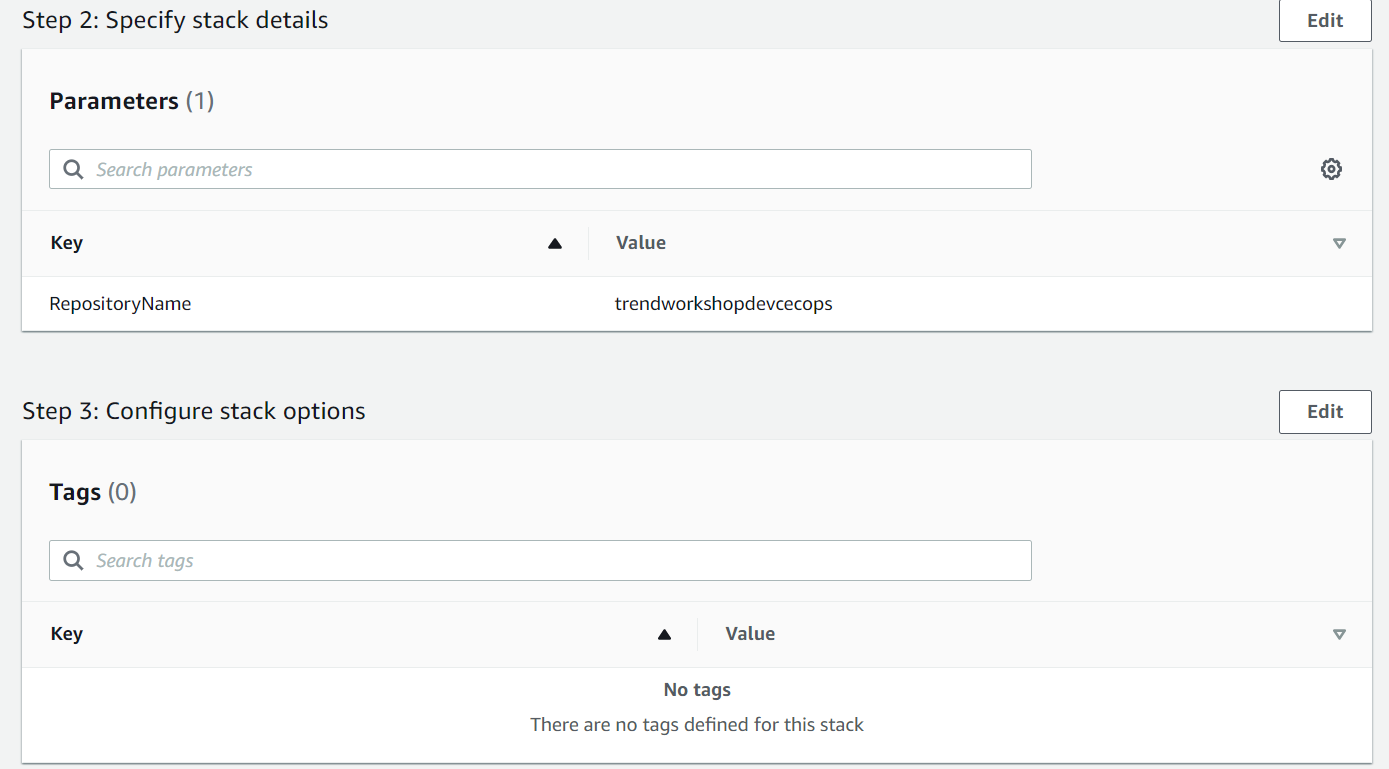
1. Specifying stack parameters that you need to change
-
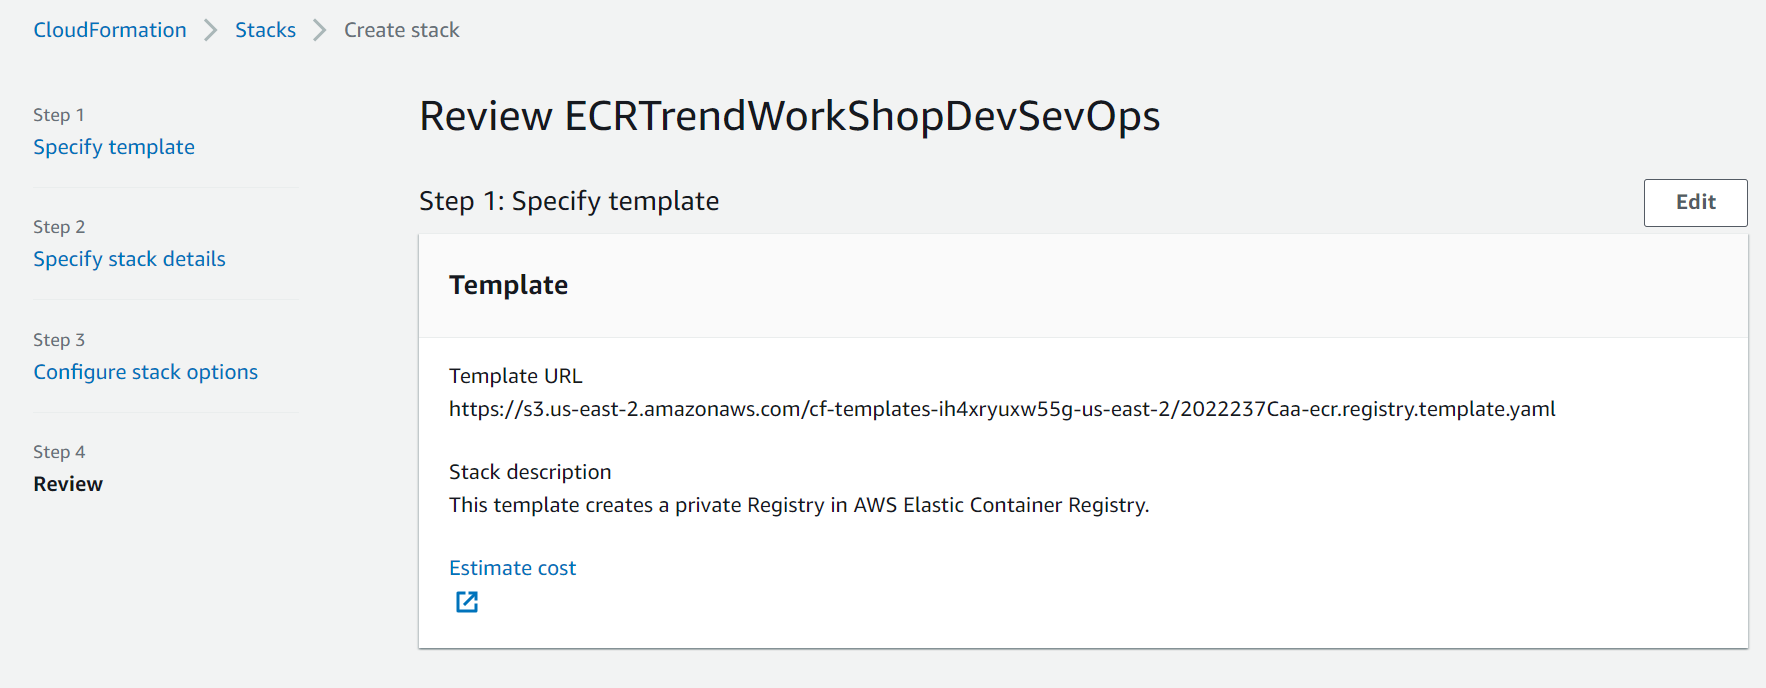
Stack Name:
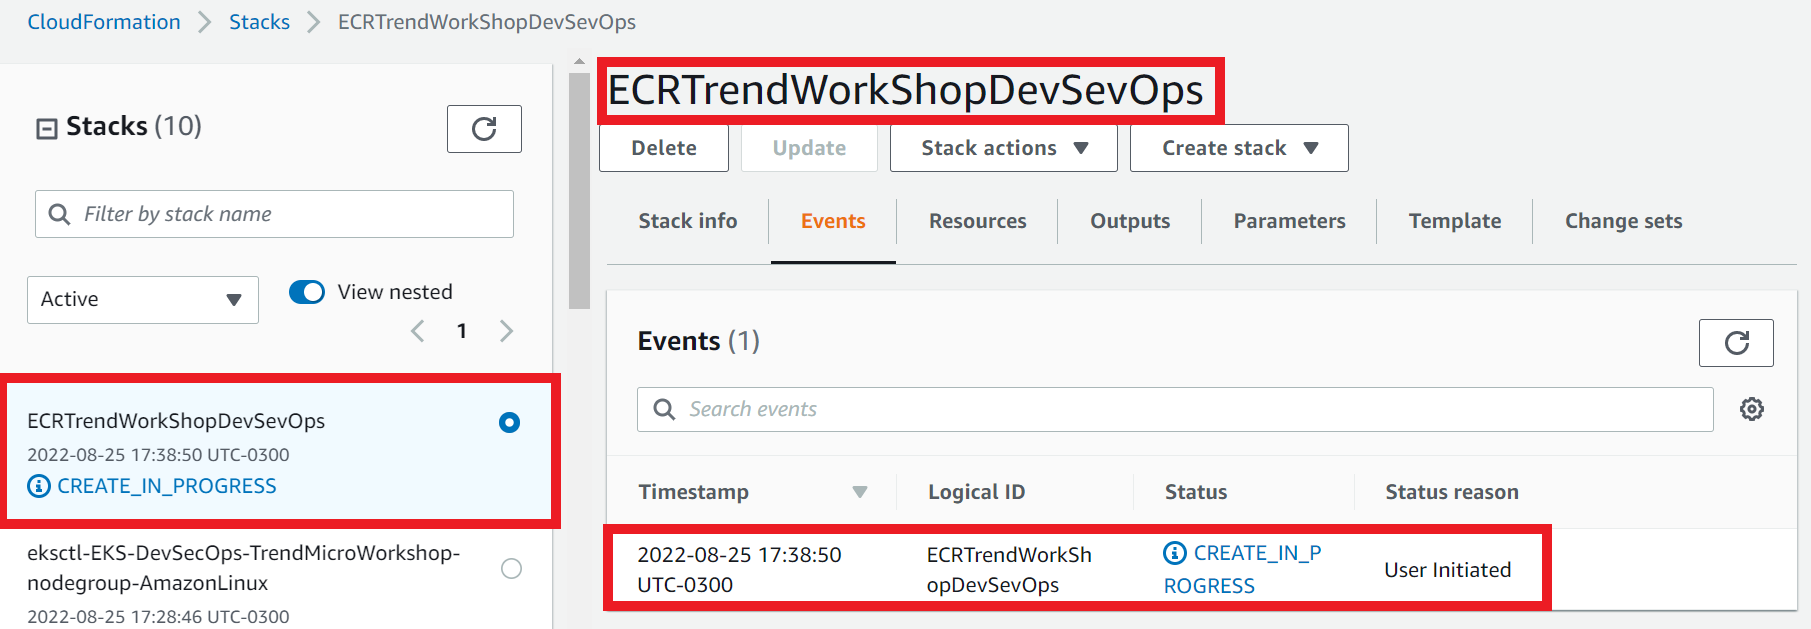
ECRTrendWorkShopDevSevOps -
RepositoryName The name of the Private Repository on ECR:
trendworkshopdevcecops -
Click on Next
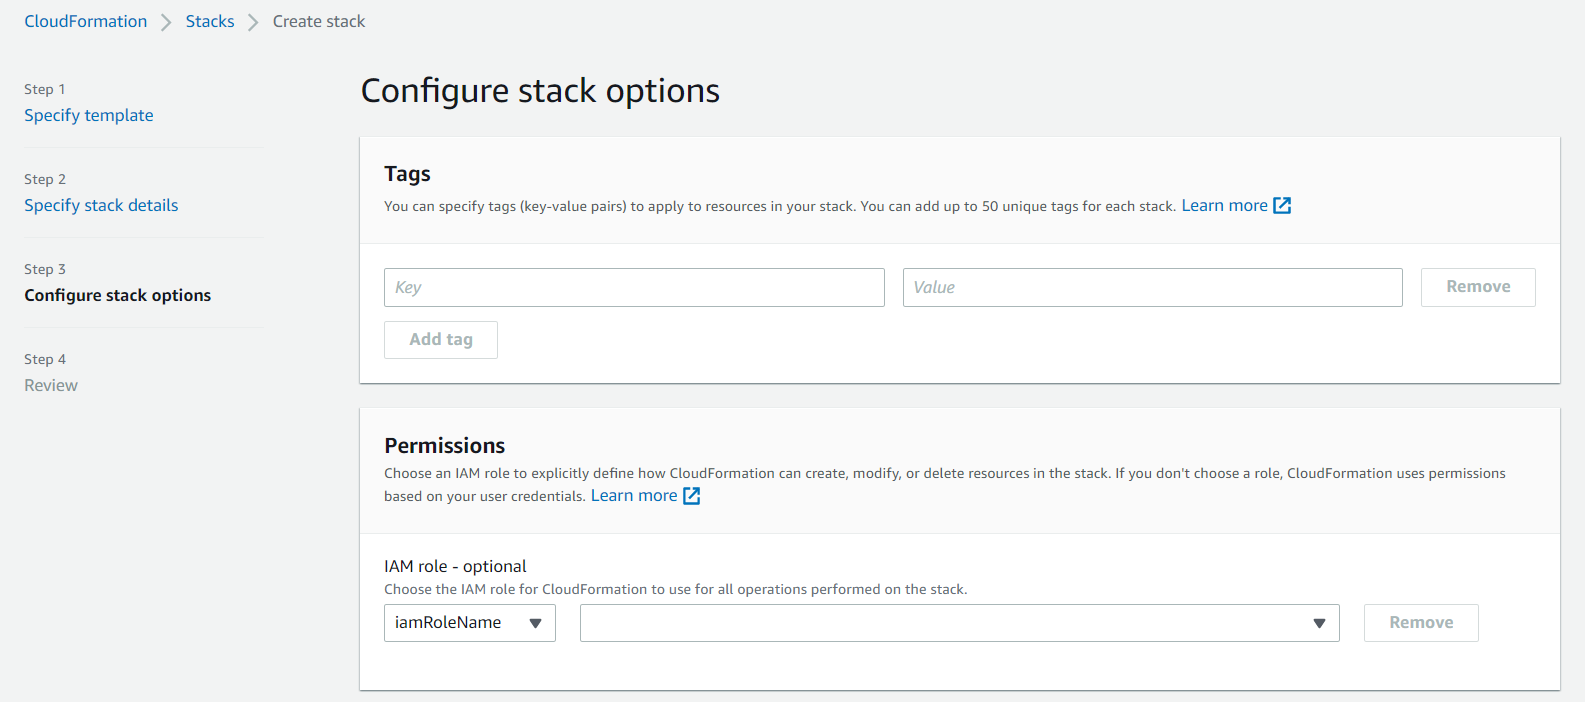
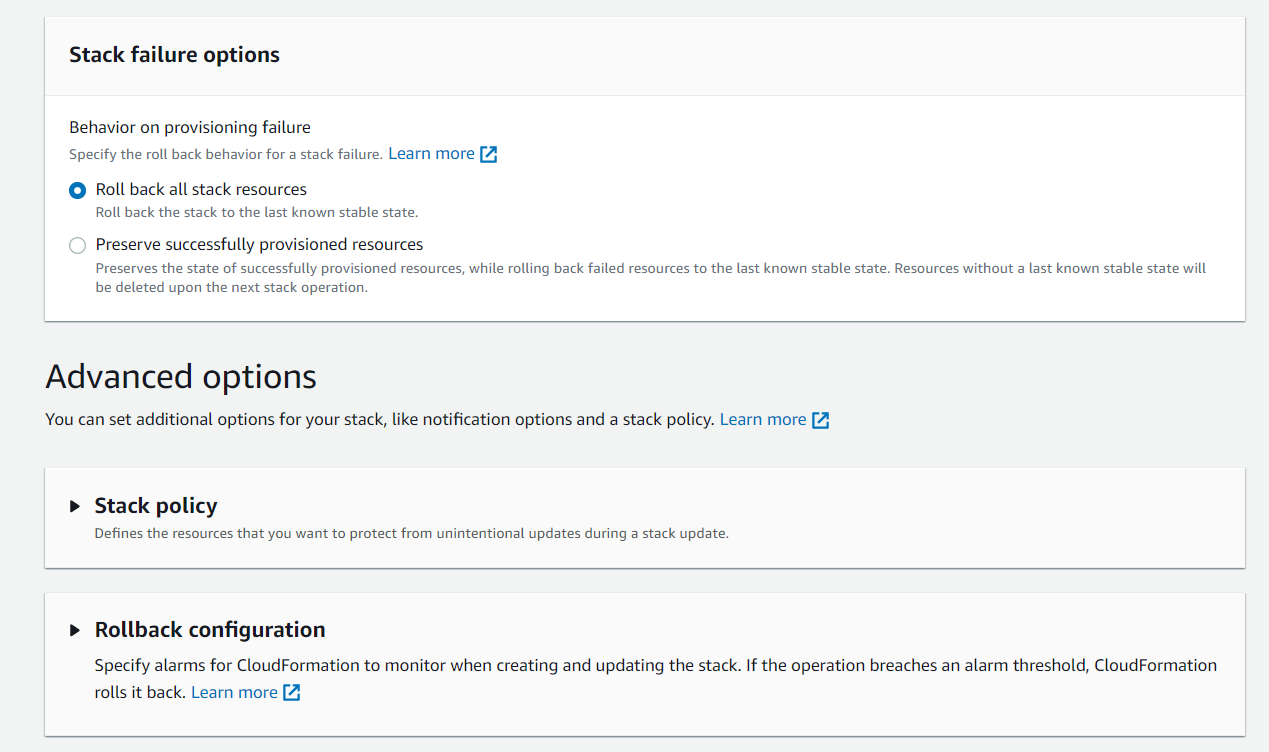
1.2. Configure the stack options
- Leave the fields as default and click Next, or optionally define tags to the evironment if desired.
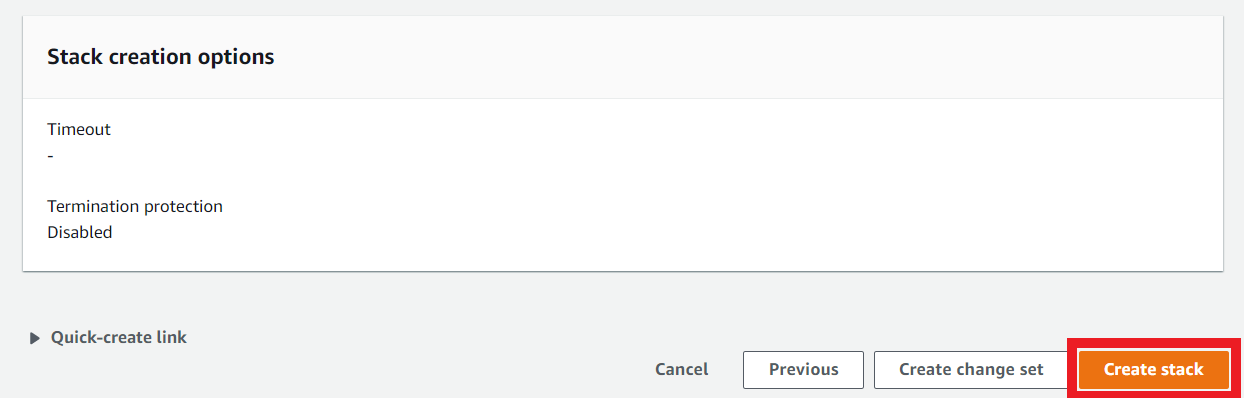
1.3. Review the template parameters
- Click on Create Stack
1.4. Follow up the events during creation of the stack
- Select the Events tab
- Click Refresh
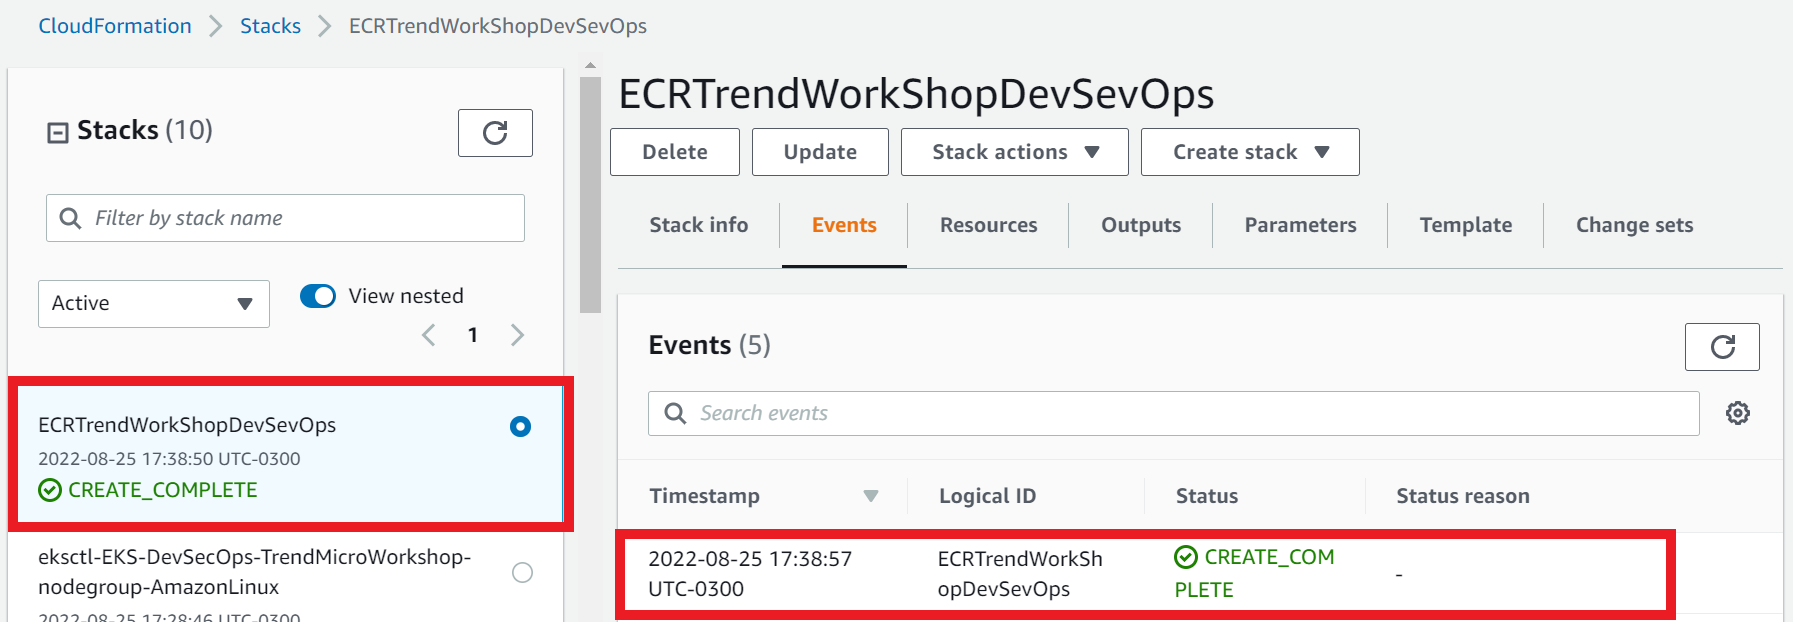
1.5. Ensure the stack status has reached Create_Complete.
- Select the Stack info tab
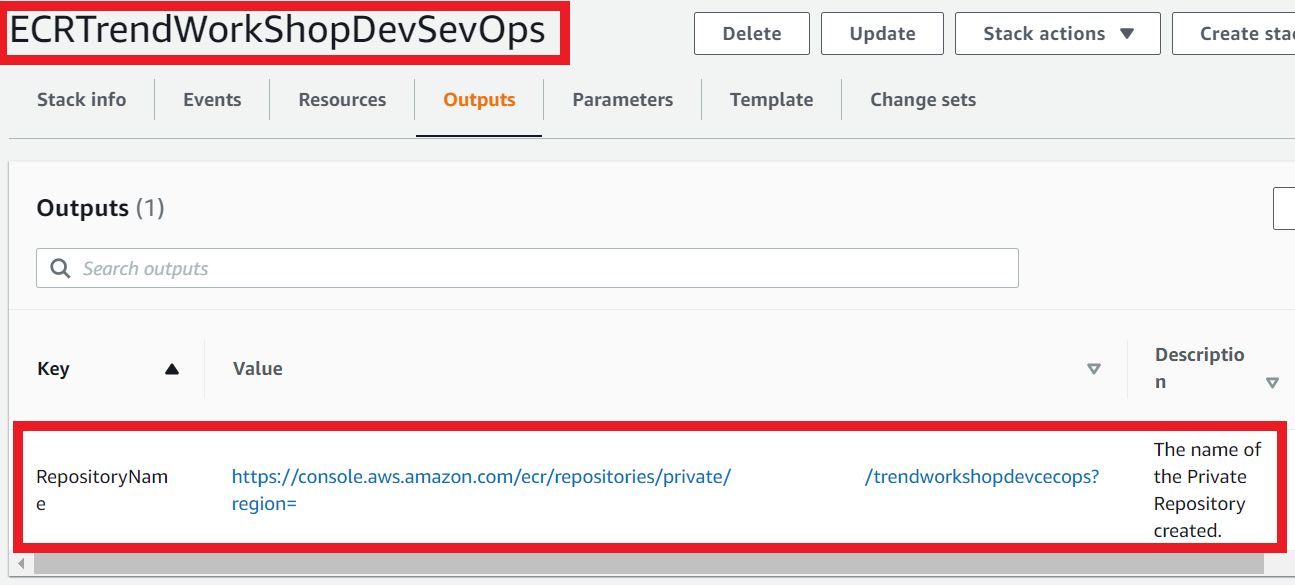
1.6. On the Outputs tab
- Click on the link to go to your Repository
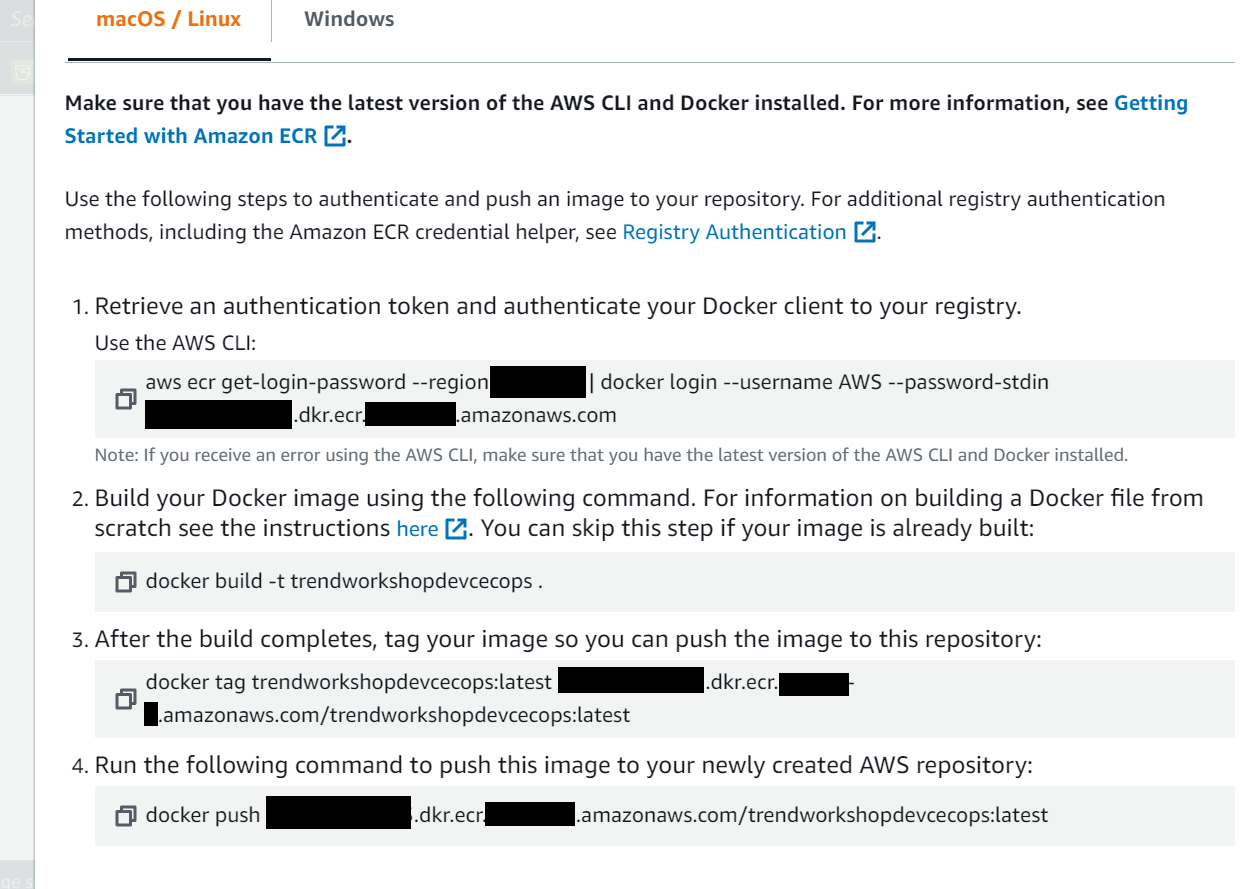
1.7. Click on the View Push Commands button
- You will need these details below to build and push the container image that you have cloned and updated with your own details:
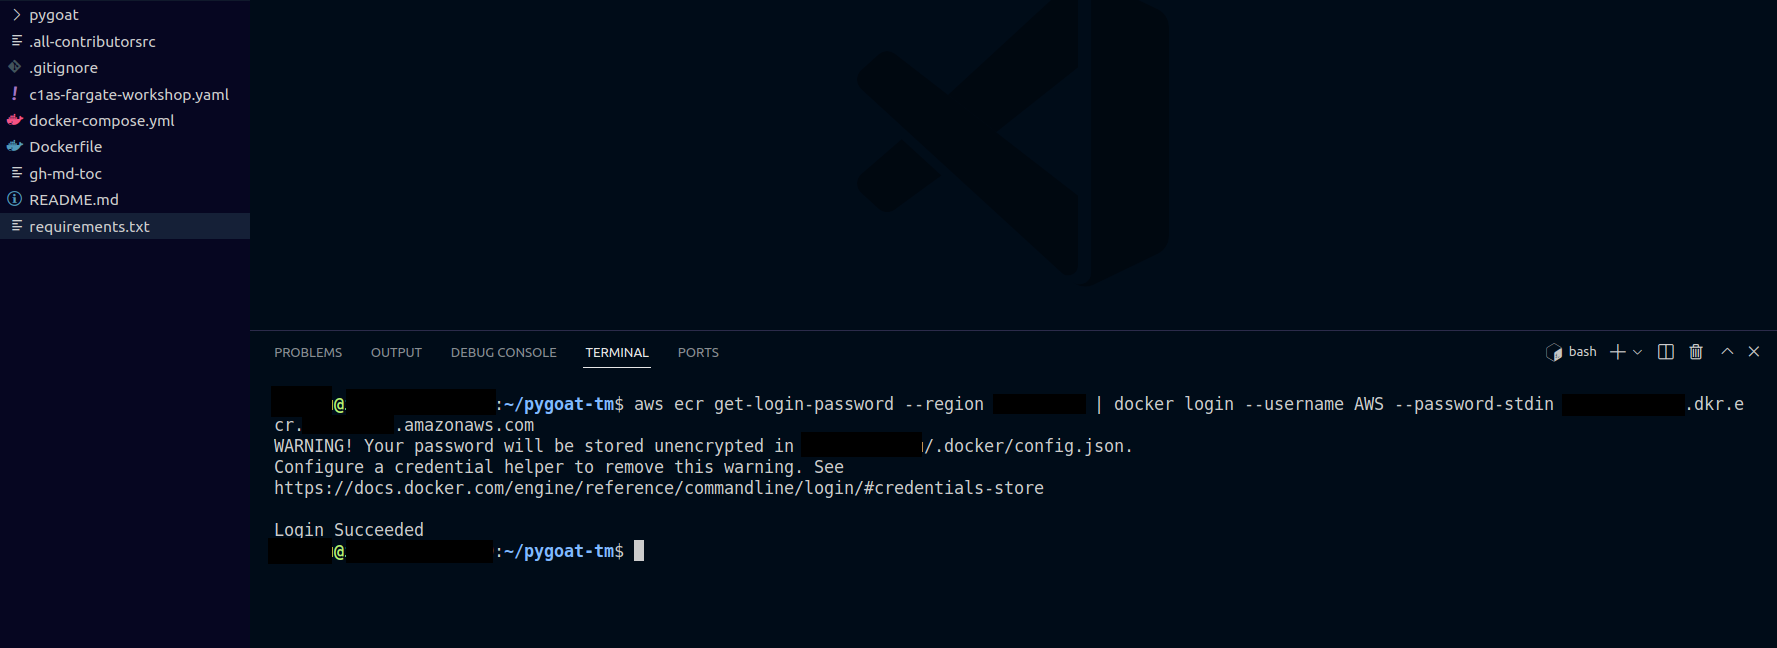
1.8. In VS Code
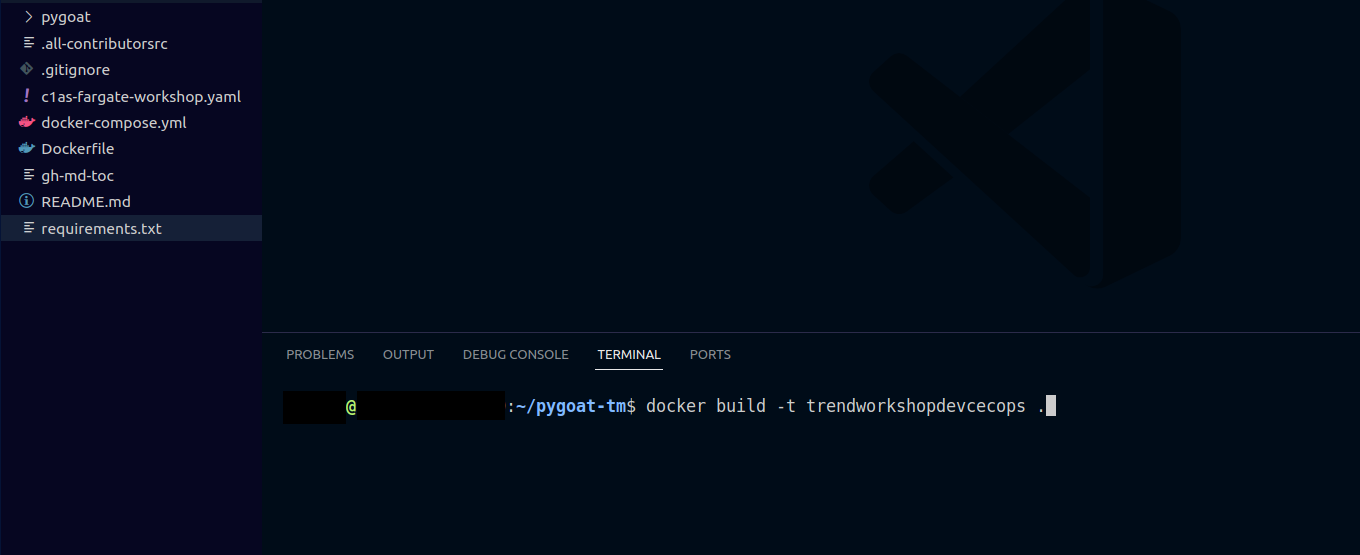
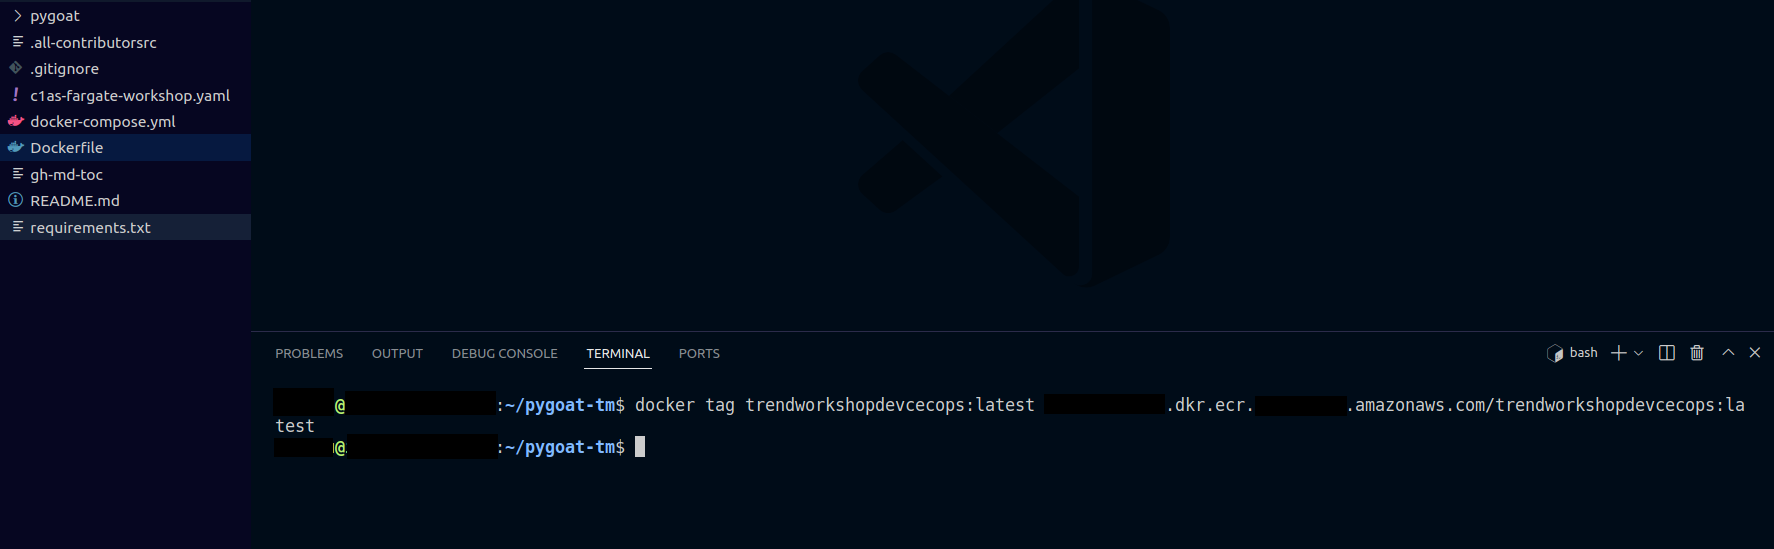
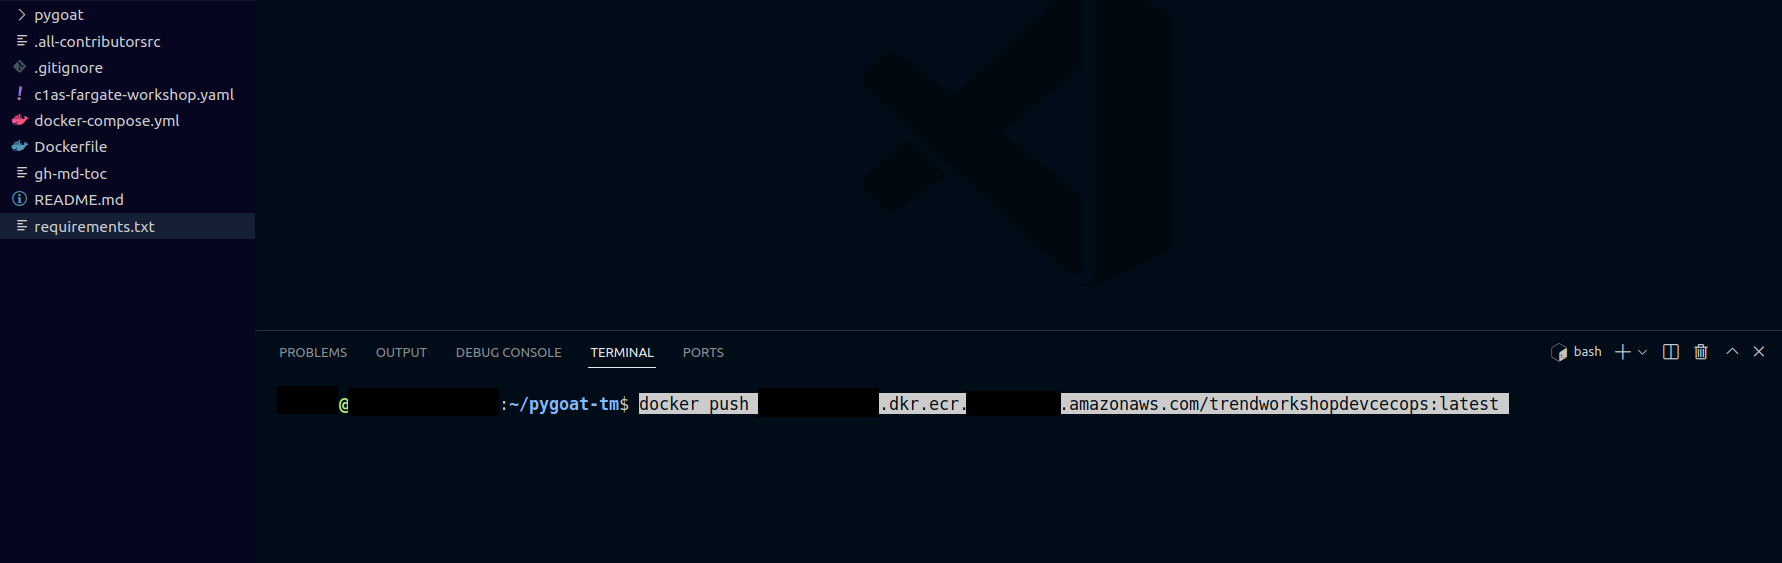
- Start copying and pasting the commands in the terminal that appear in the ECR to push your container image
- Be sure that you are in the pygoat-tm directory
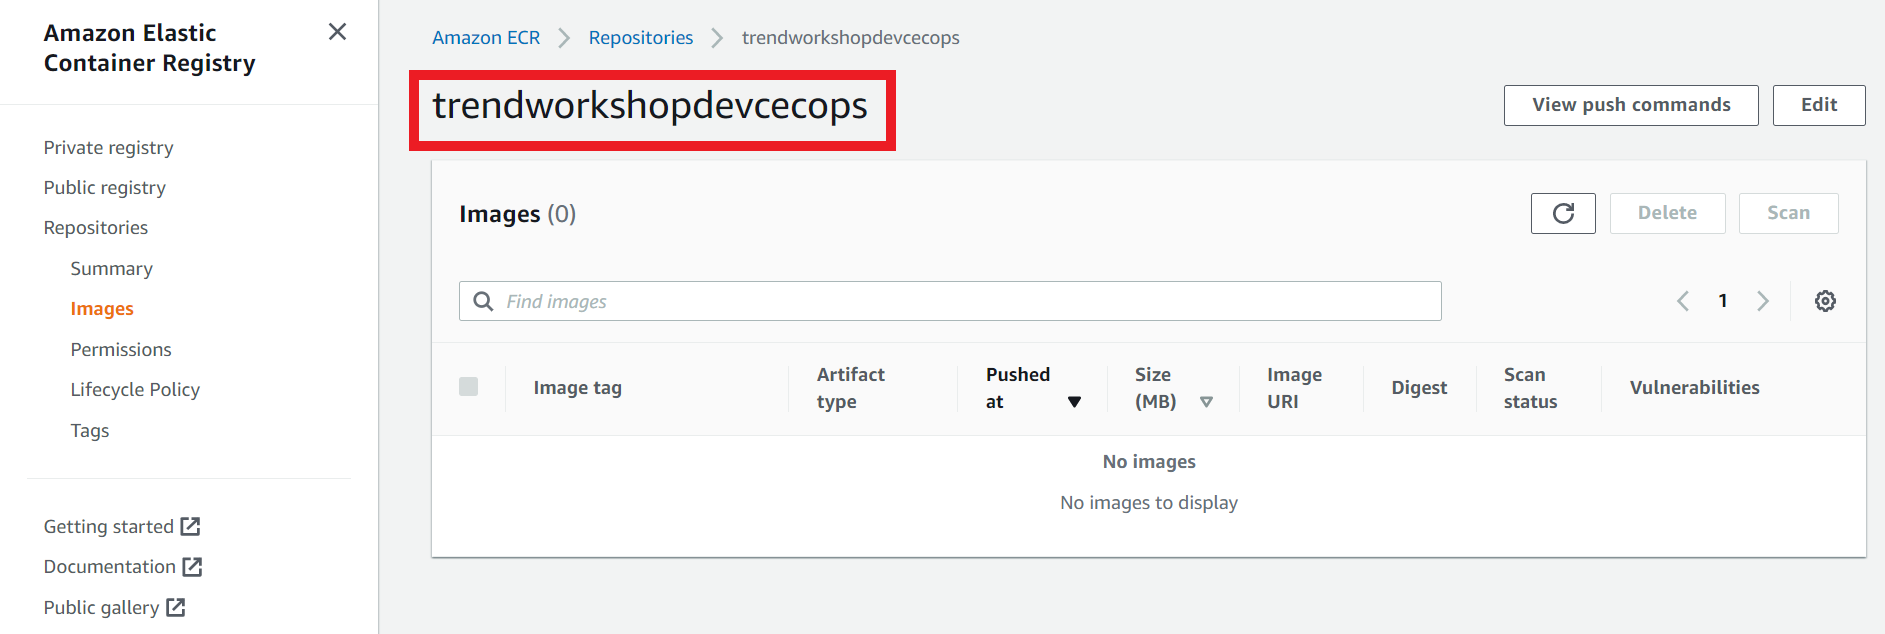
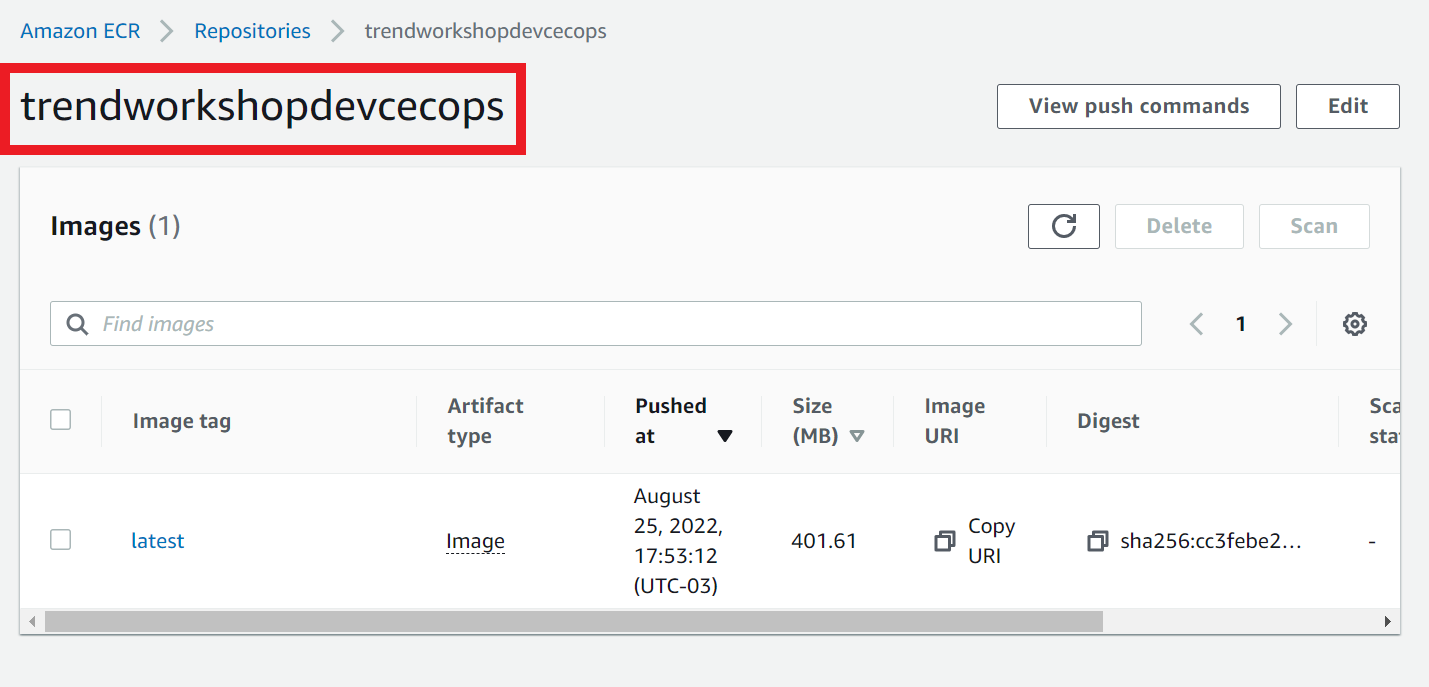
1.9. Let’s check if our image is already in our repository
- In your repository, refresh the page
- You will see that now we have our image
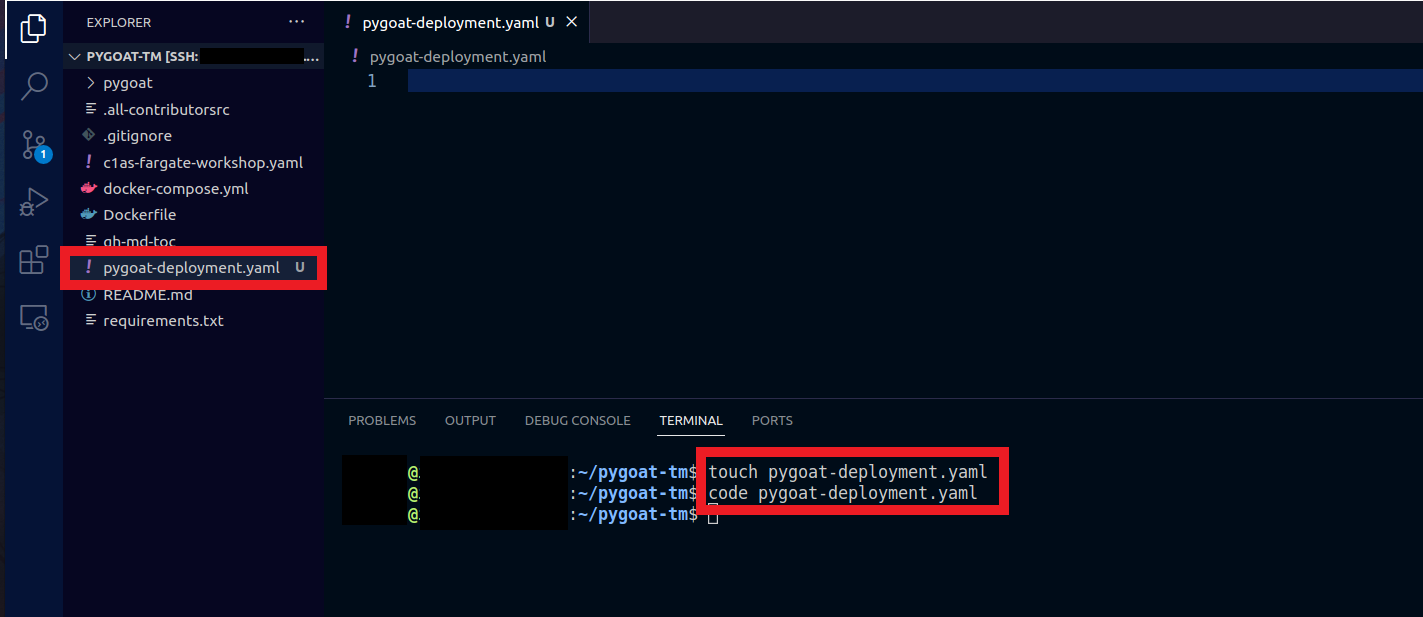
2. Go back to VS Code
- In the terminal, type the command
touch pygoat-deployment.yaml - In the left column where it shows the files, double click on the file pygoat-deployment.yaml
- Or type the command
code pygoat-deployment.yamlto open the file
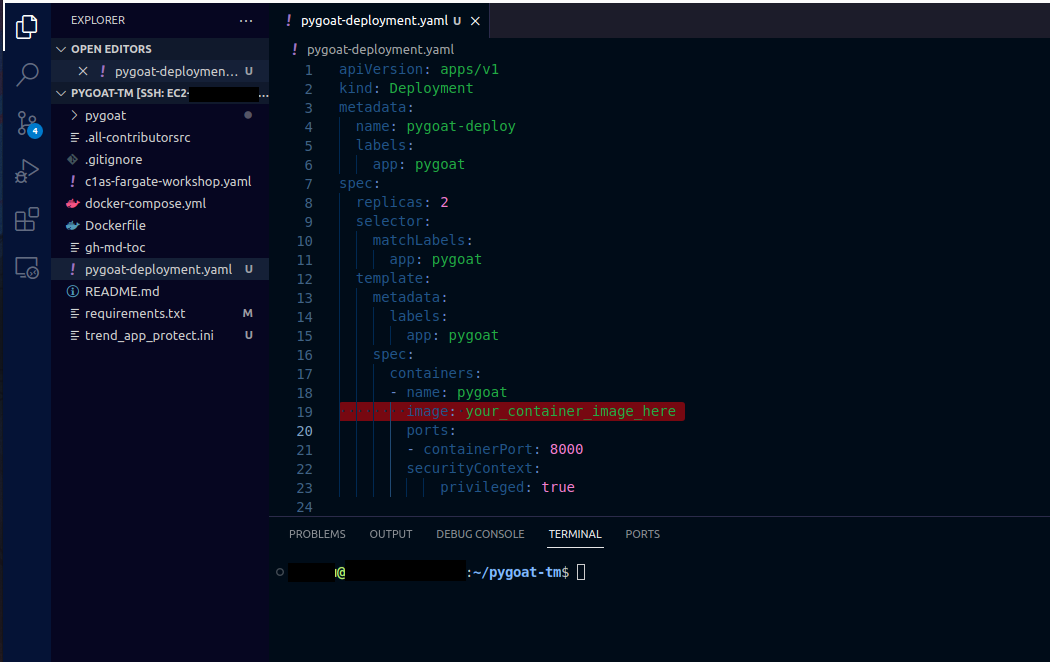
2.1. In the pygoat-deployment.yaml file
Don't forget to put your image URI on the line with the name image: your_container_image_here
Paste the following:
apiVersion: apps/v1
kind: Deployment
metadata:
  name: pygoat-deploy
  labels:
    app: pygoat
spec:
  replicas: 2
  selector:
    matchLabels:
      app: pygoat
  template:
    metadata:
      labels:
        app: pygoat
    spec:
      containers:
      - name: pygoat
        image: your_container_image_here
        ports:
        - containerPort: 8000
        securityContext:
            privileged: true
In this pod definition, the securityContext is set to privileged = true.
2.2. Go to your repository in AWS ECR
- Copy the Image URI
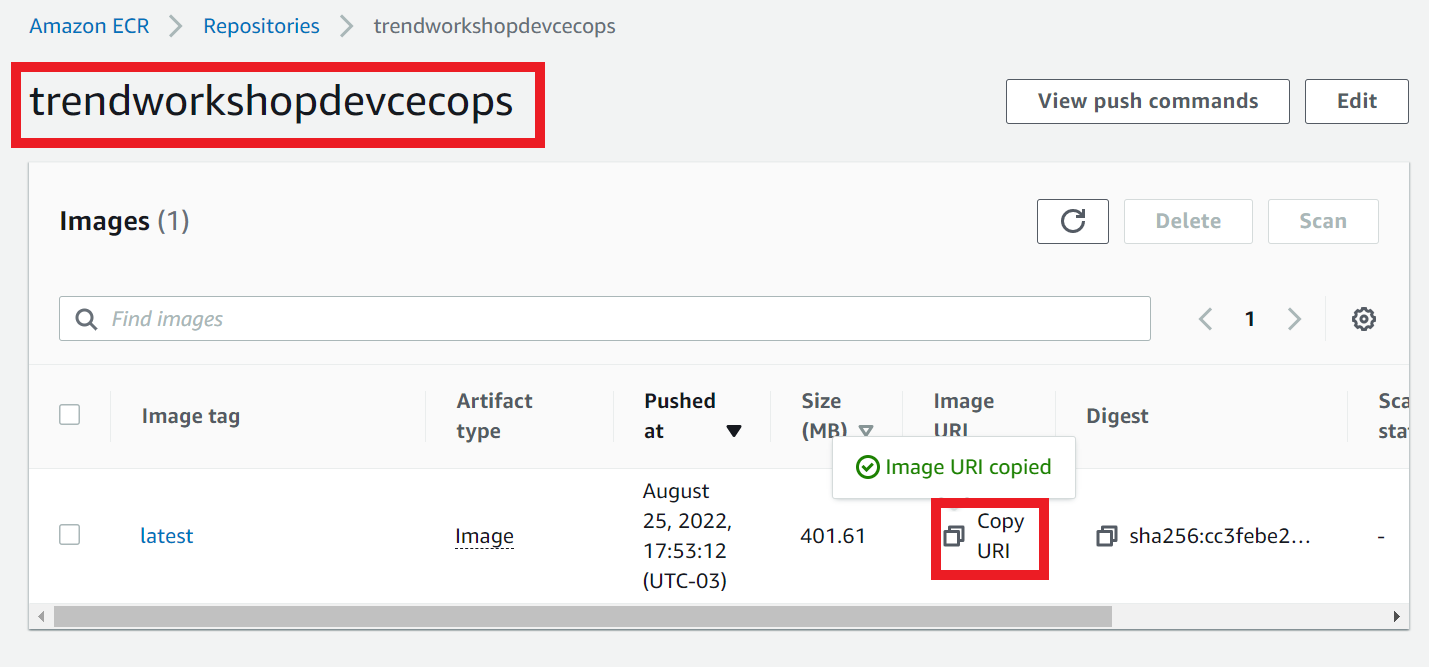
- And replace your_container_image_here which is in your pygoat-deployment.yaml file

- Save the file
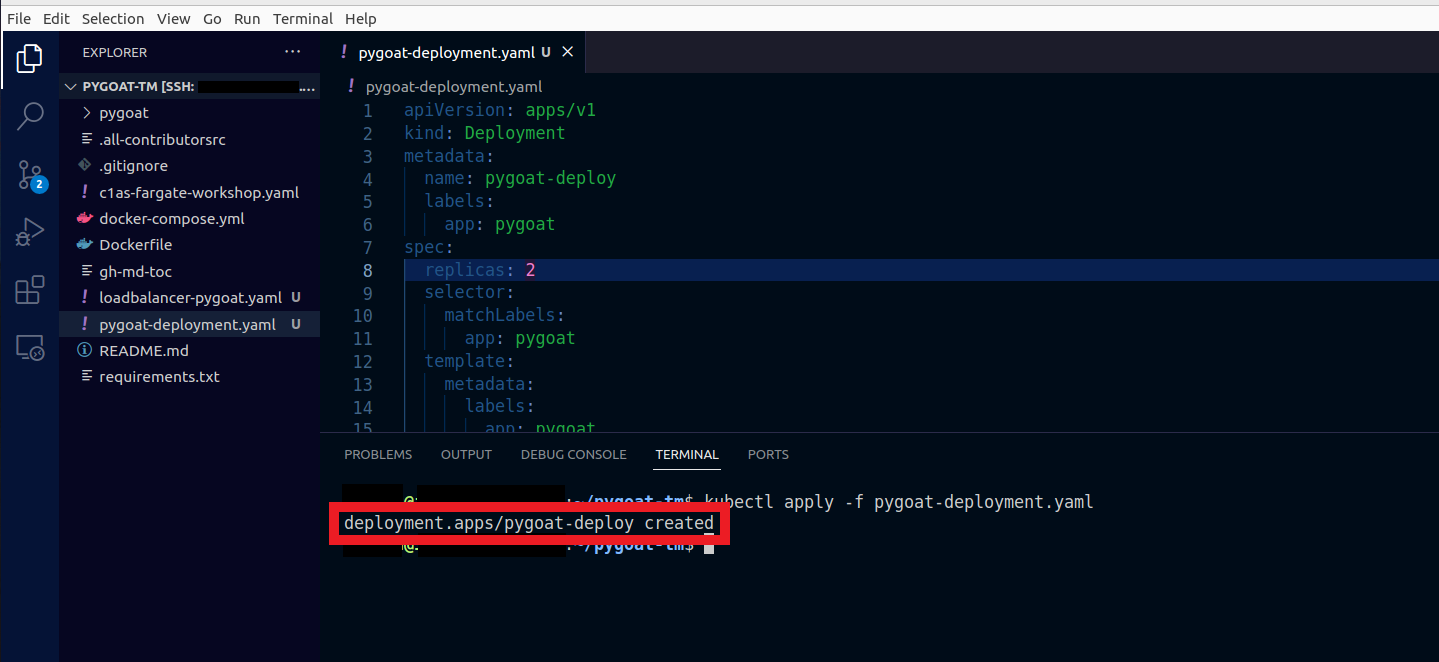
2.2. Let’s deploy our Pygoat application to EKS
- Type the command
kubectl apply -f pygoat-deployment.yaml
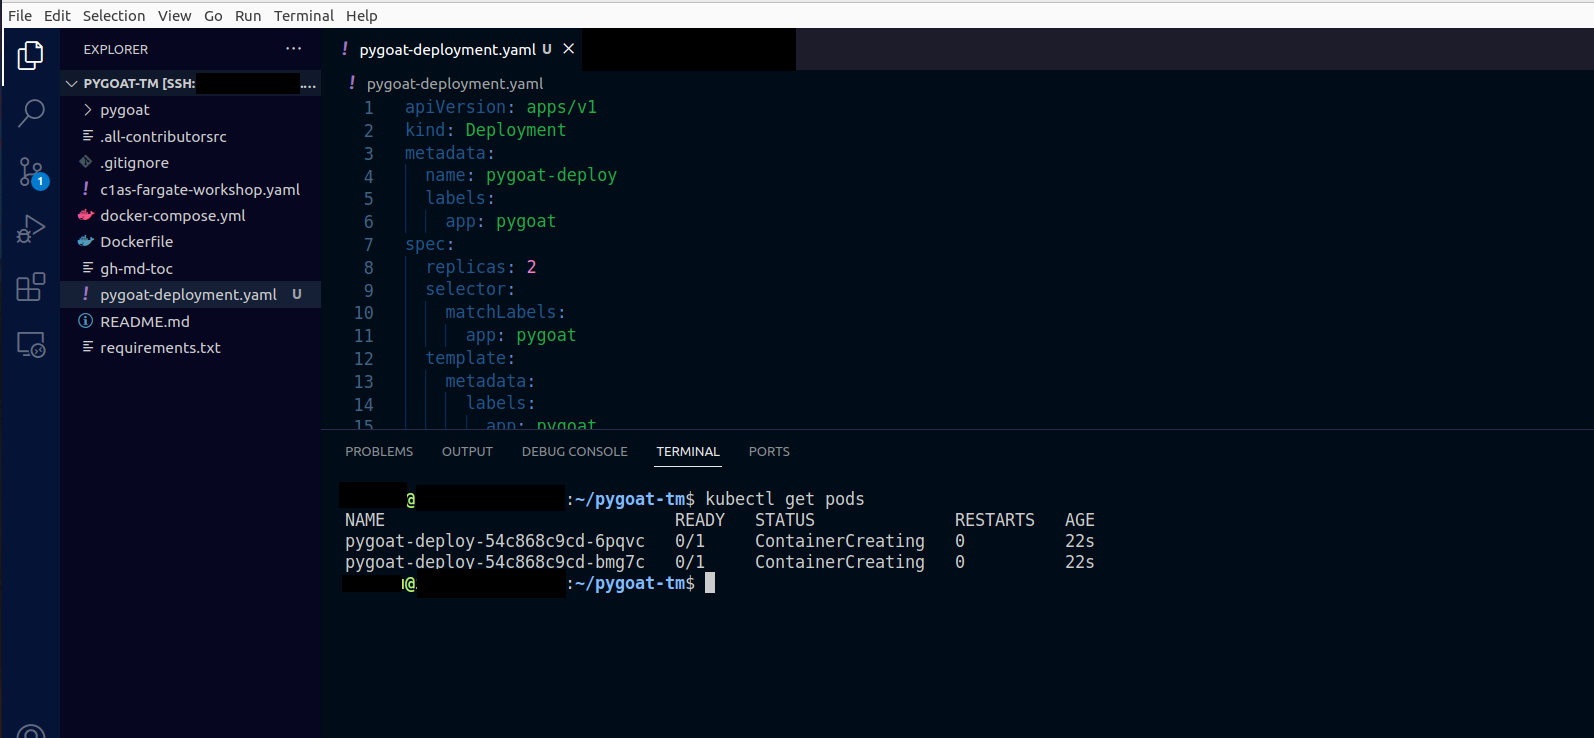
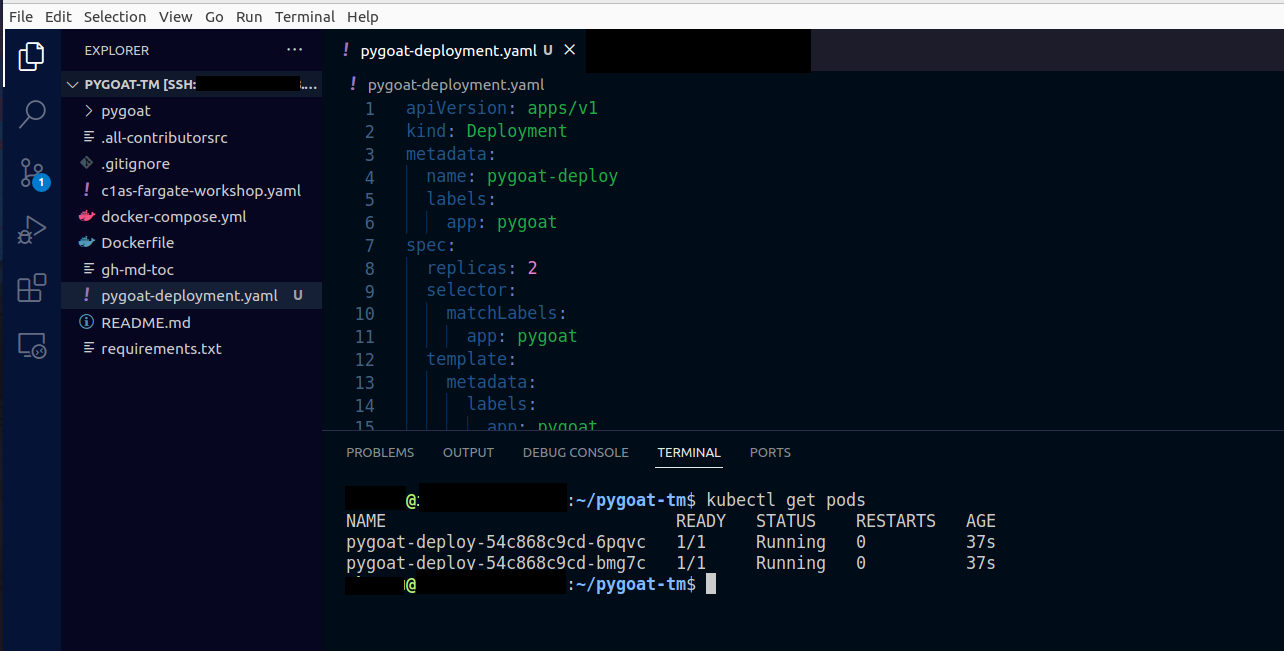
2.3. Confirm that the pods are already running
- Type the command
kubectl get pods - Wait until running is showing
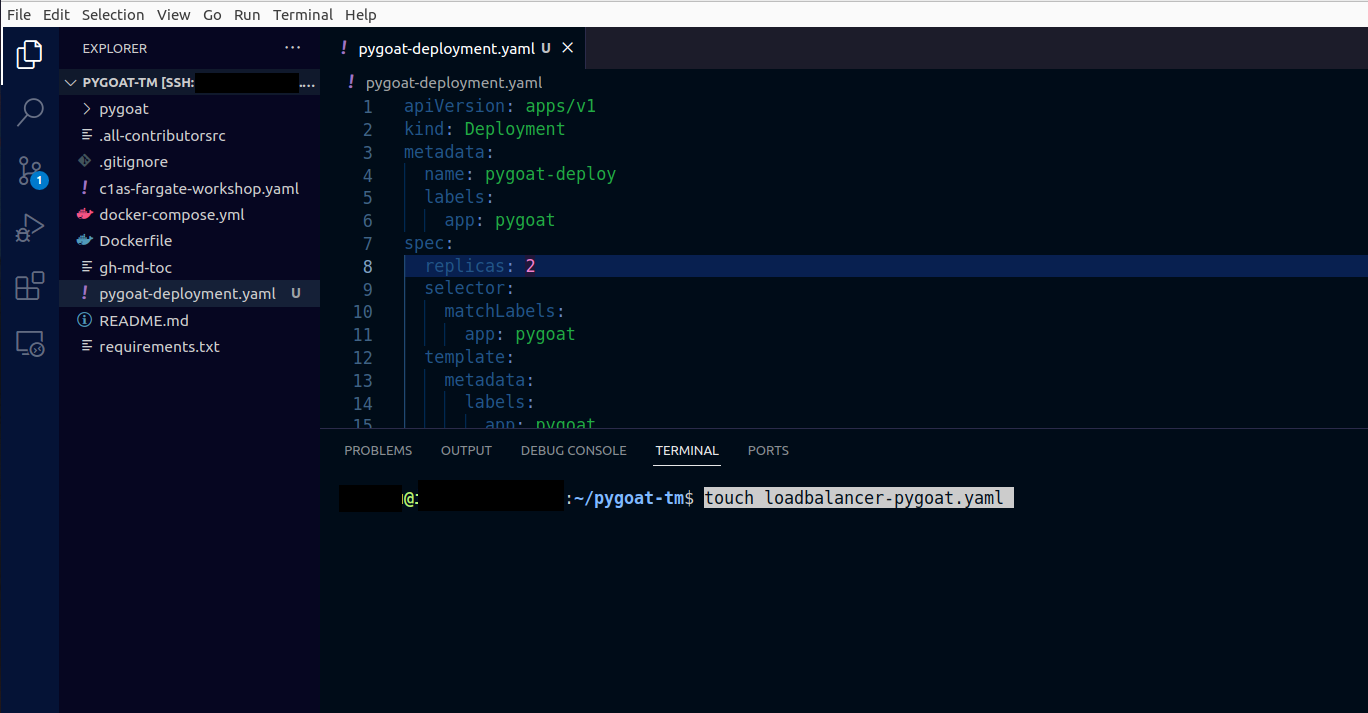
2.4. Let’s create a LoadBalancer service to access our application externally
- Type the command
touch loadbalancer-pygoat.yaml - In the left column where it shows the files, double click on the file loadbalancer-pygoat.yaml
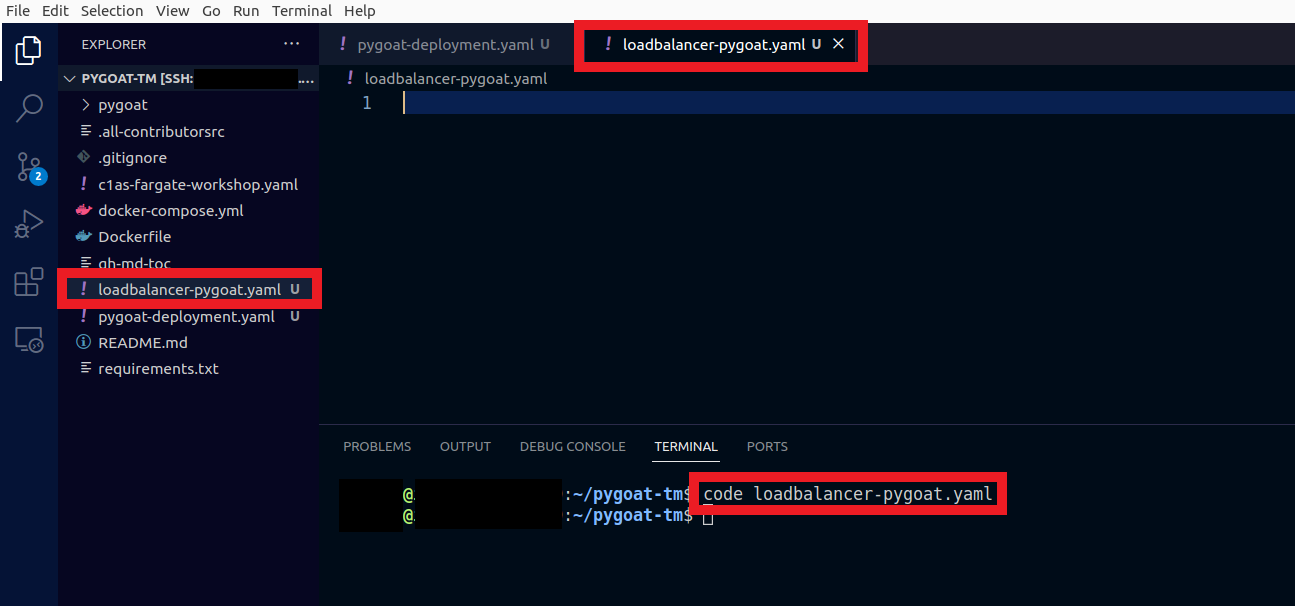
- Or type the command
code loadbalancer-pygoat.yamlto open the file
2.5. In the loadbalancer-pygoat file
Paste the following:
apiVersion: v1
kind: Service
metadata:
  name: pygoat-loadbalancer
spec:
  type: LoadBalancer
  selector:
    app: pygoat
  ports:
    - protocol: TCP
      port: 8000
      targetPort: 8000
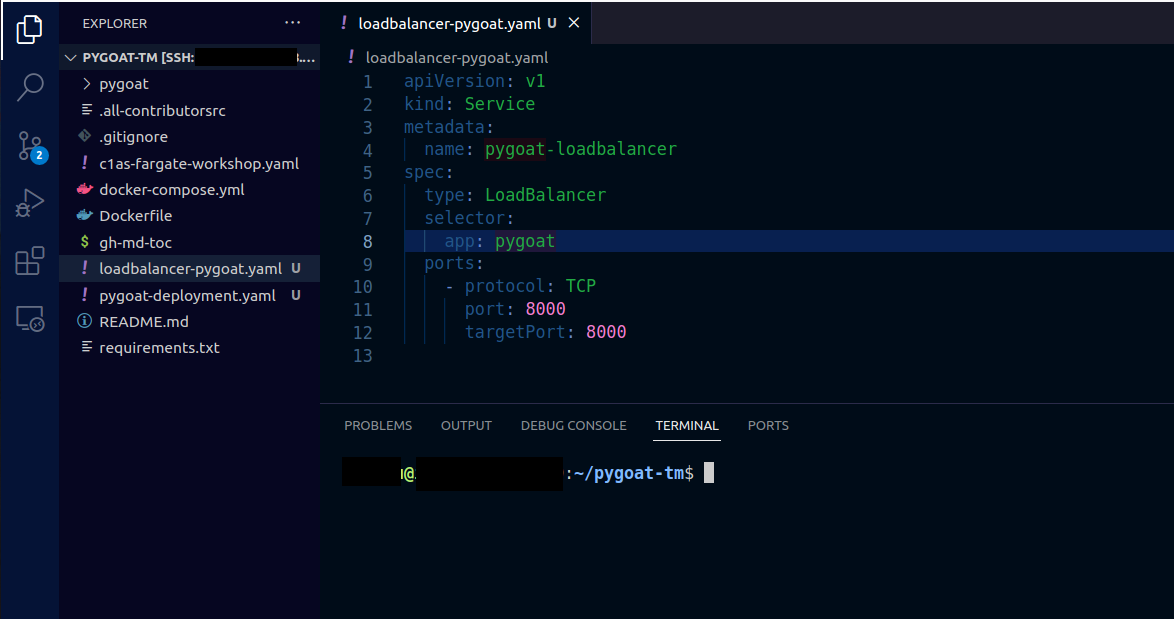
- Save the file
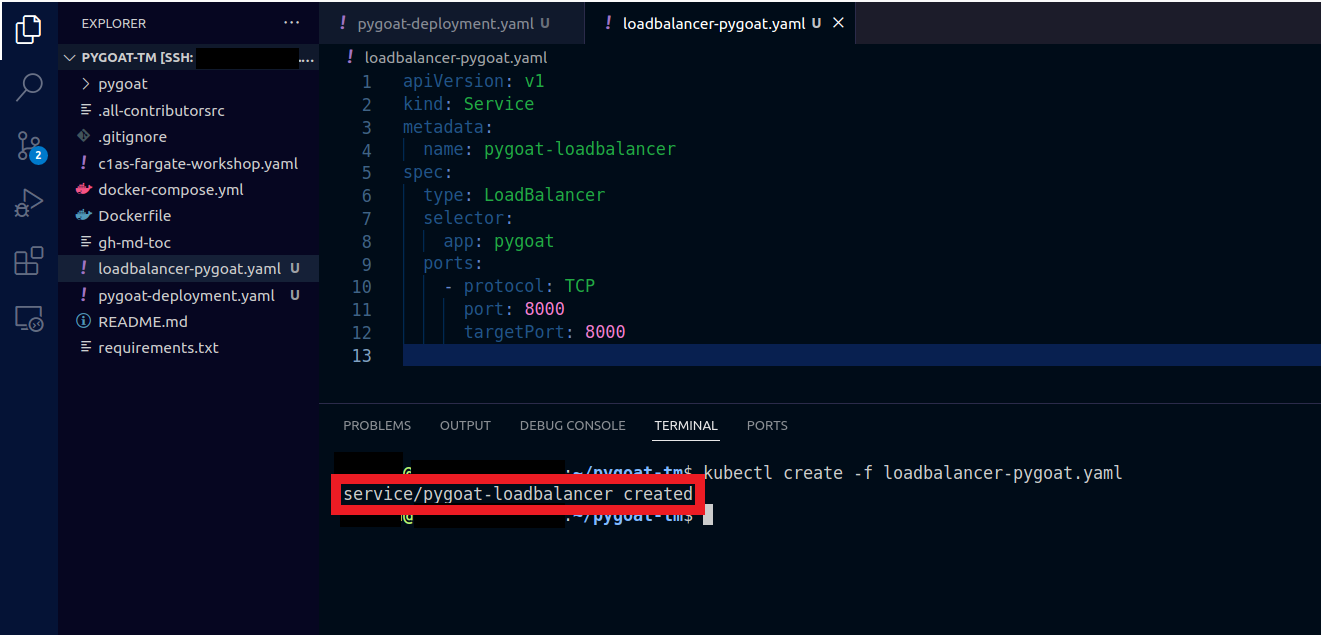
2.6. To create the LoadBalancer
- Type the command
kubectl create -f loadbalancer-pygoat.yaml
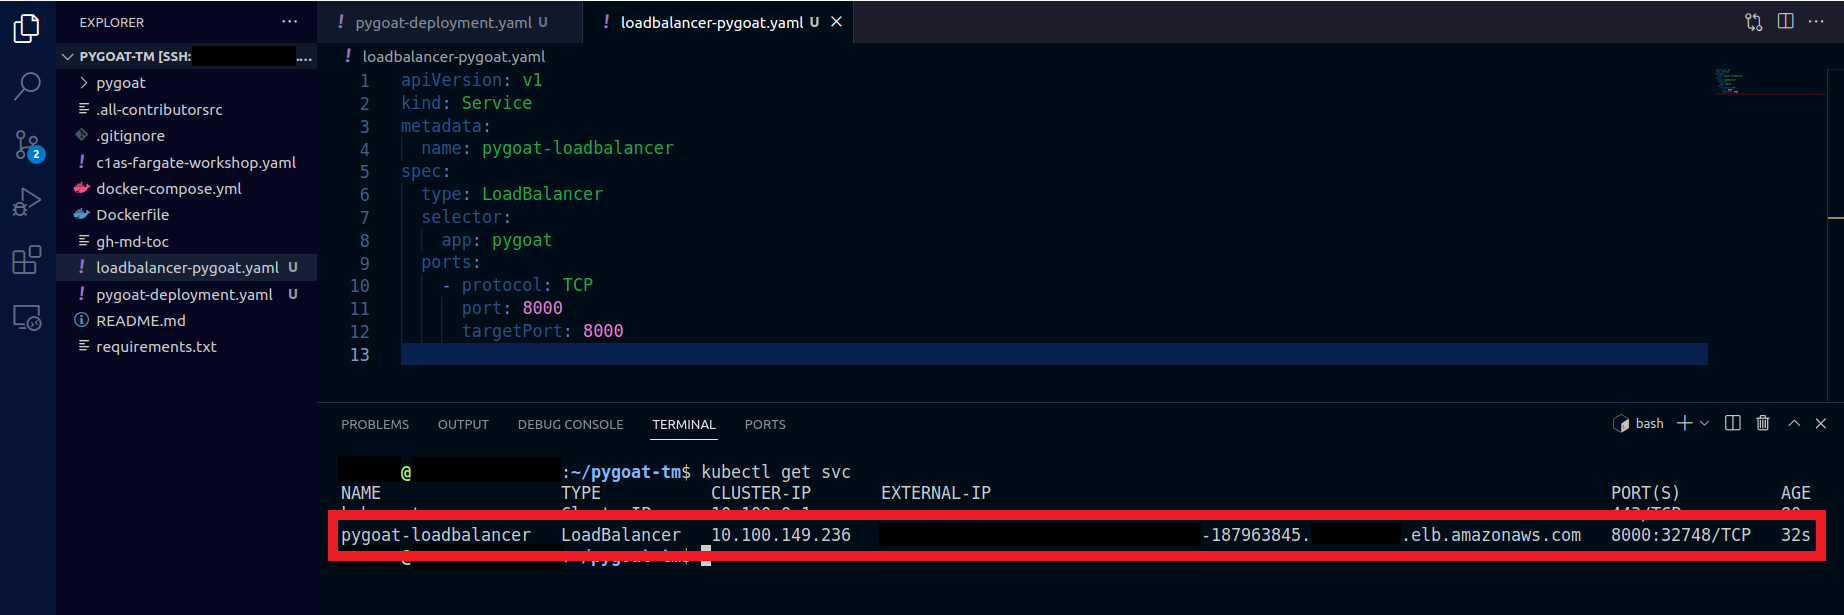
2.7. Confirm that LoadBalancer is already exposed
- Type the command
kubectl get svc - Copy the value that appears in EXTERNAL-IP
2.8. Access the application
- In your browser paste the URL
http://###:8000/ - Replace the ### with the value you got from your EXTERNAL-IP
- It may take up to 2 to 3 minutes to access the application
